ACCESSORIES
ACCESSORIES
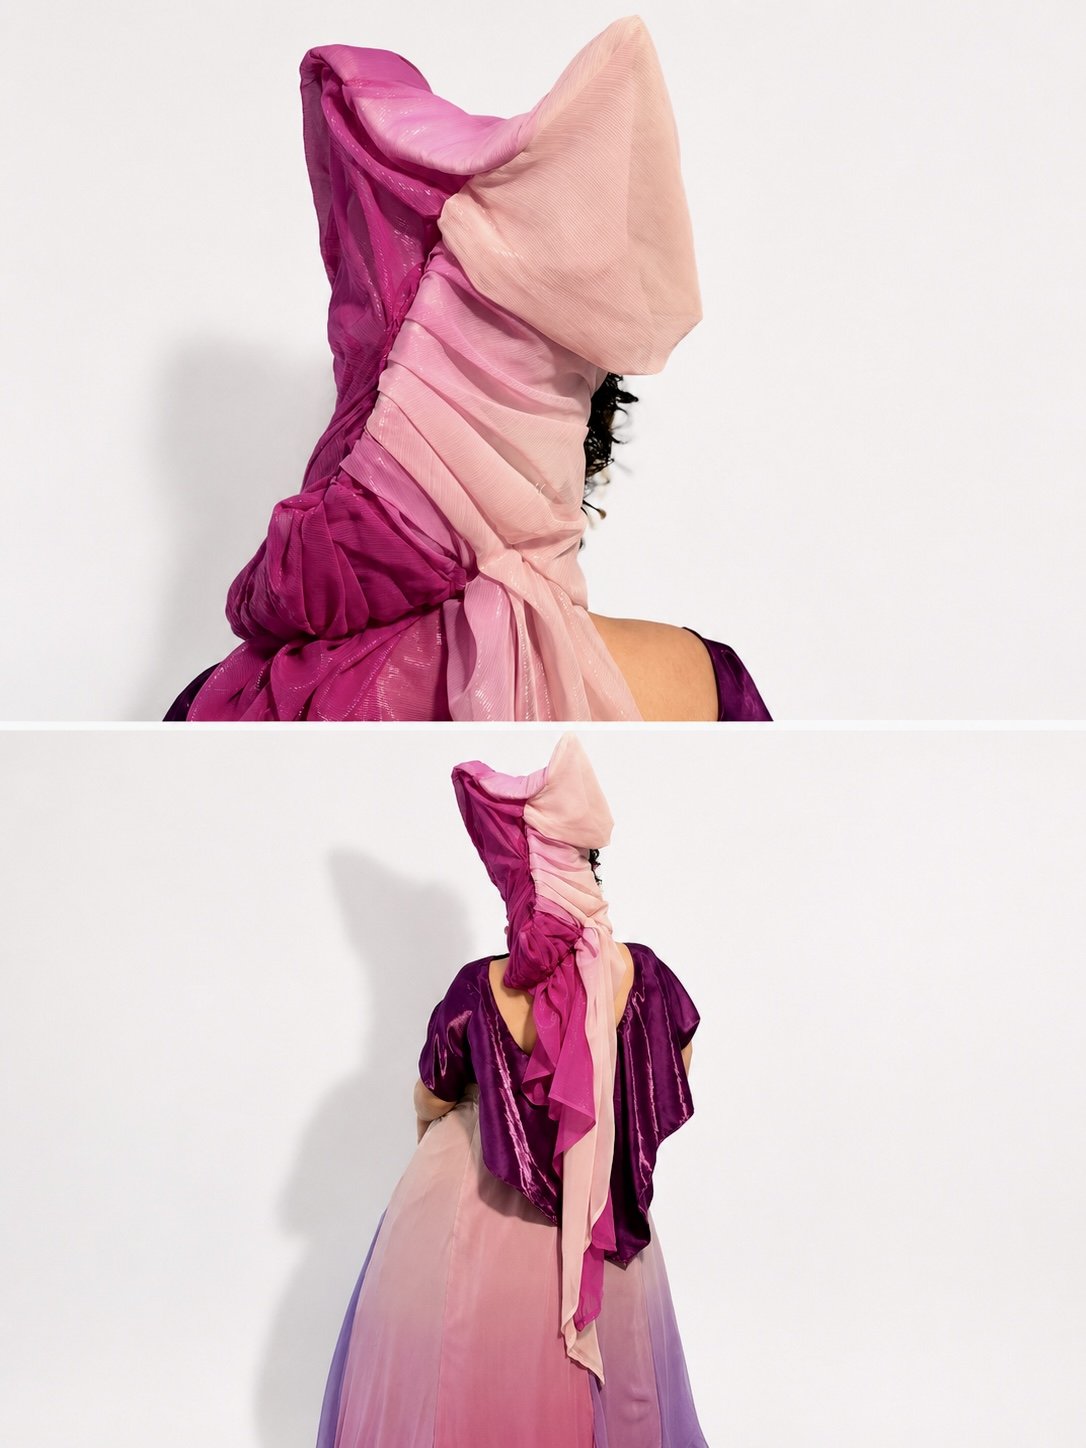
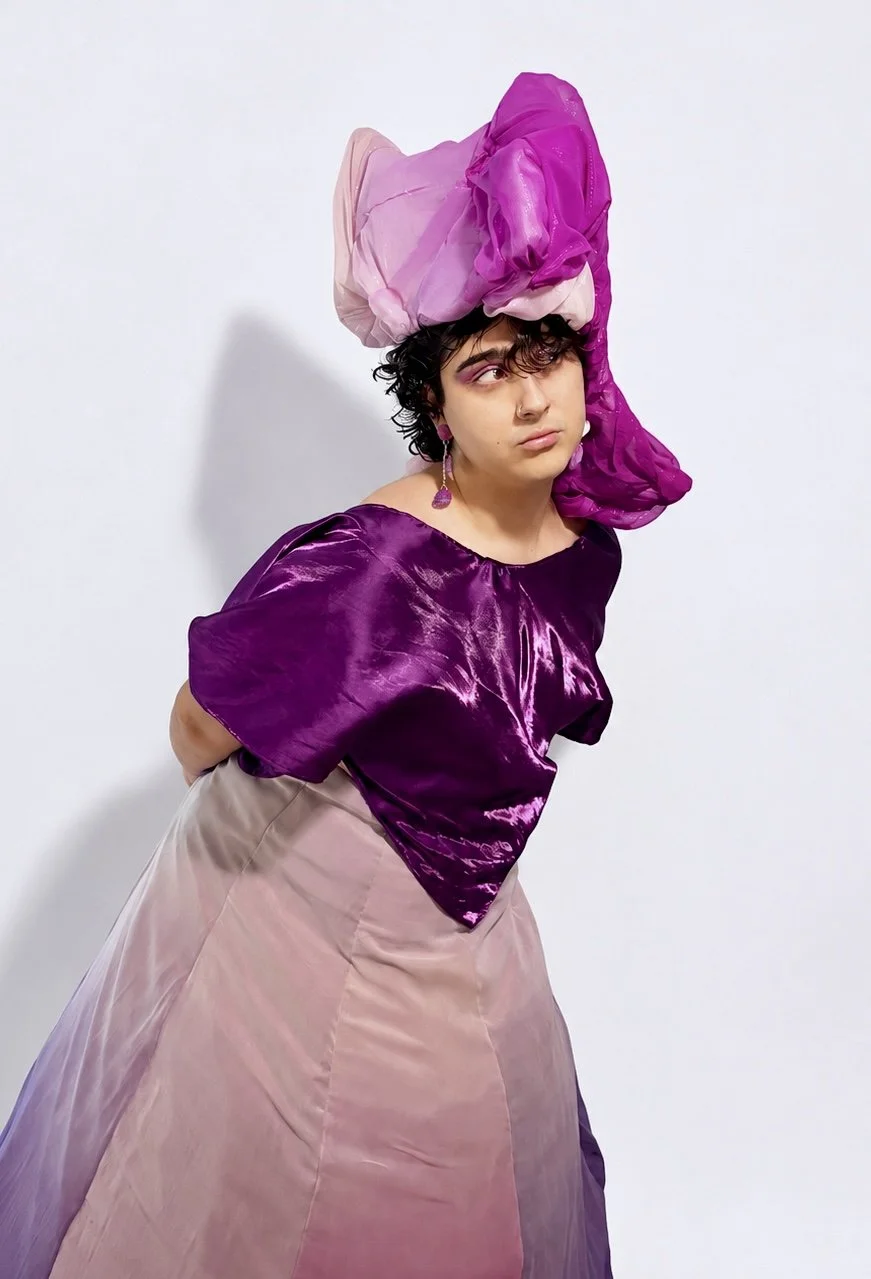
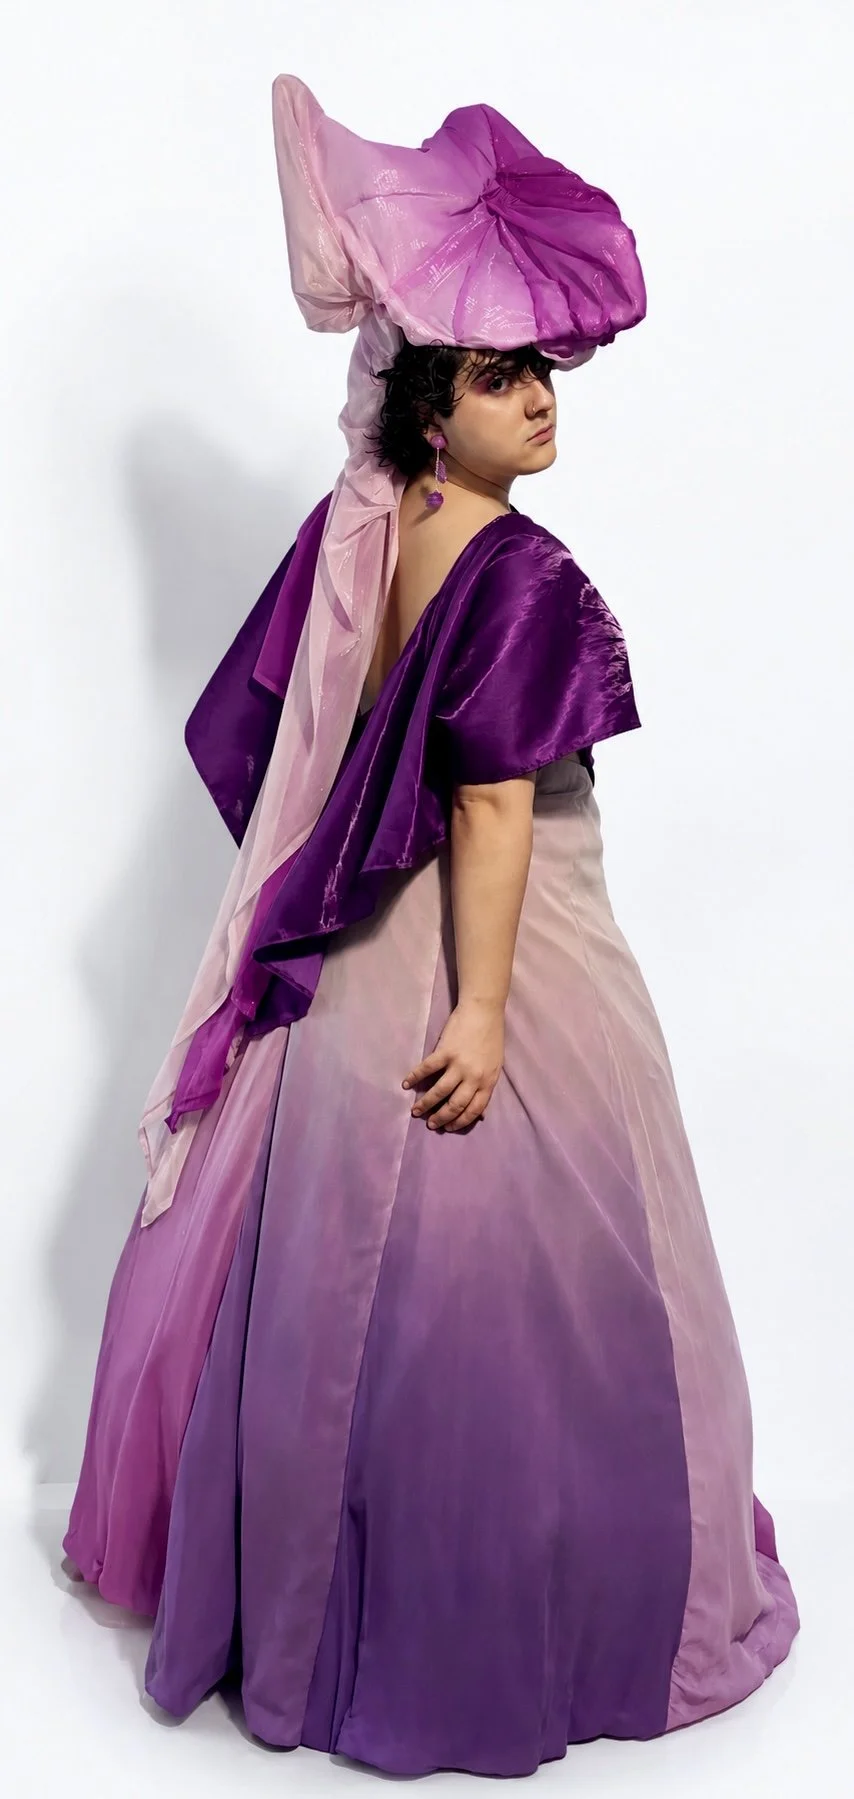
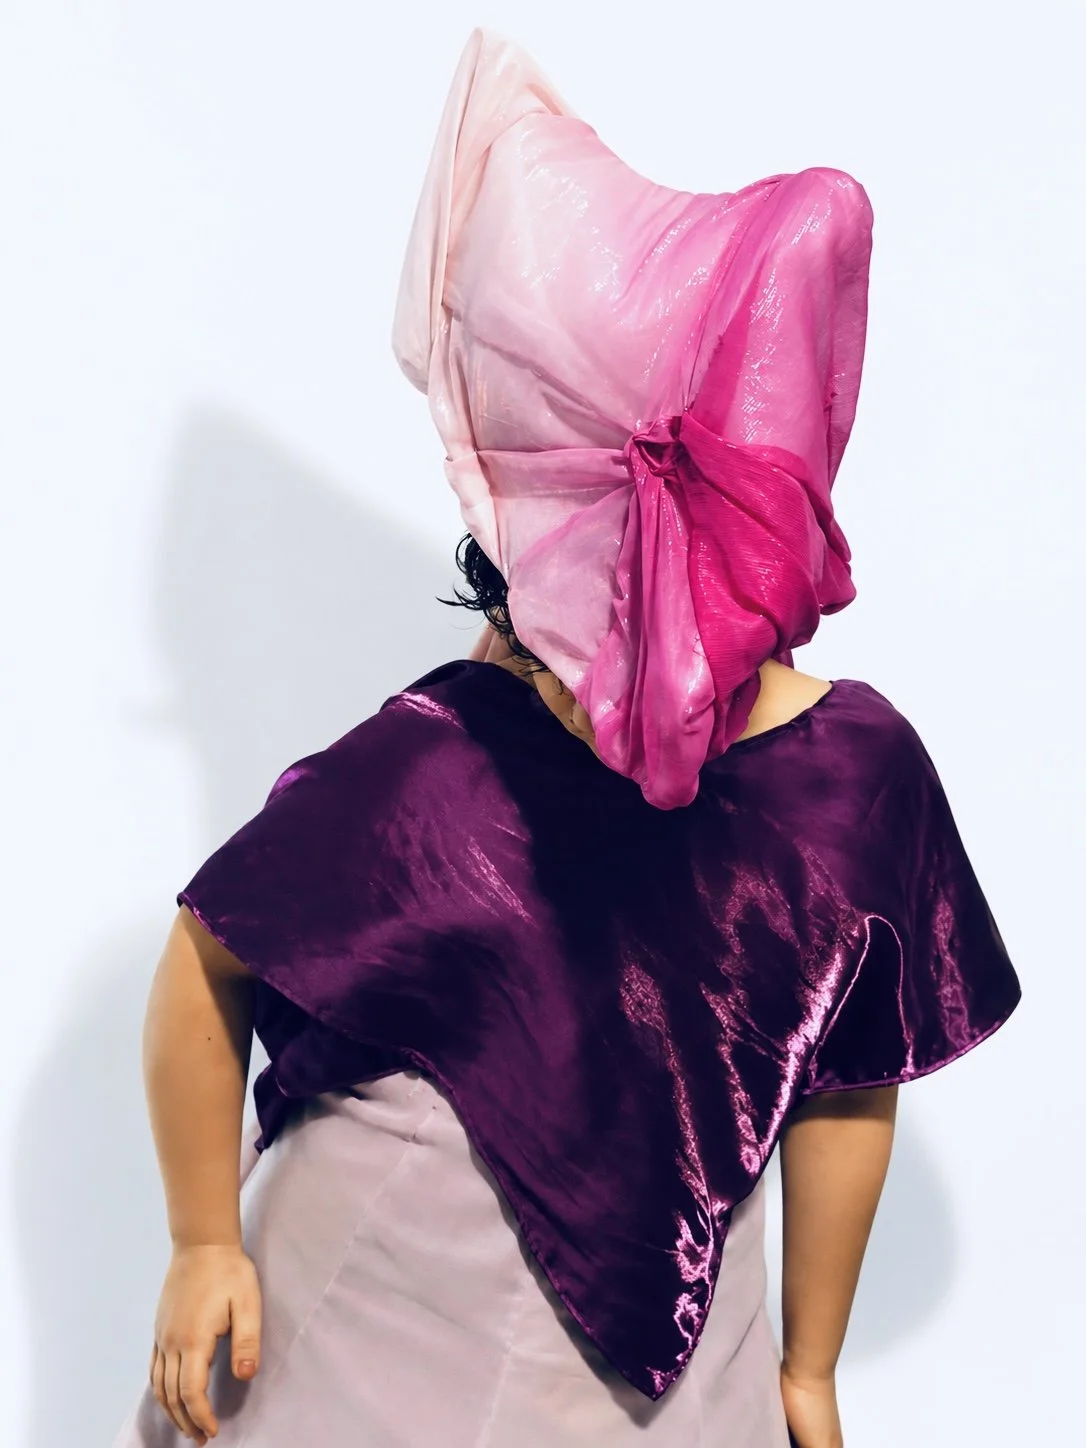
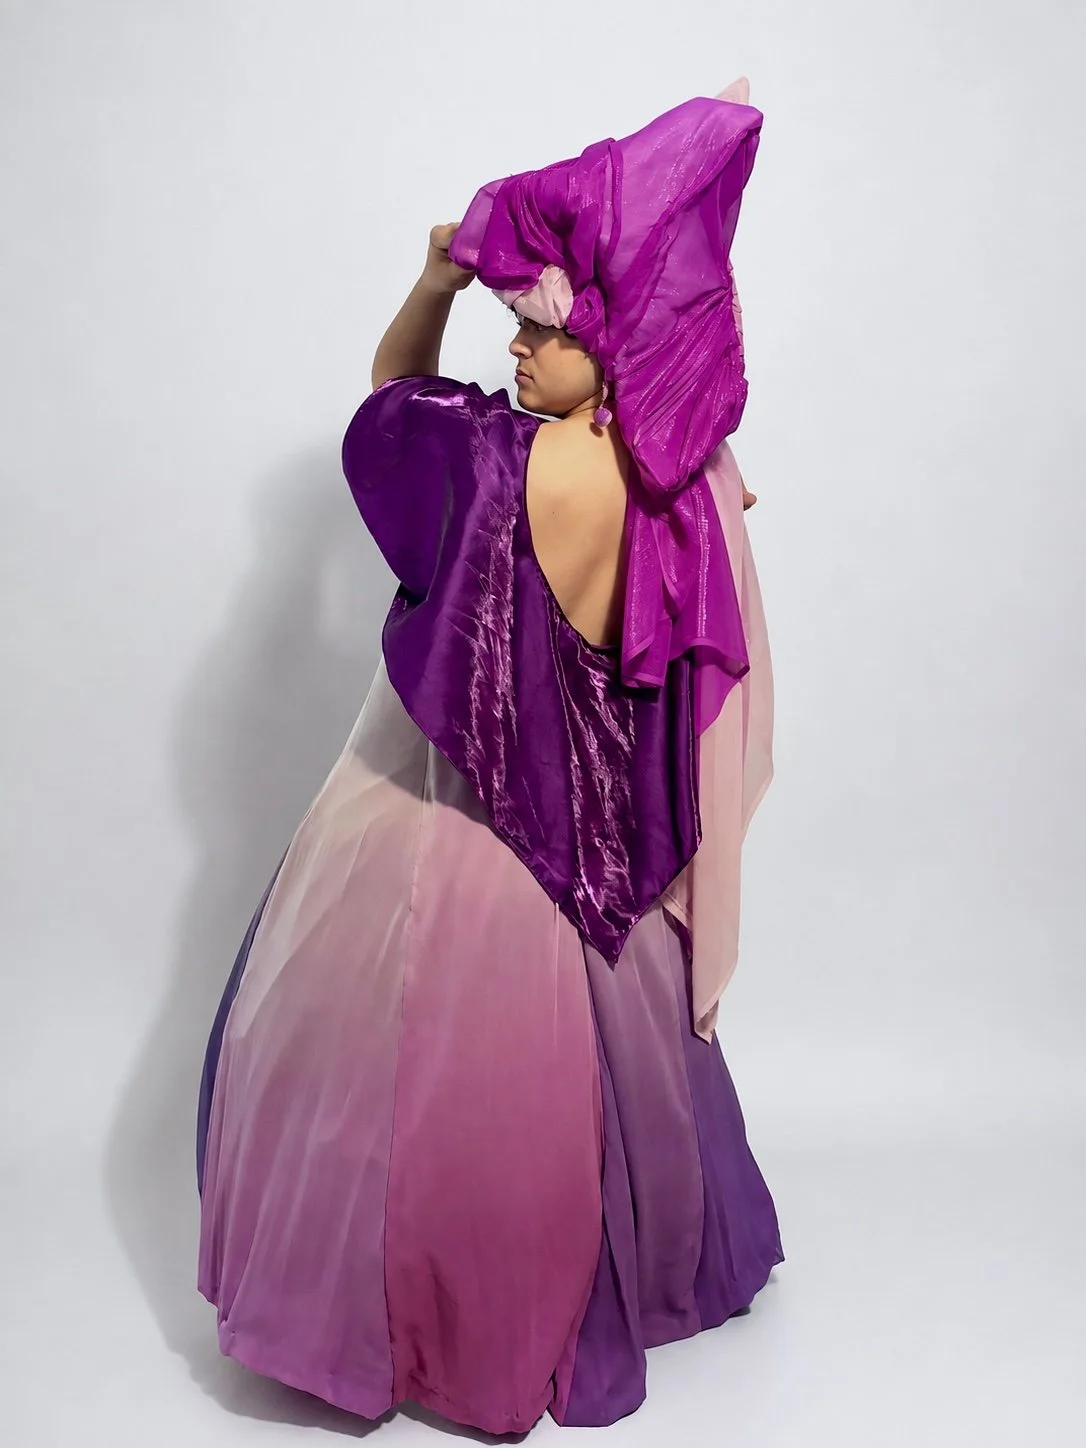
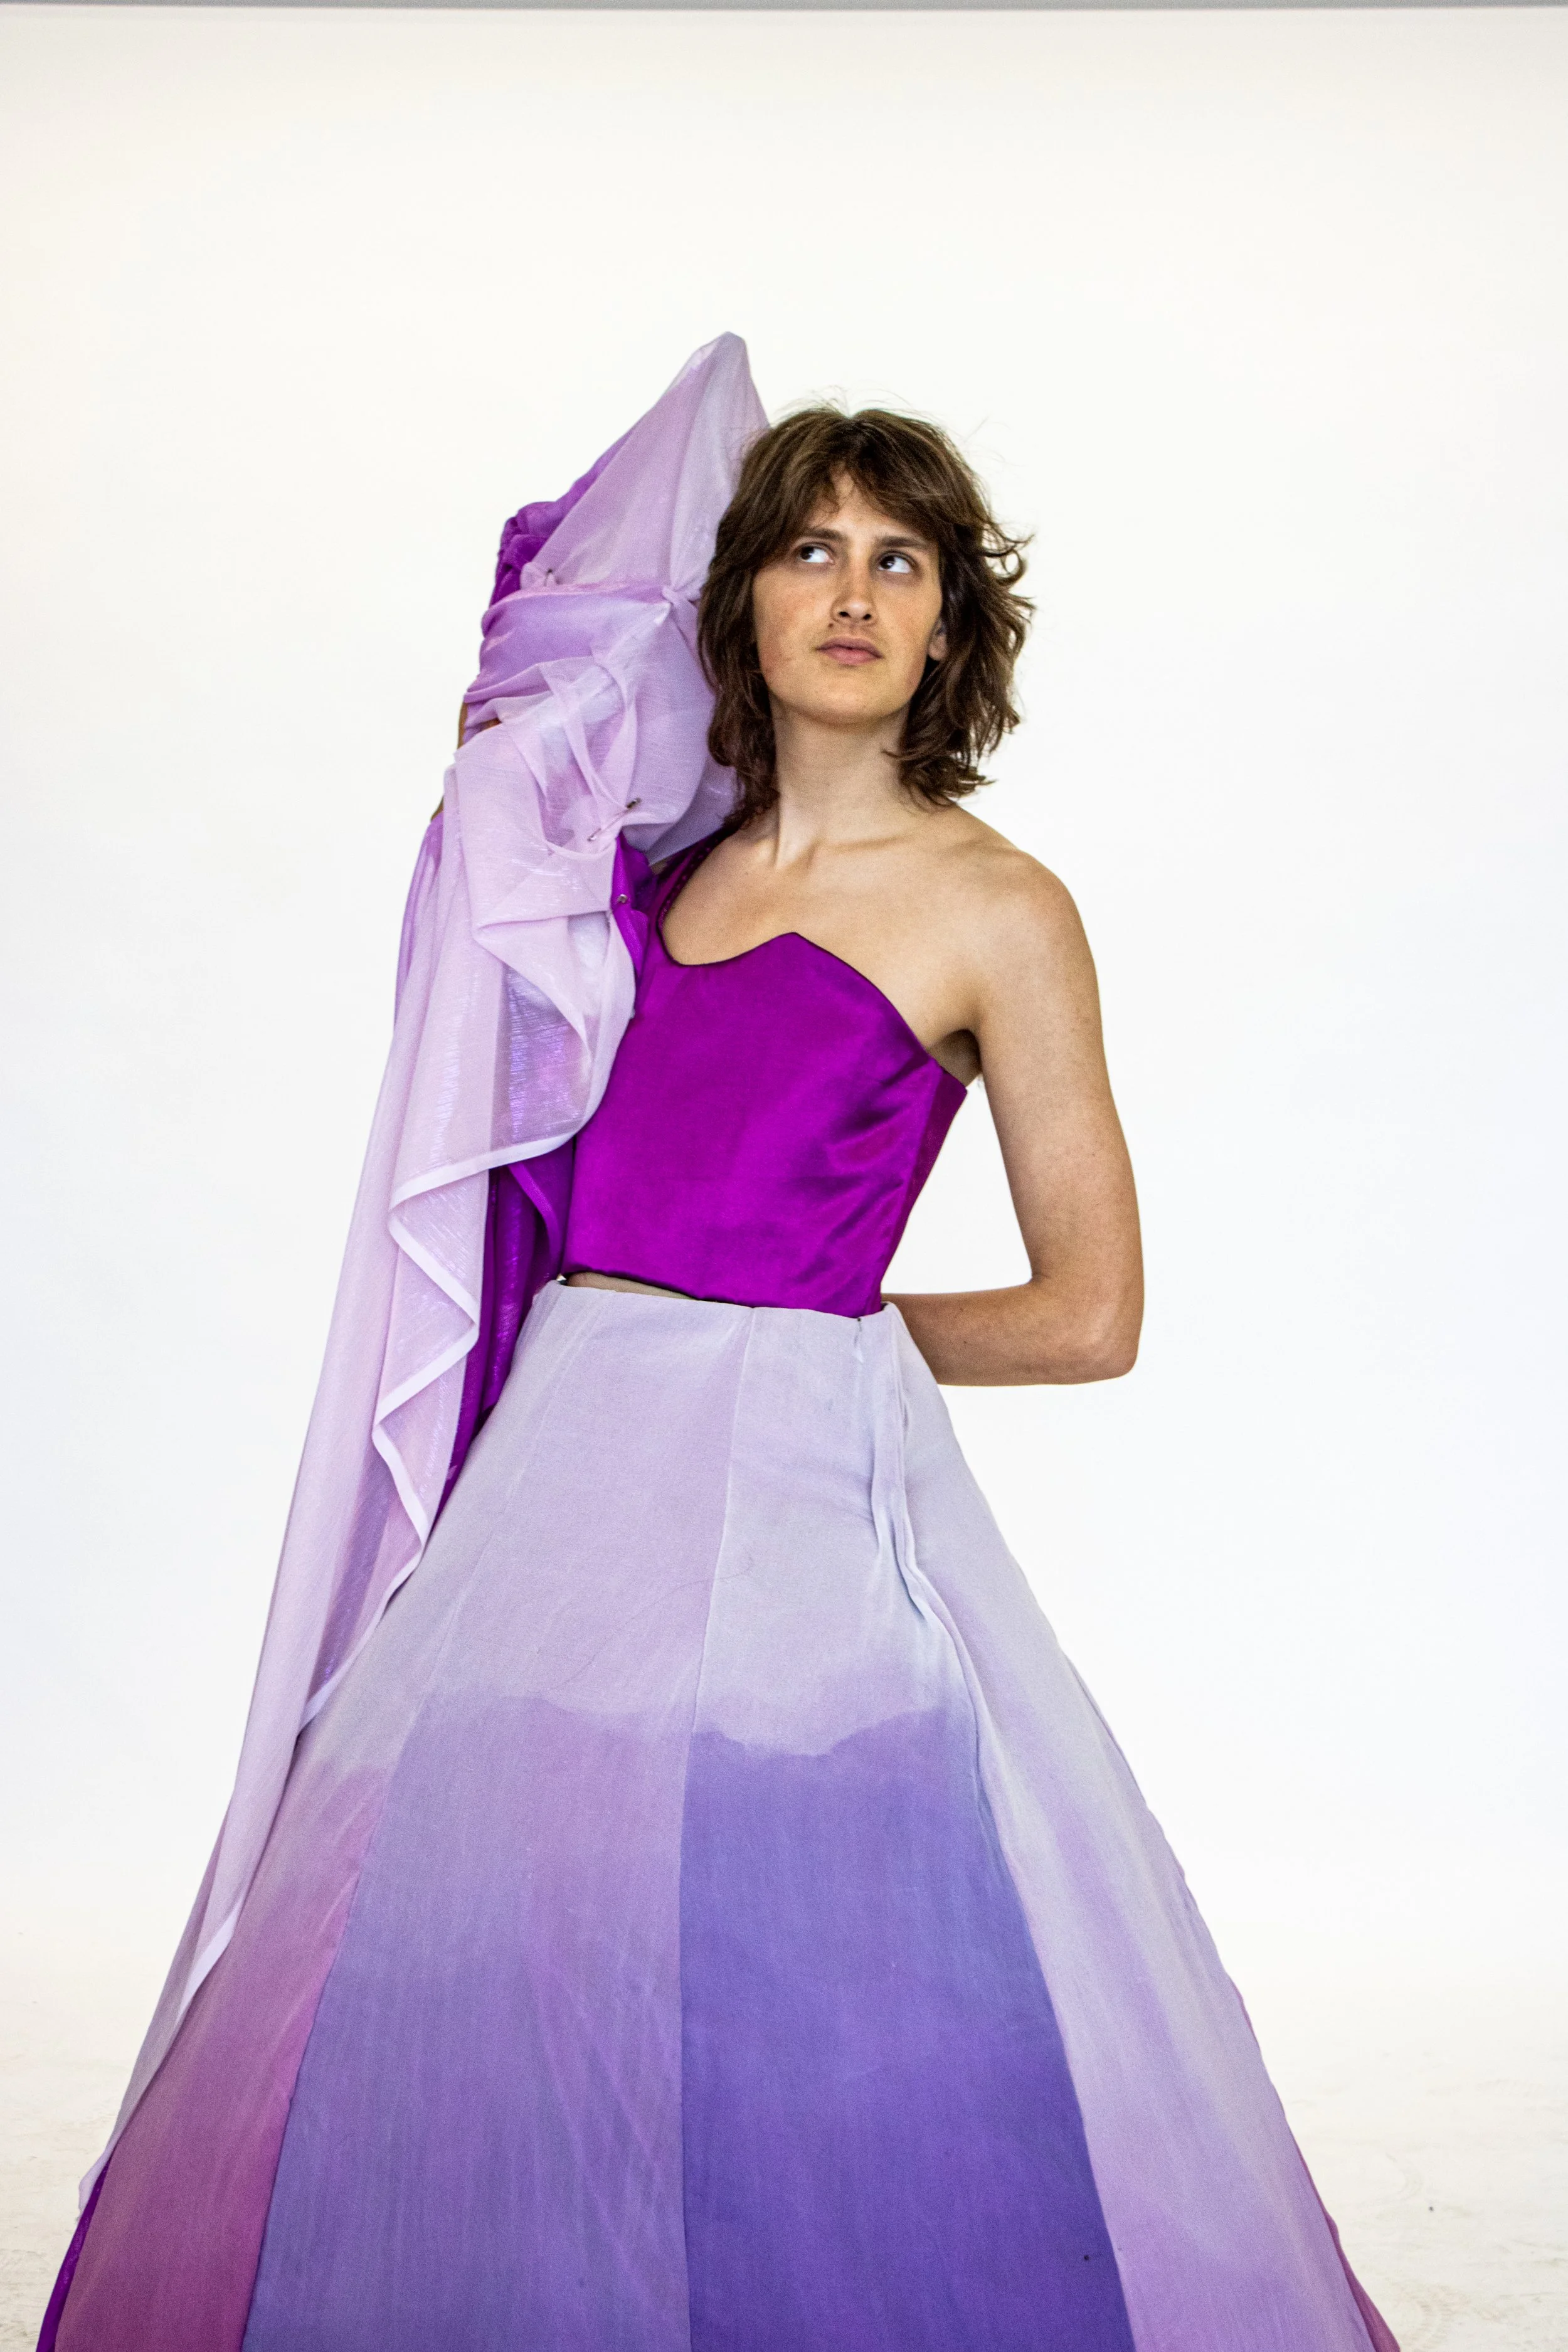
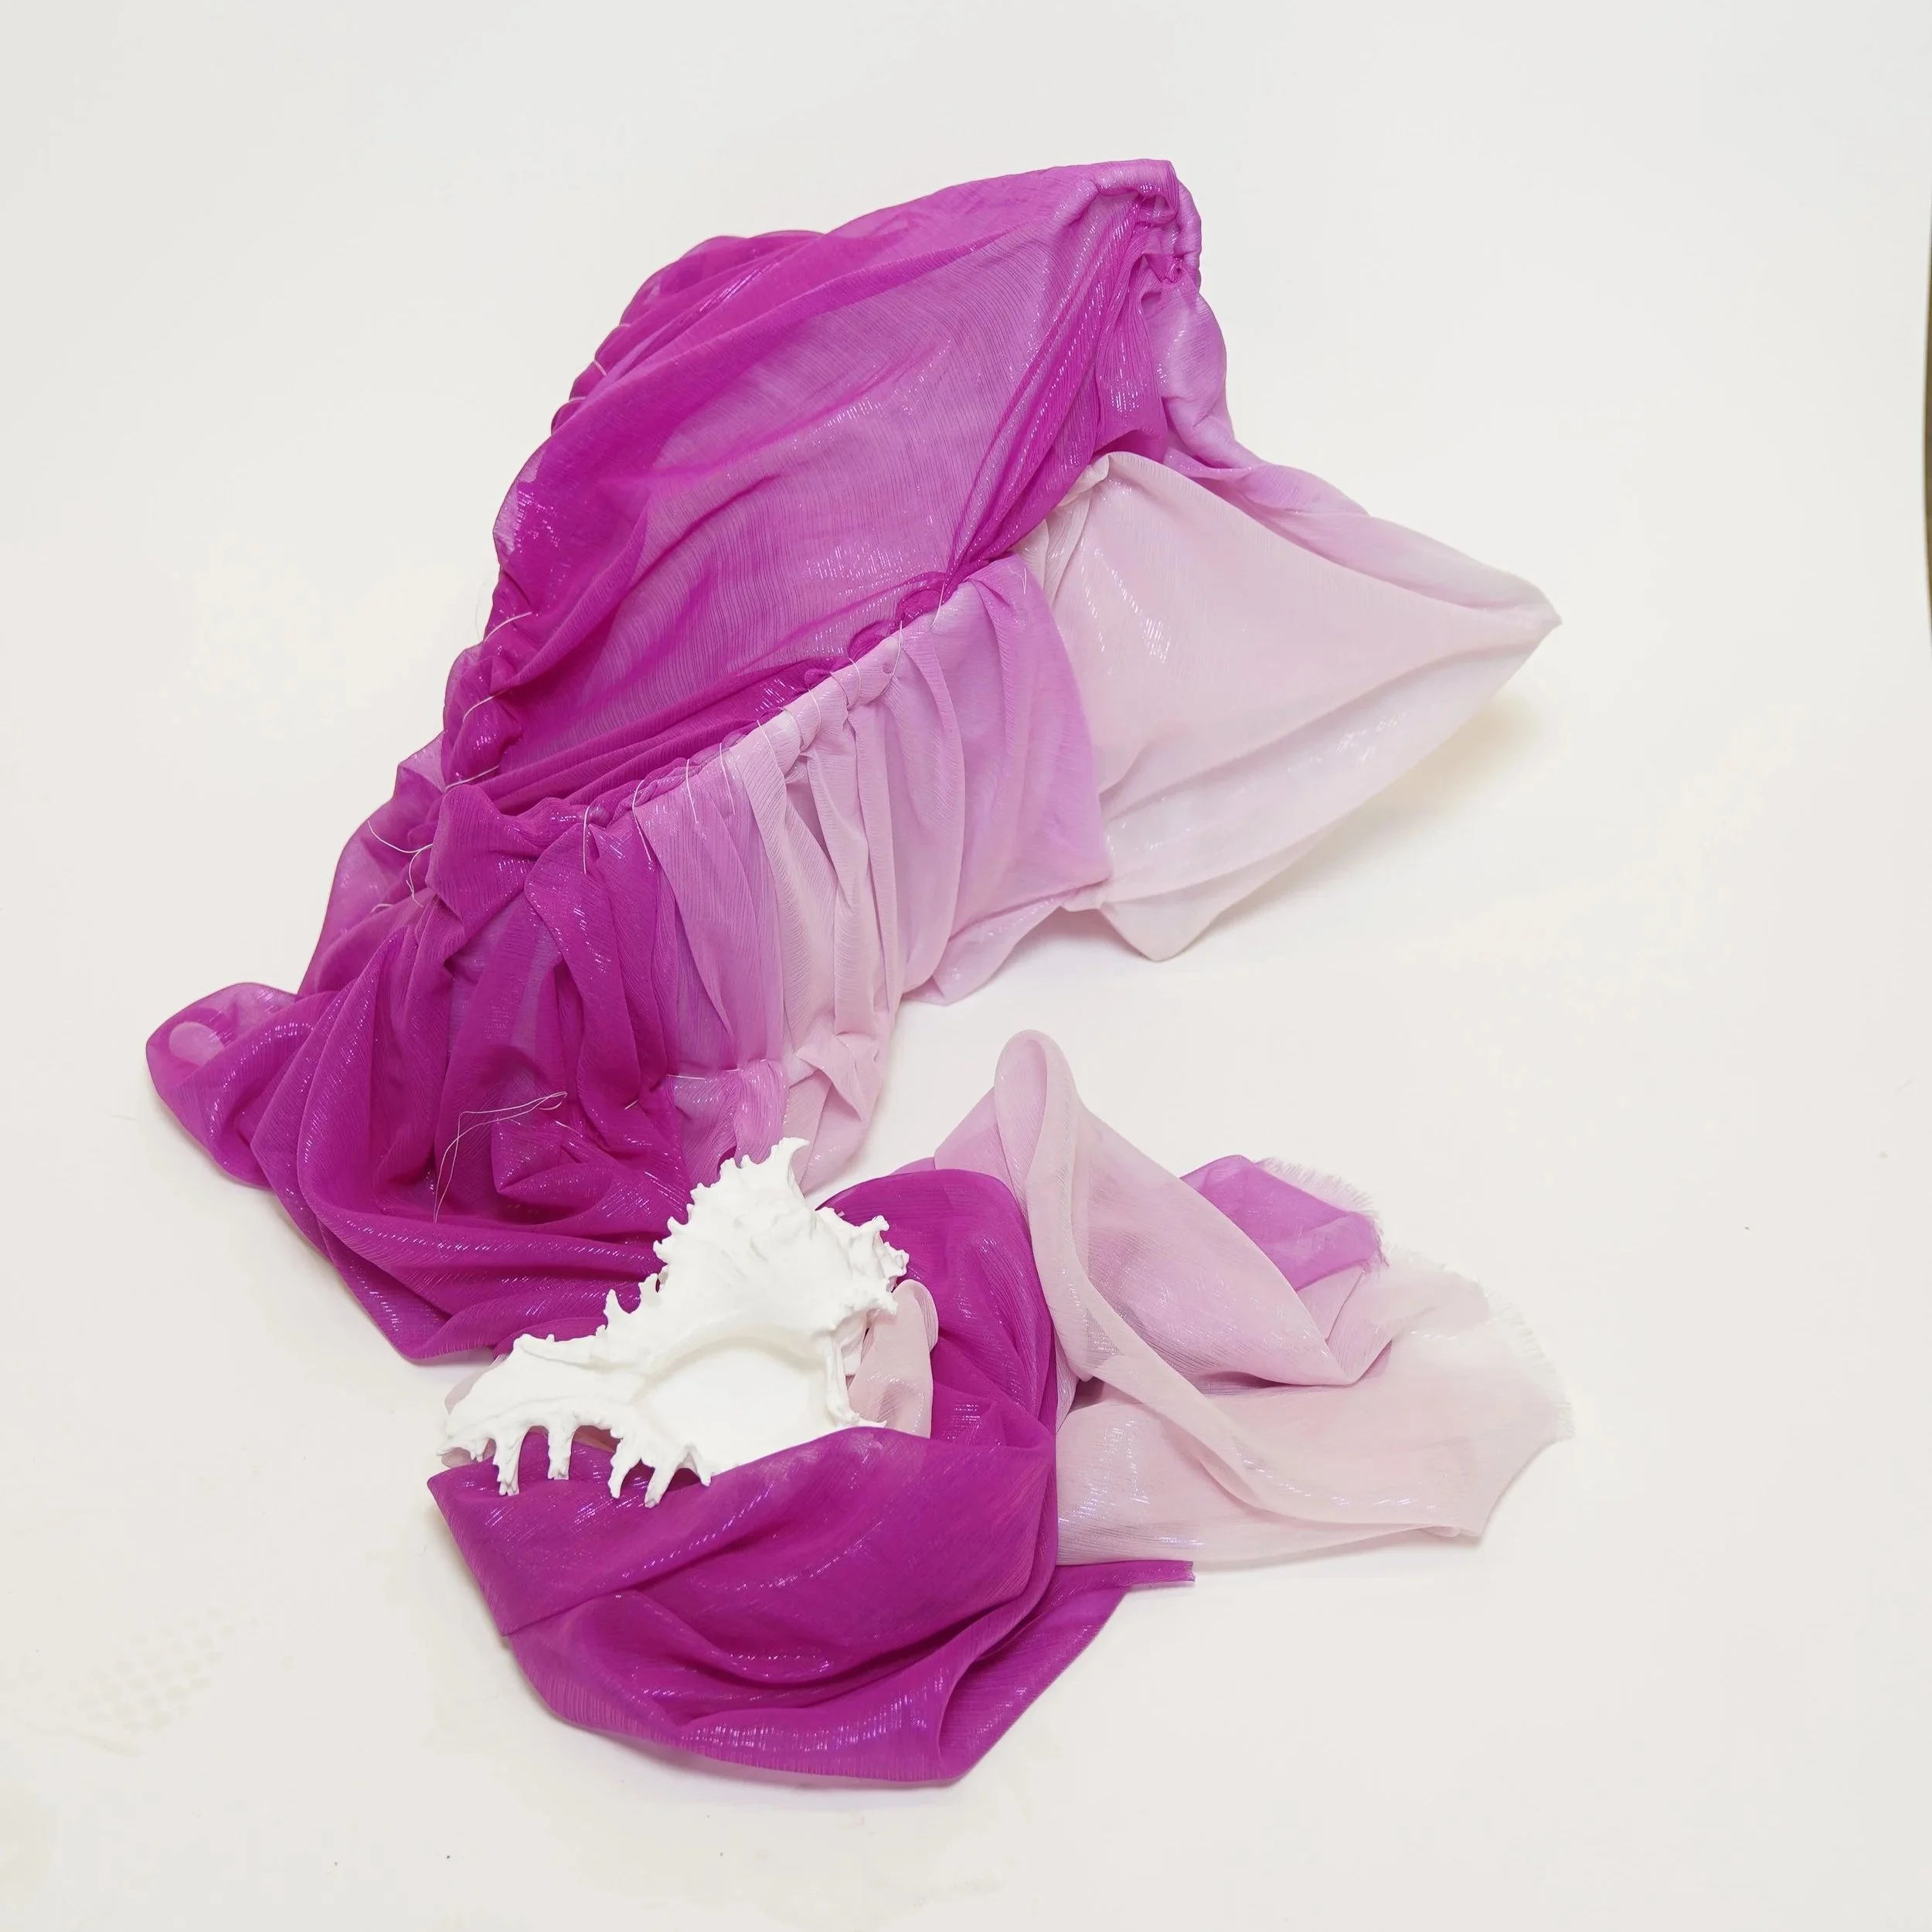
STRUCTURED FABRIC SEASHELL
INITIAL DRAPING IDEAS
BACK OF SHELL
MODIFIED DRAPE
CIFFON DRAPING
SEWING IN PLEATS
ORGANDY DRAPING
DRAPE WITH BATTING
INITIAL UNDERSTRUCTURE
• Originally designed as a head centered structure attached directly to the bodice.
• Draped an understructure using organdy, galvanized steel wire, and plastic boning on a dress form.
• Covered the structure in batting to protect the chiffon from potential damage.
• During the model fitting, I realized the structure was too large for the model’s proportions.
• Adapted the design into a versatile accessory that could either be carried or worn as a statement headpiece.
BATTING DRAPE
FINAL PRODUCT
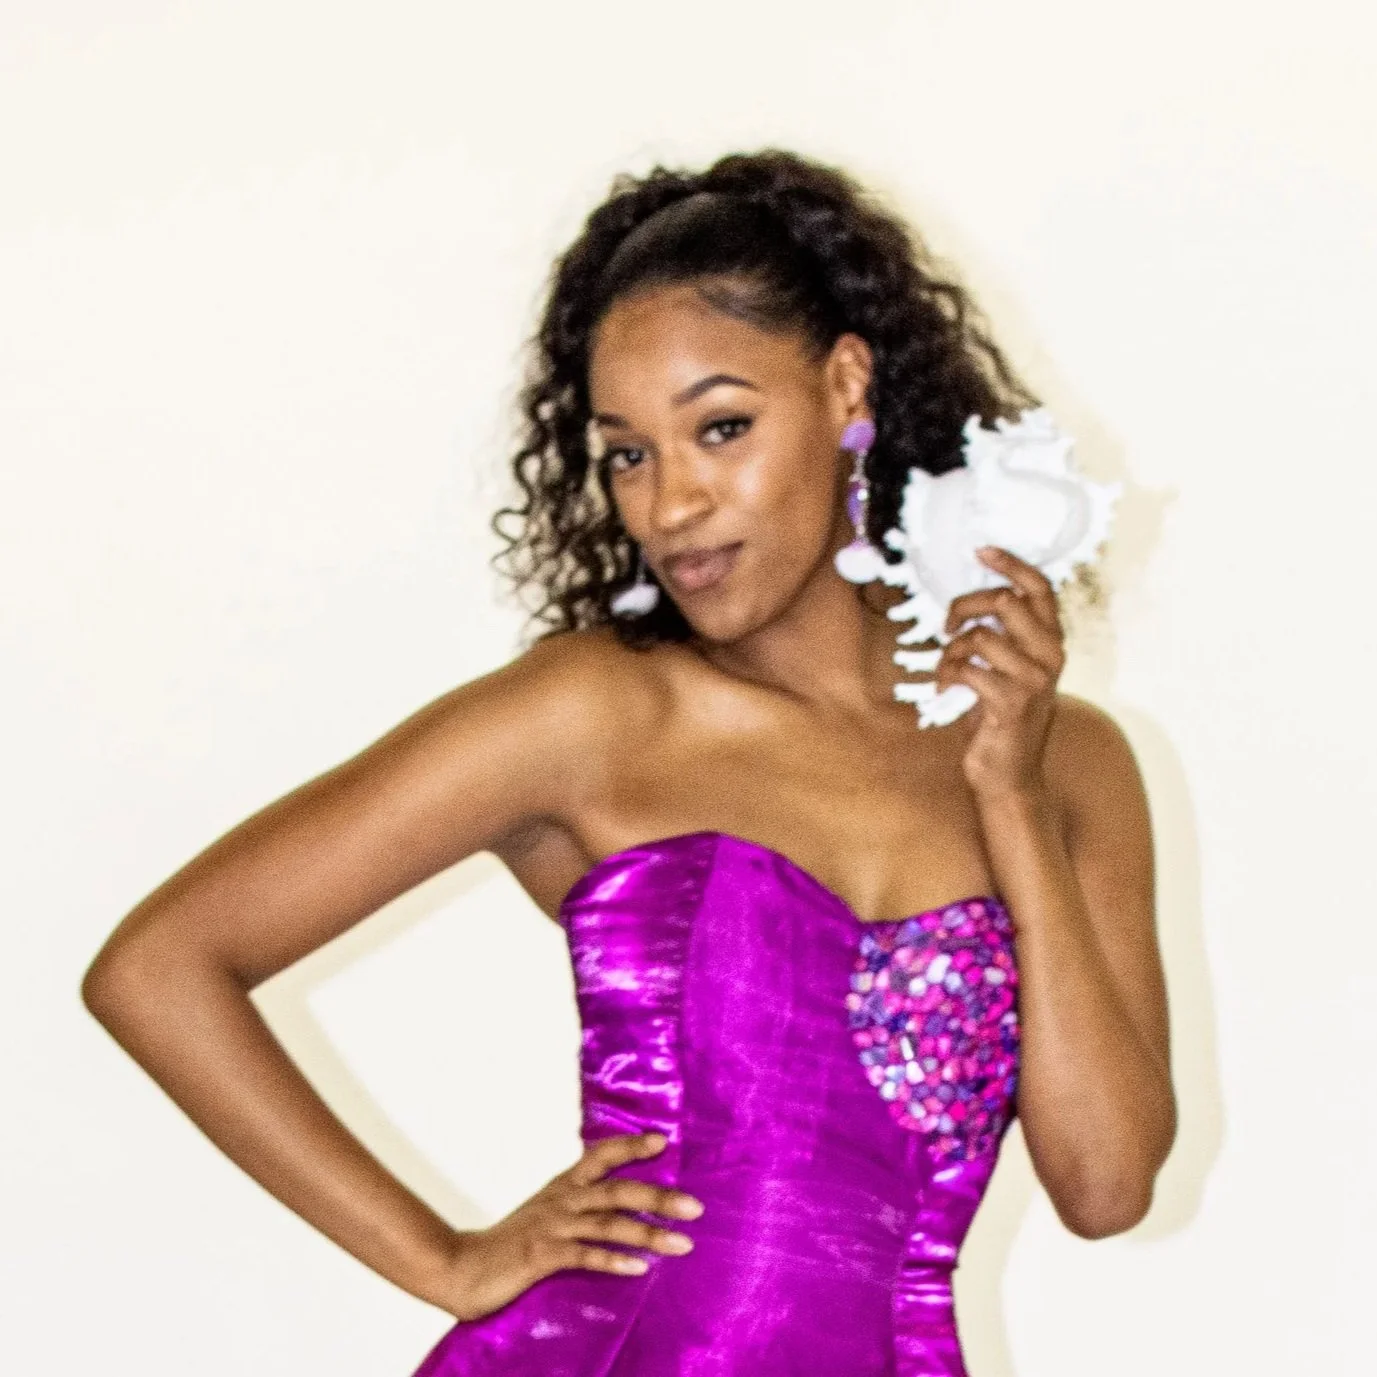
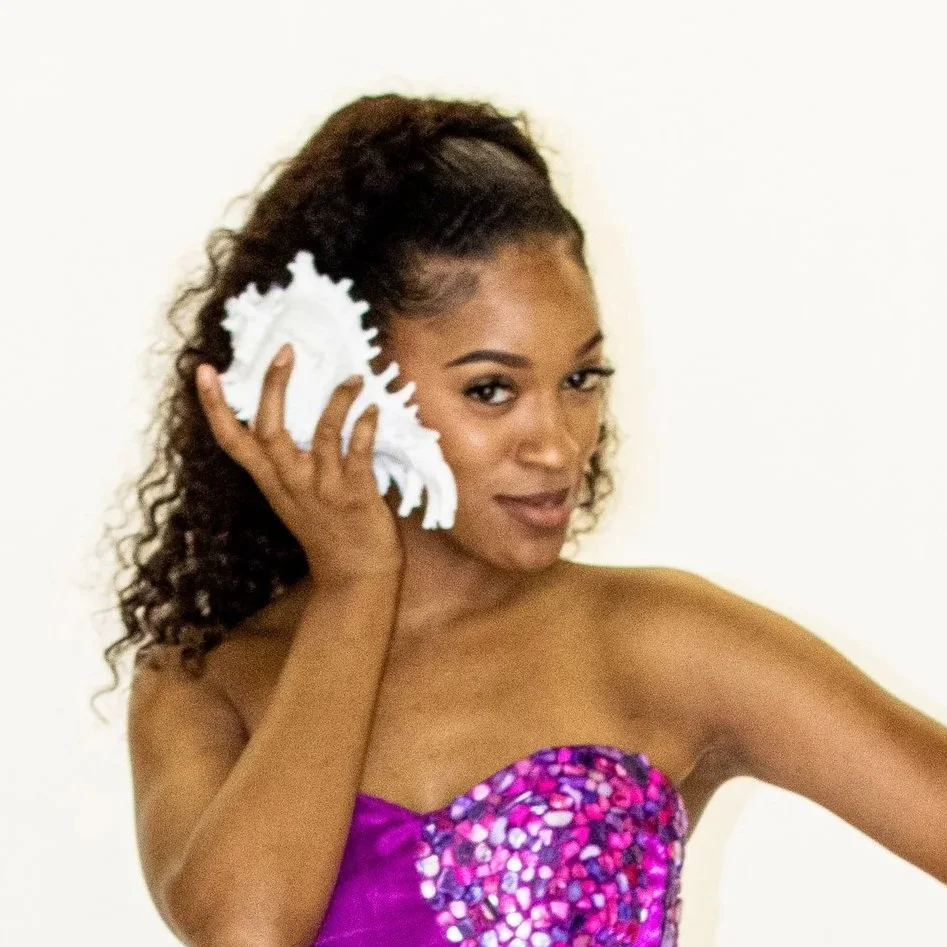
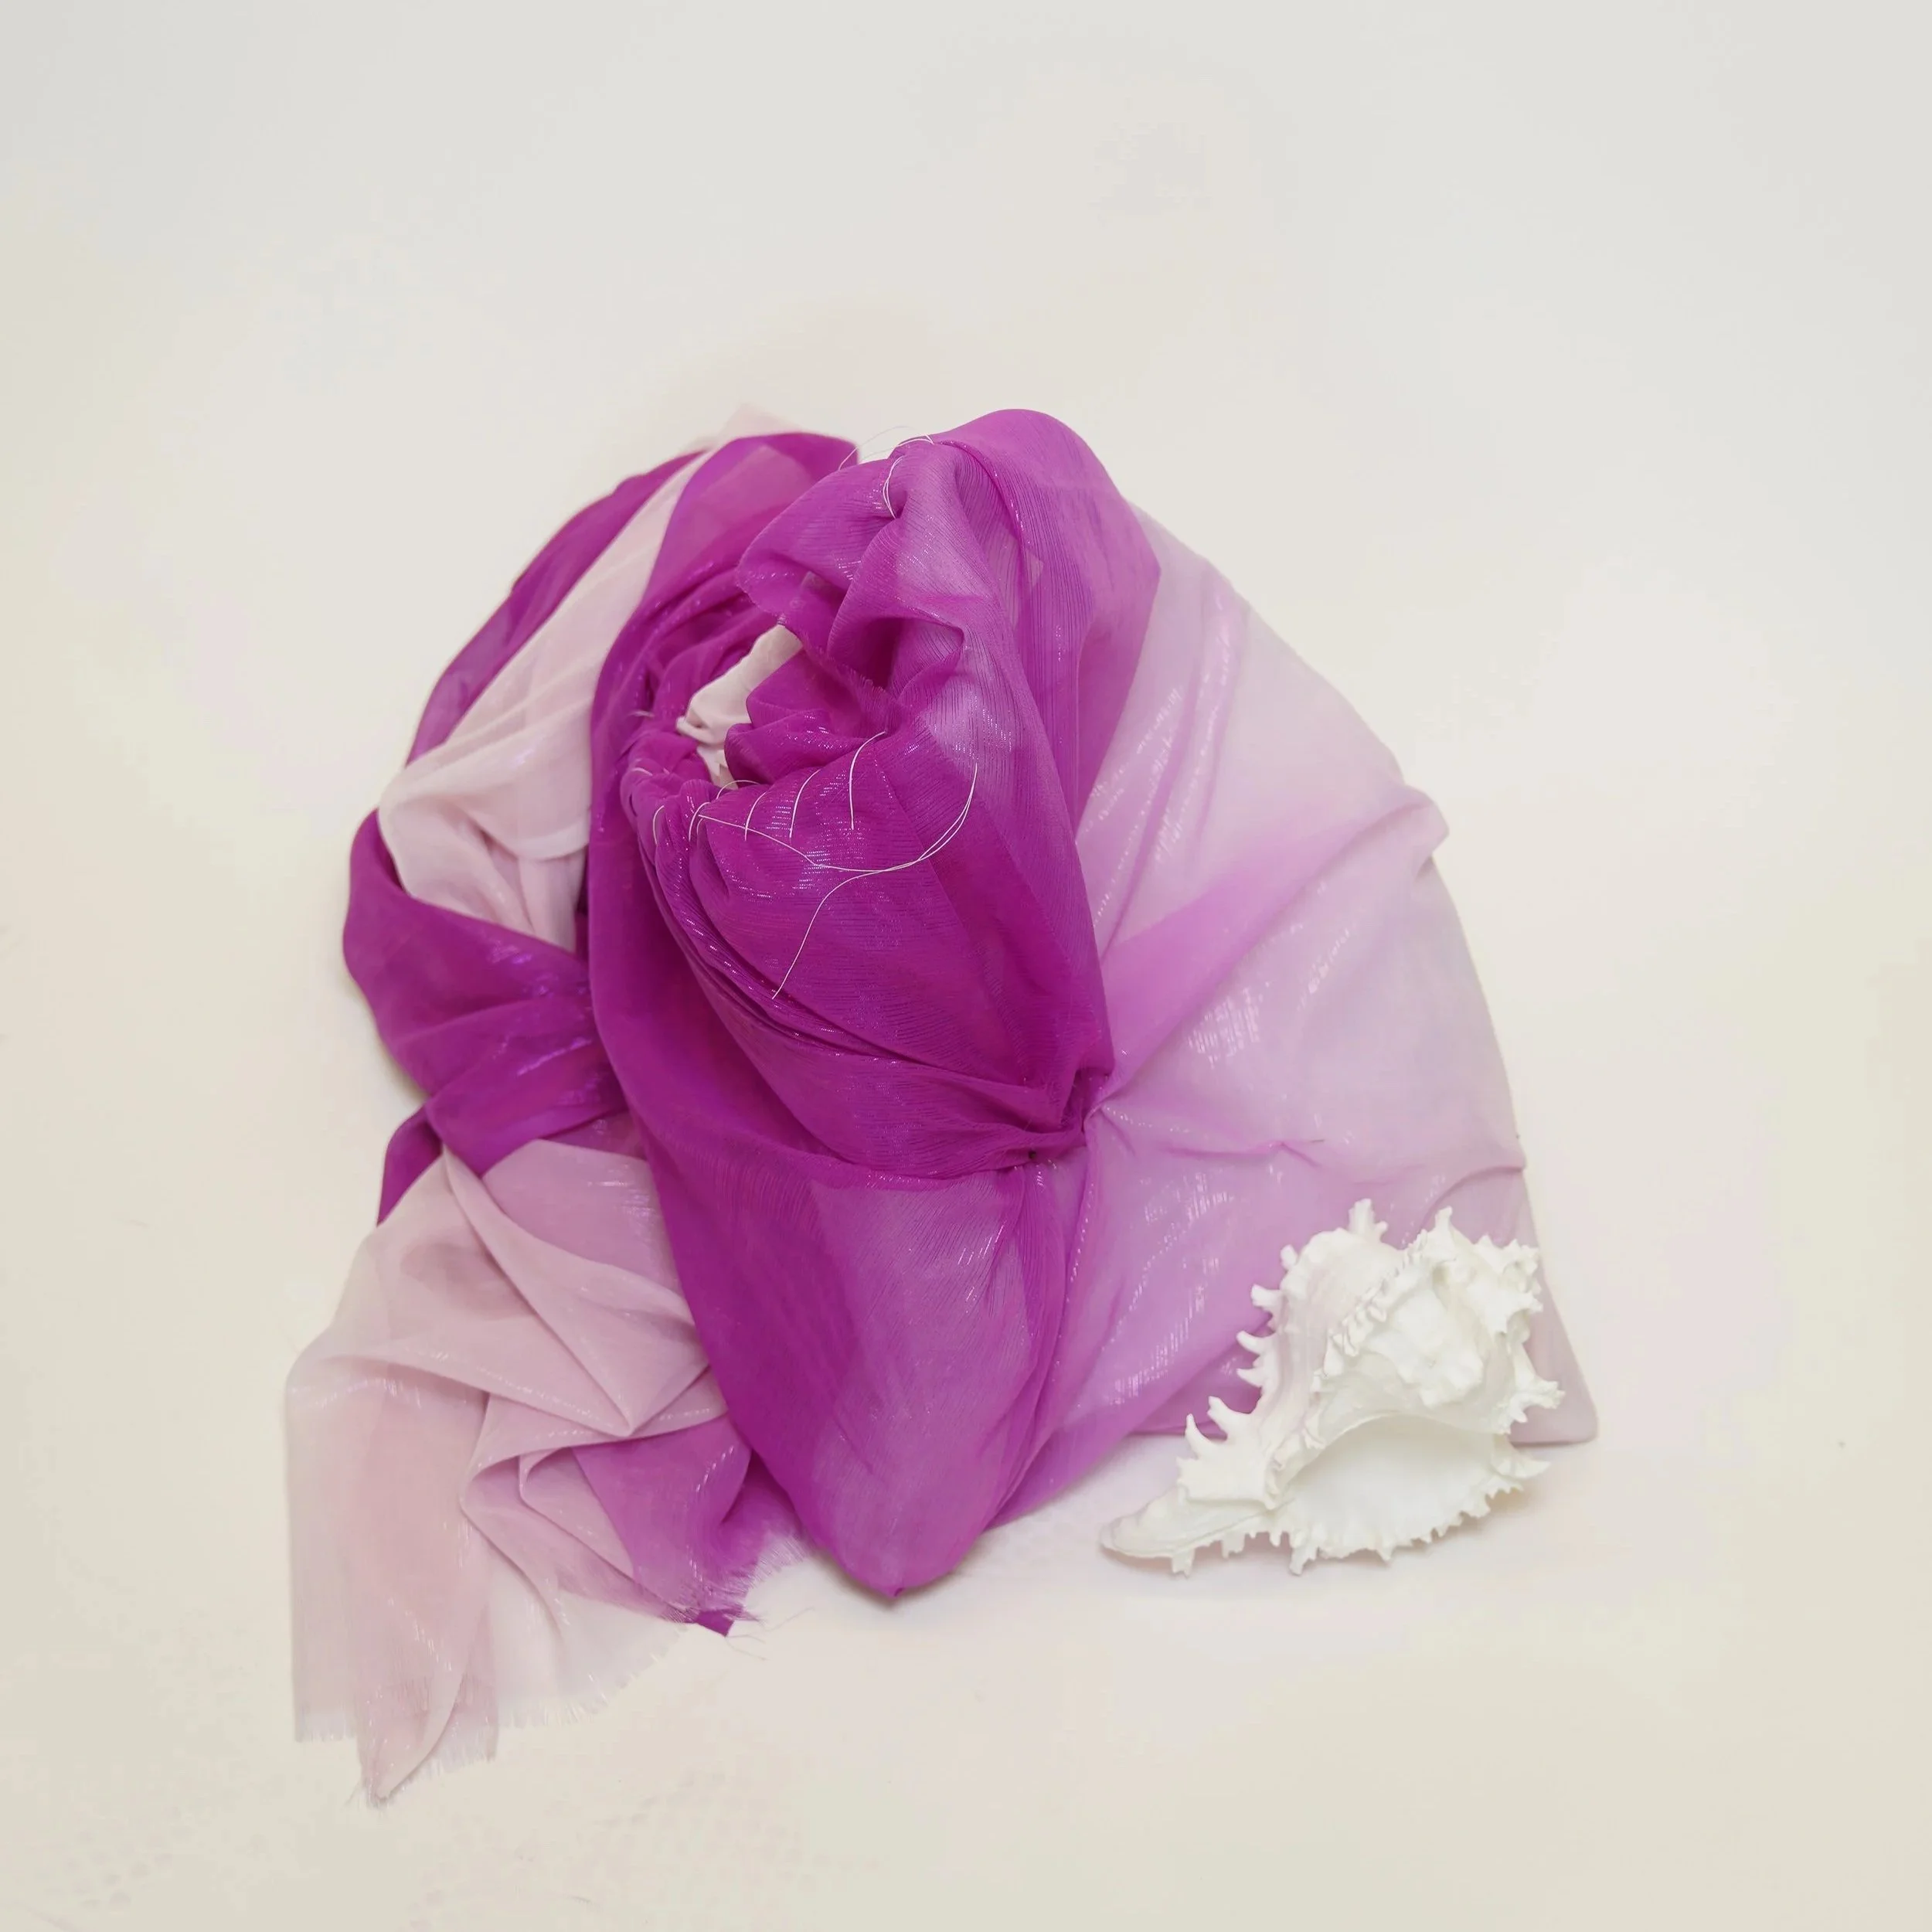
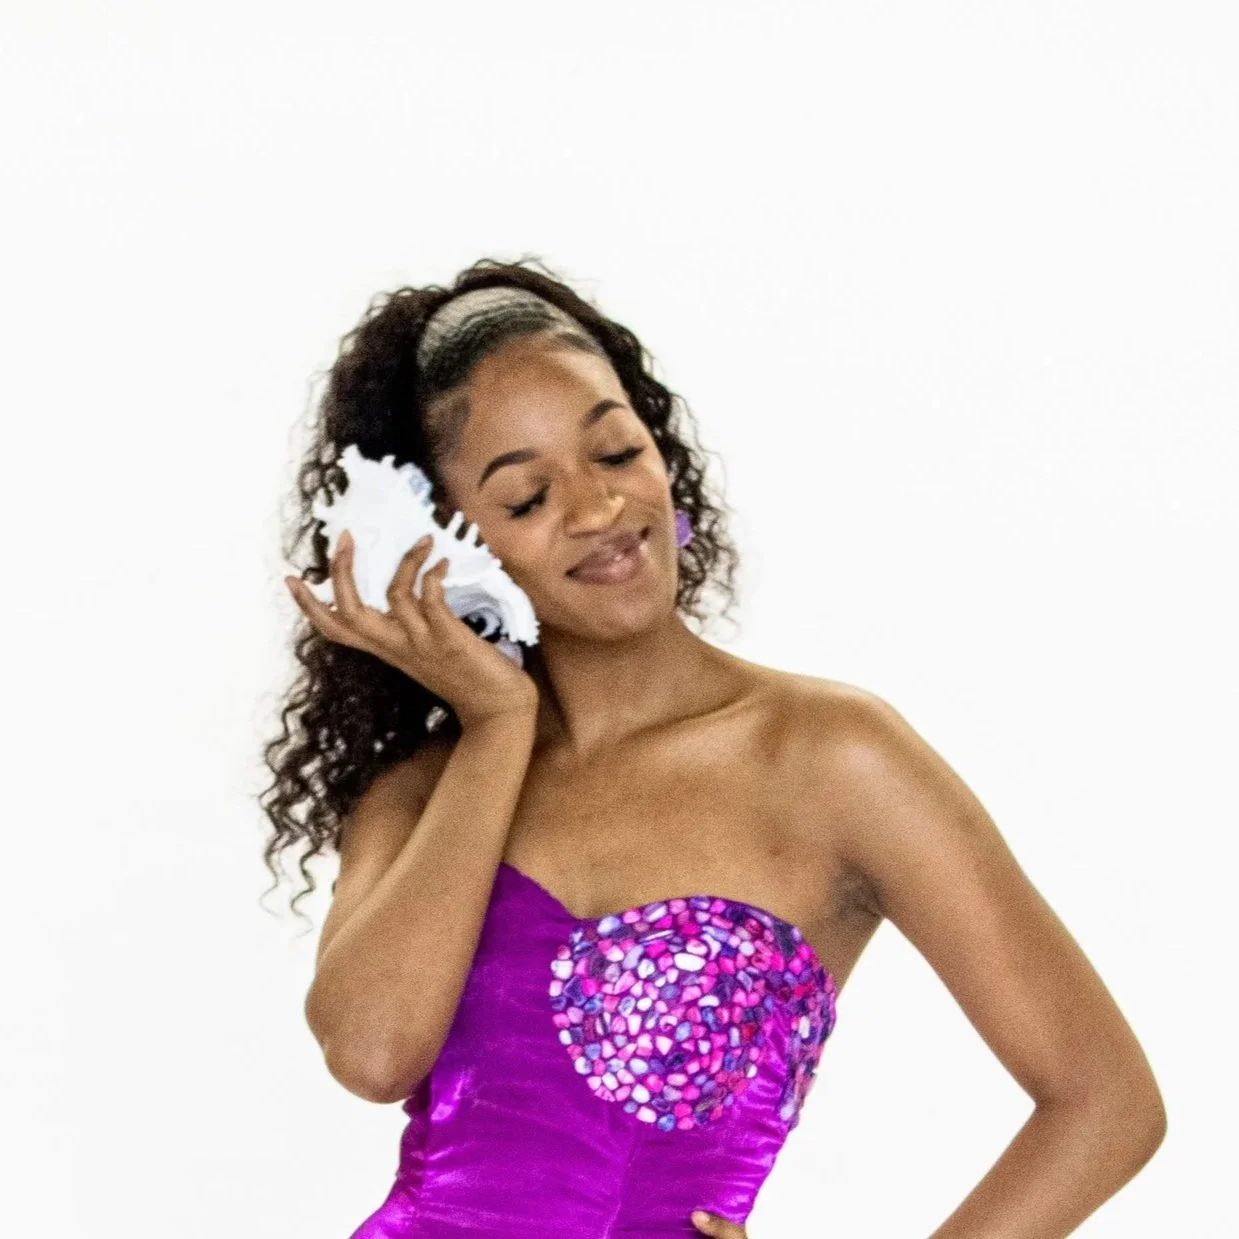
3D-PRINTED MUREX SHELL
3D-PRINTER
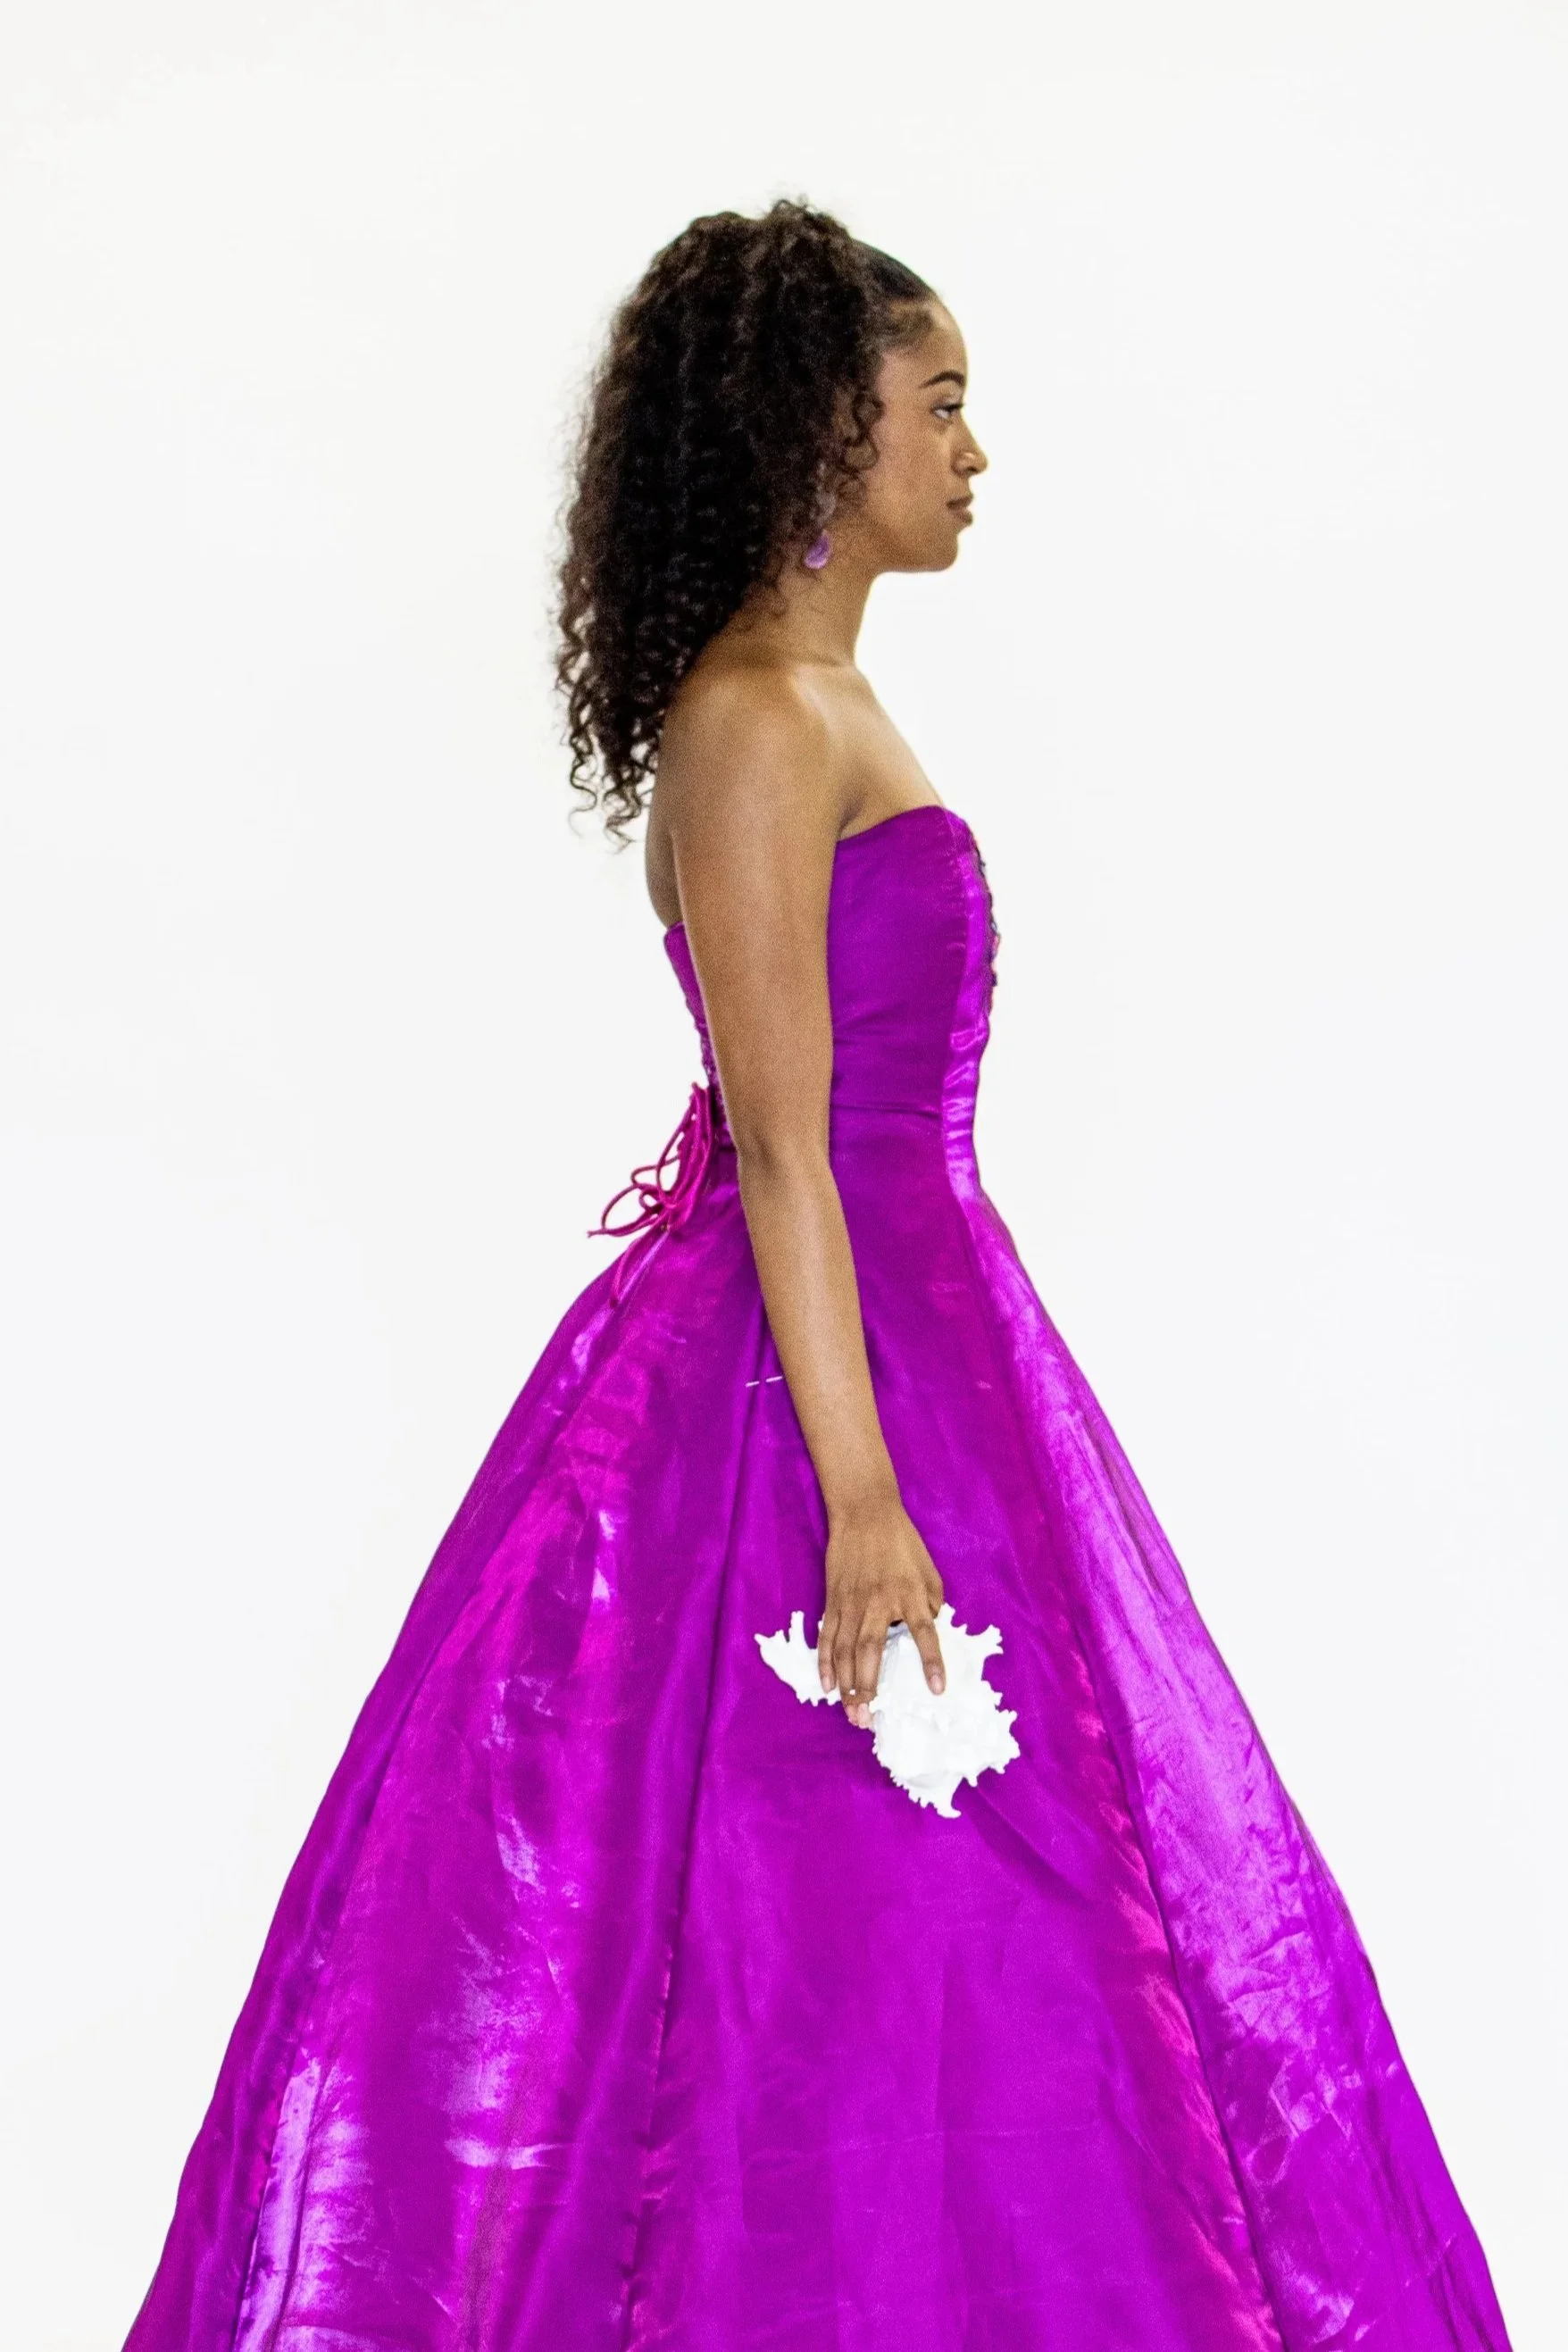
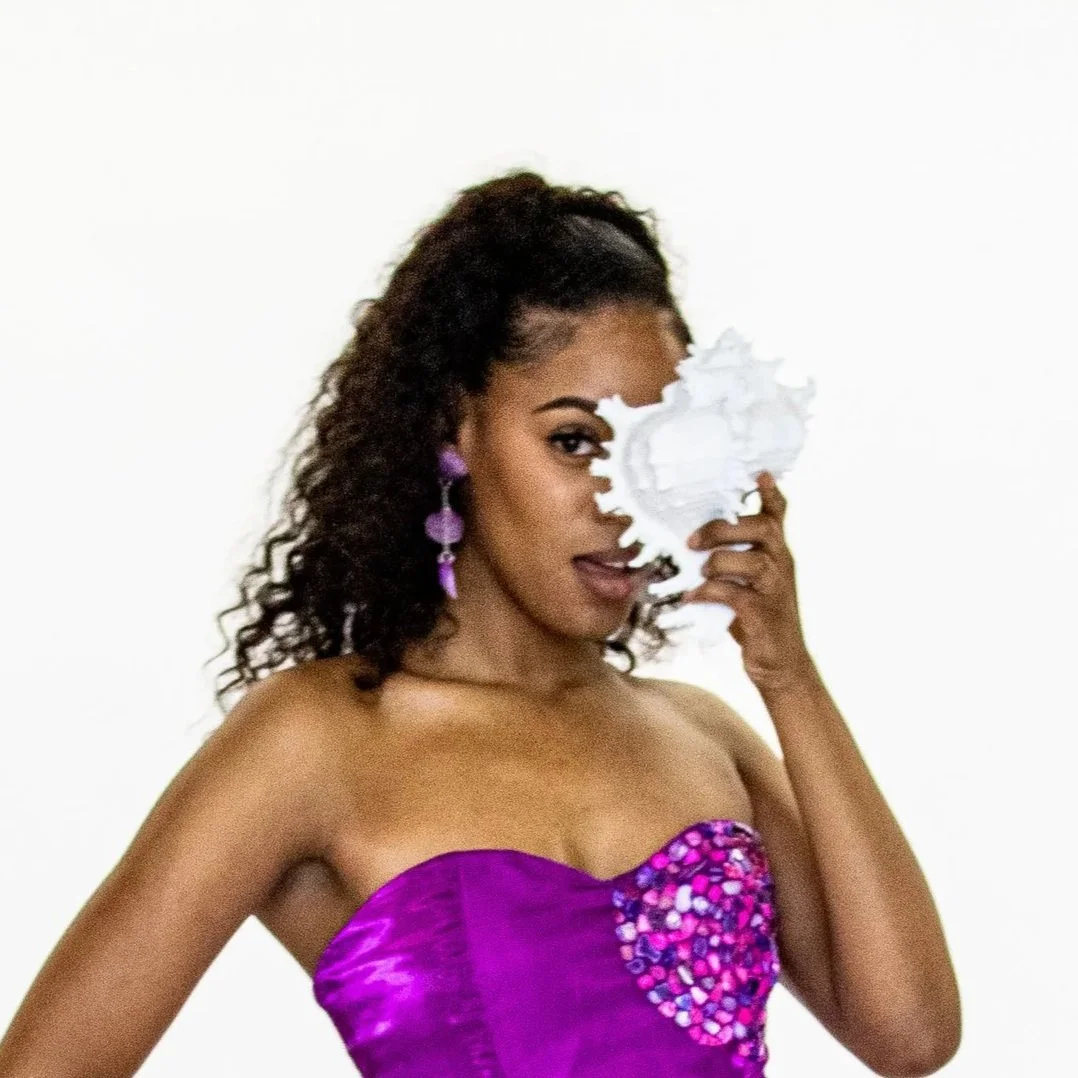
Inspired by contemporary 3D-printed product designs, I wanted to create a sculptural, functional clutch.
Designed in the shape of a Murex shell tying back to theme
Styled as a “shellphone,” allowing the wearer to playfully “speak to the ocean.”
PRINTING THE SHELL
MUREX SHELL SKETCH
FINAL PRODUCT
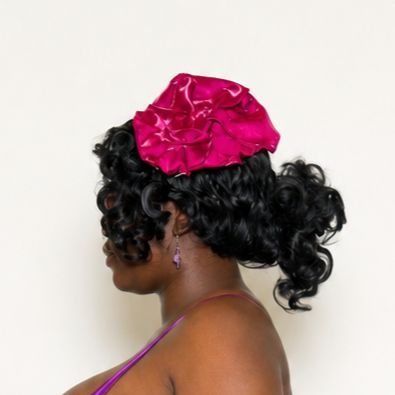
SHELL INSPIRED BERET
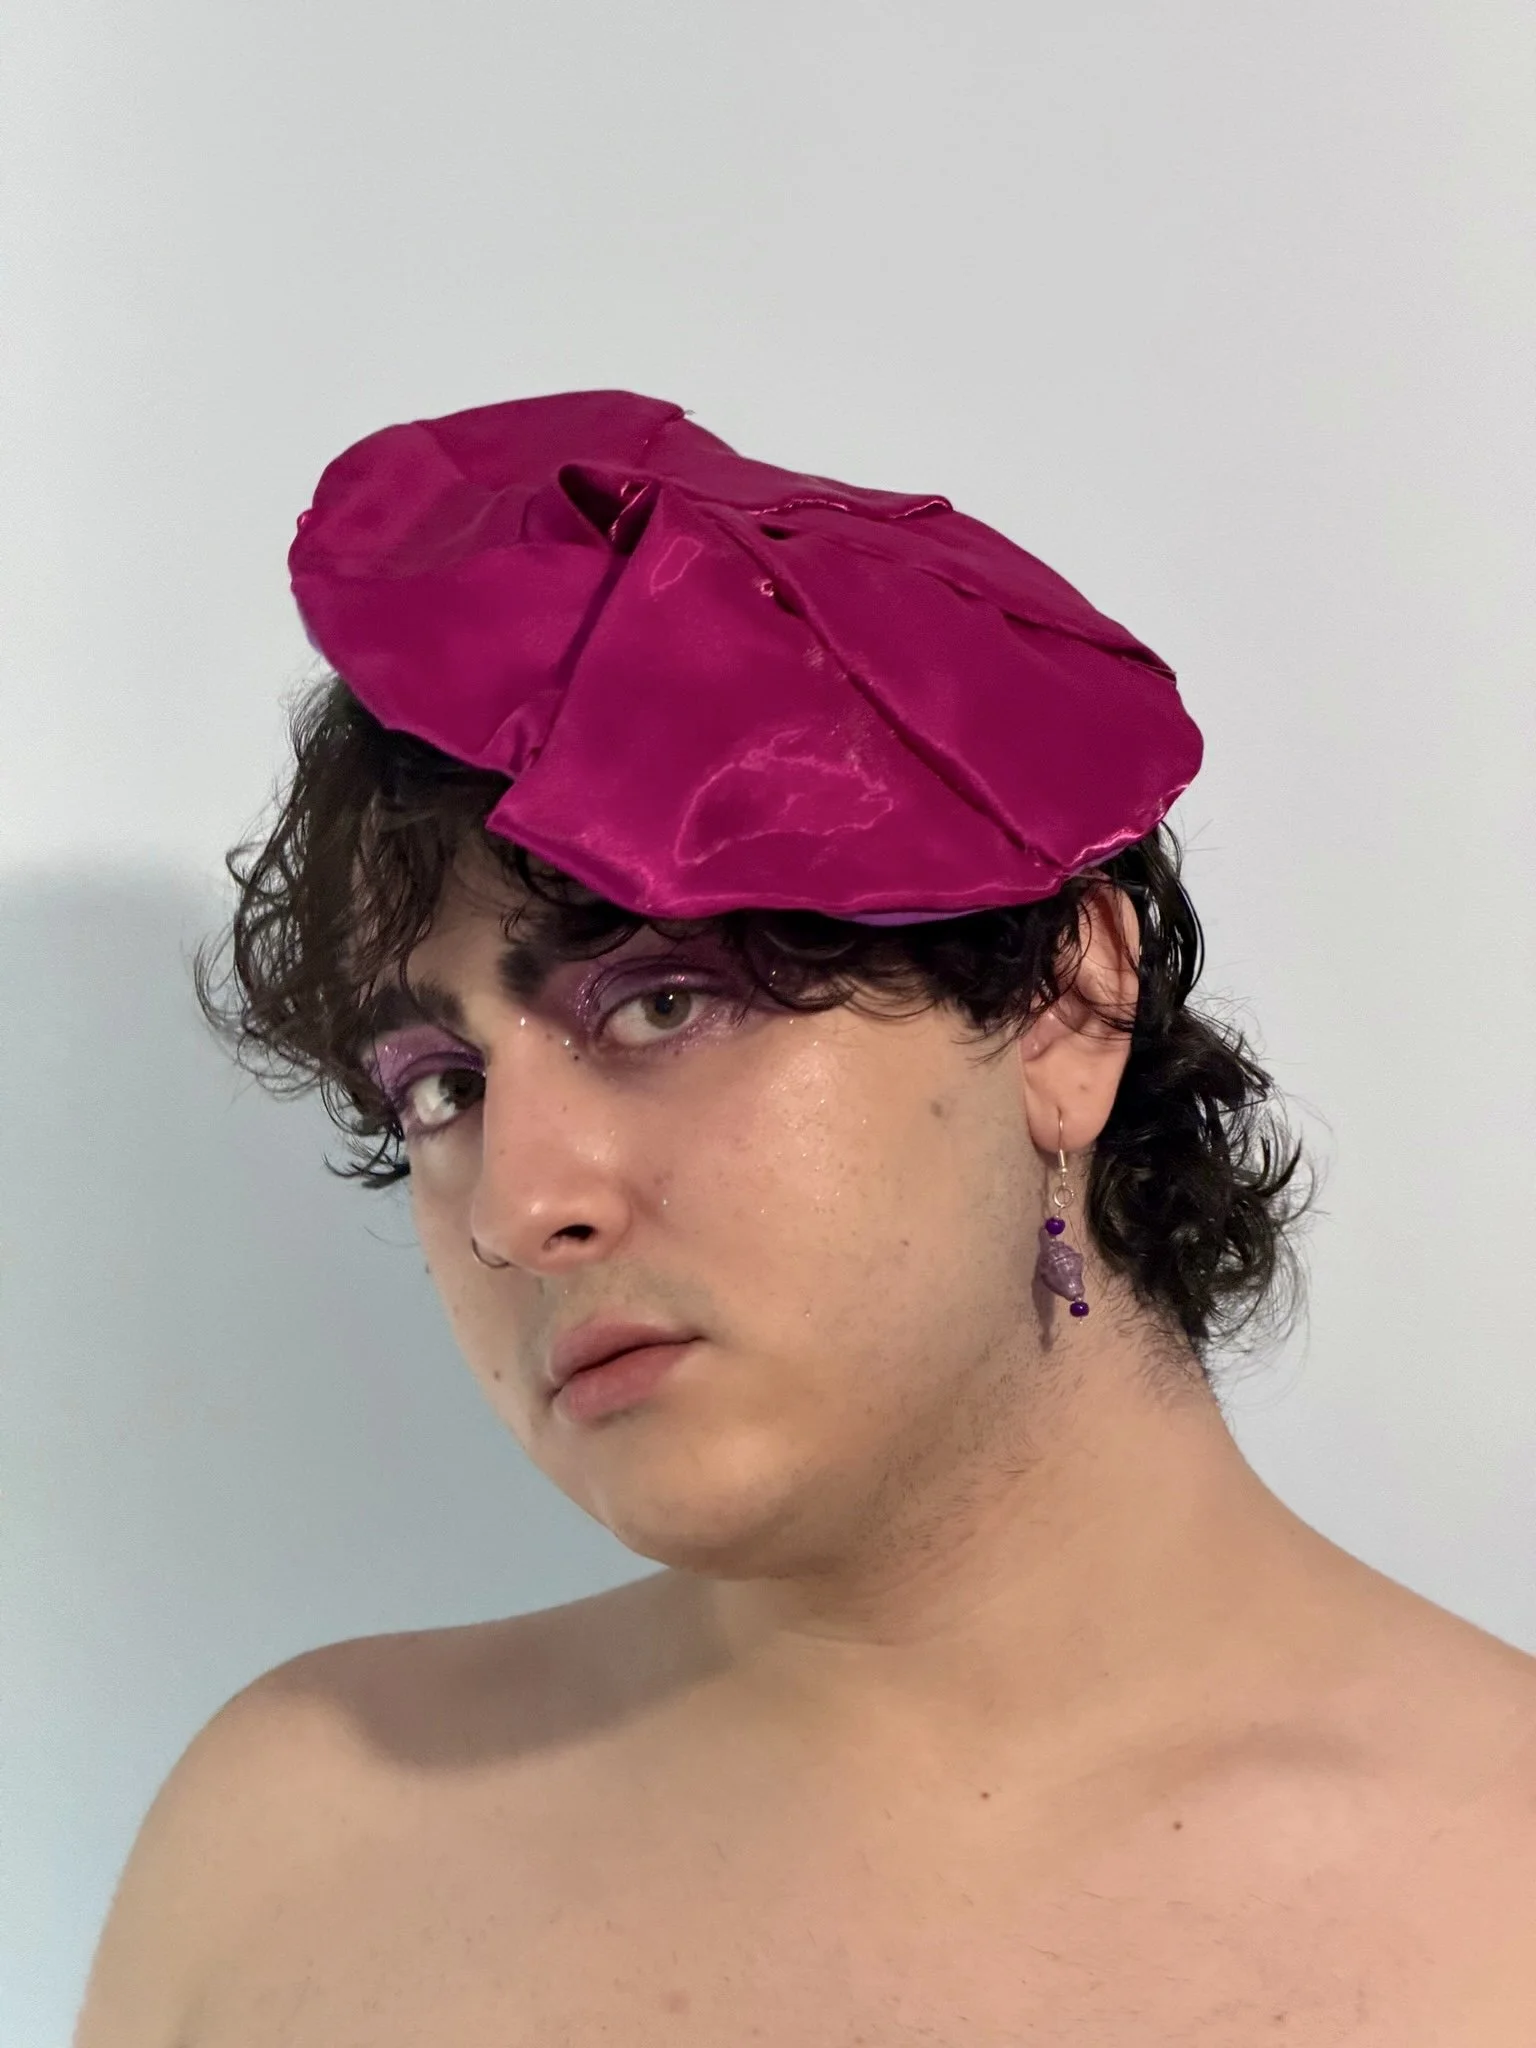
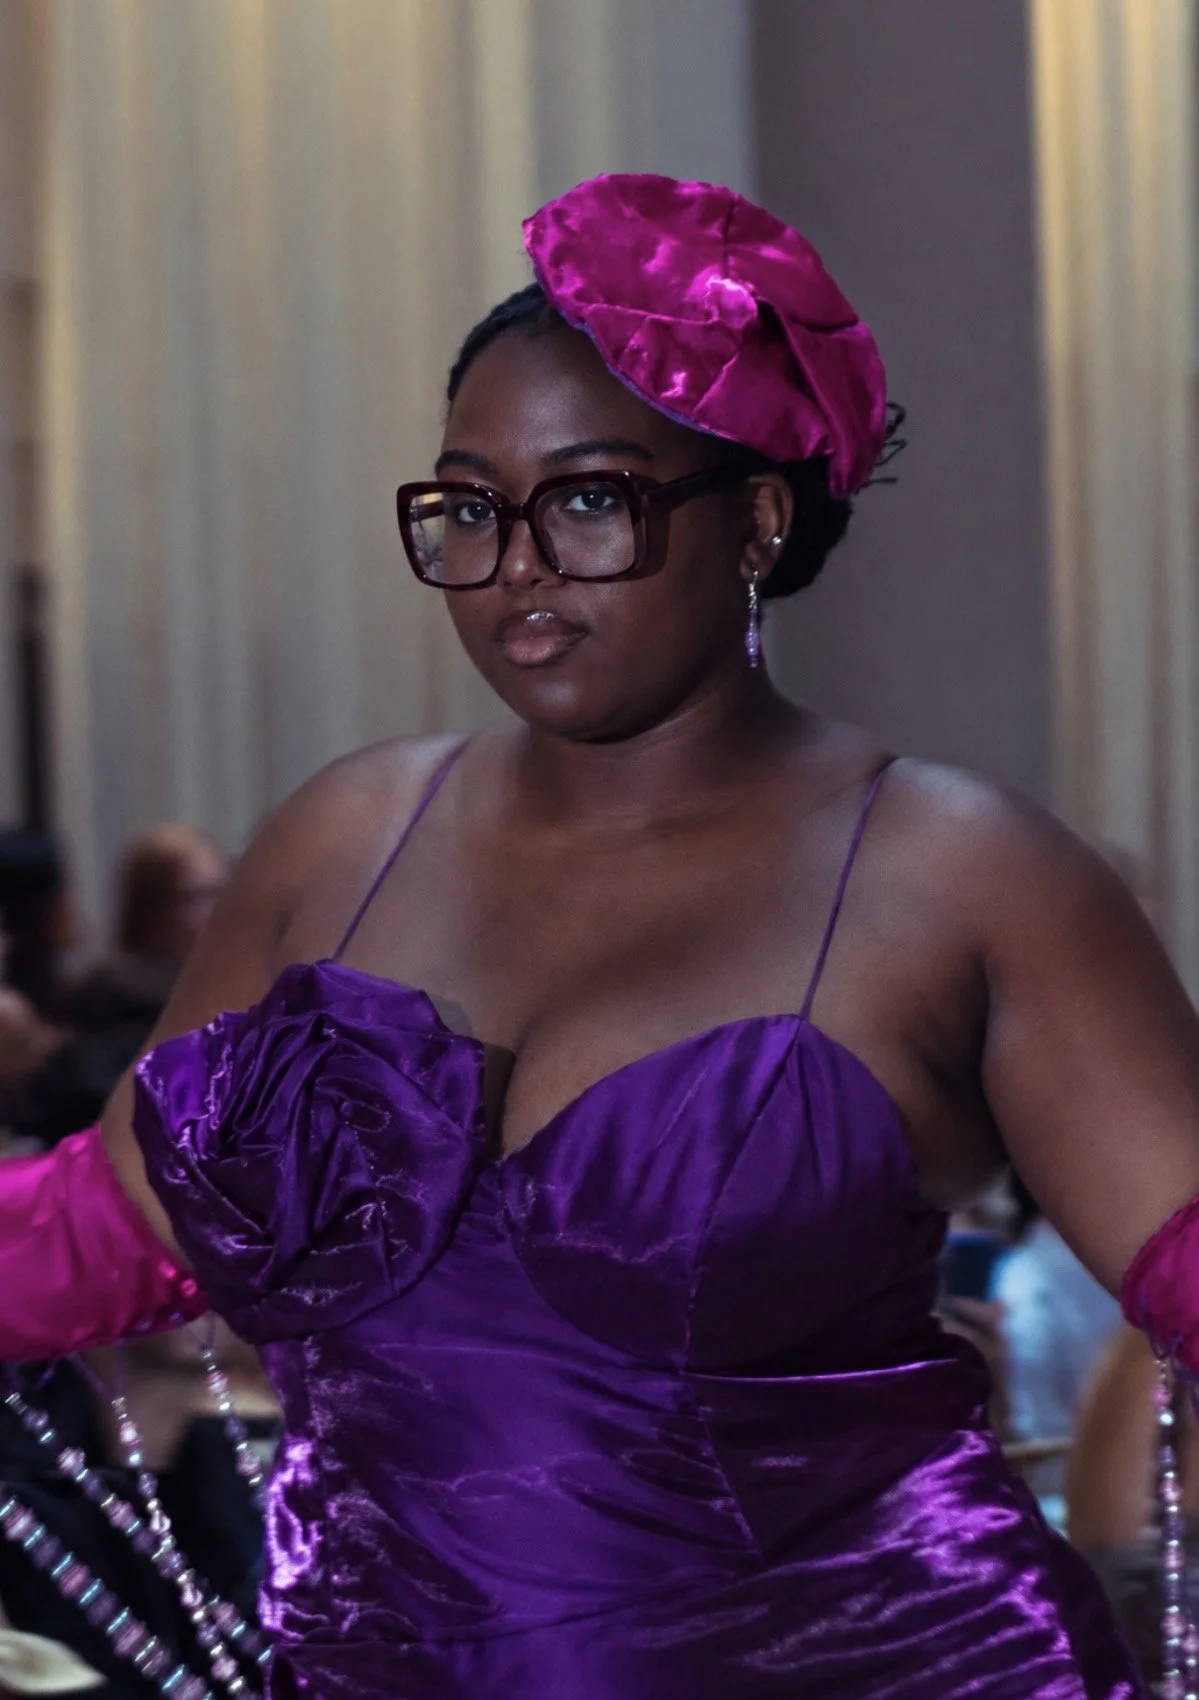
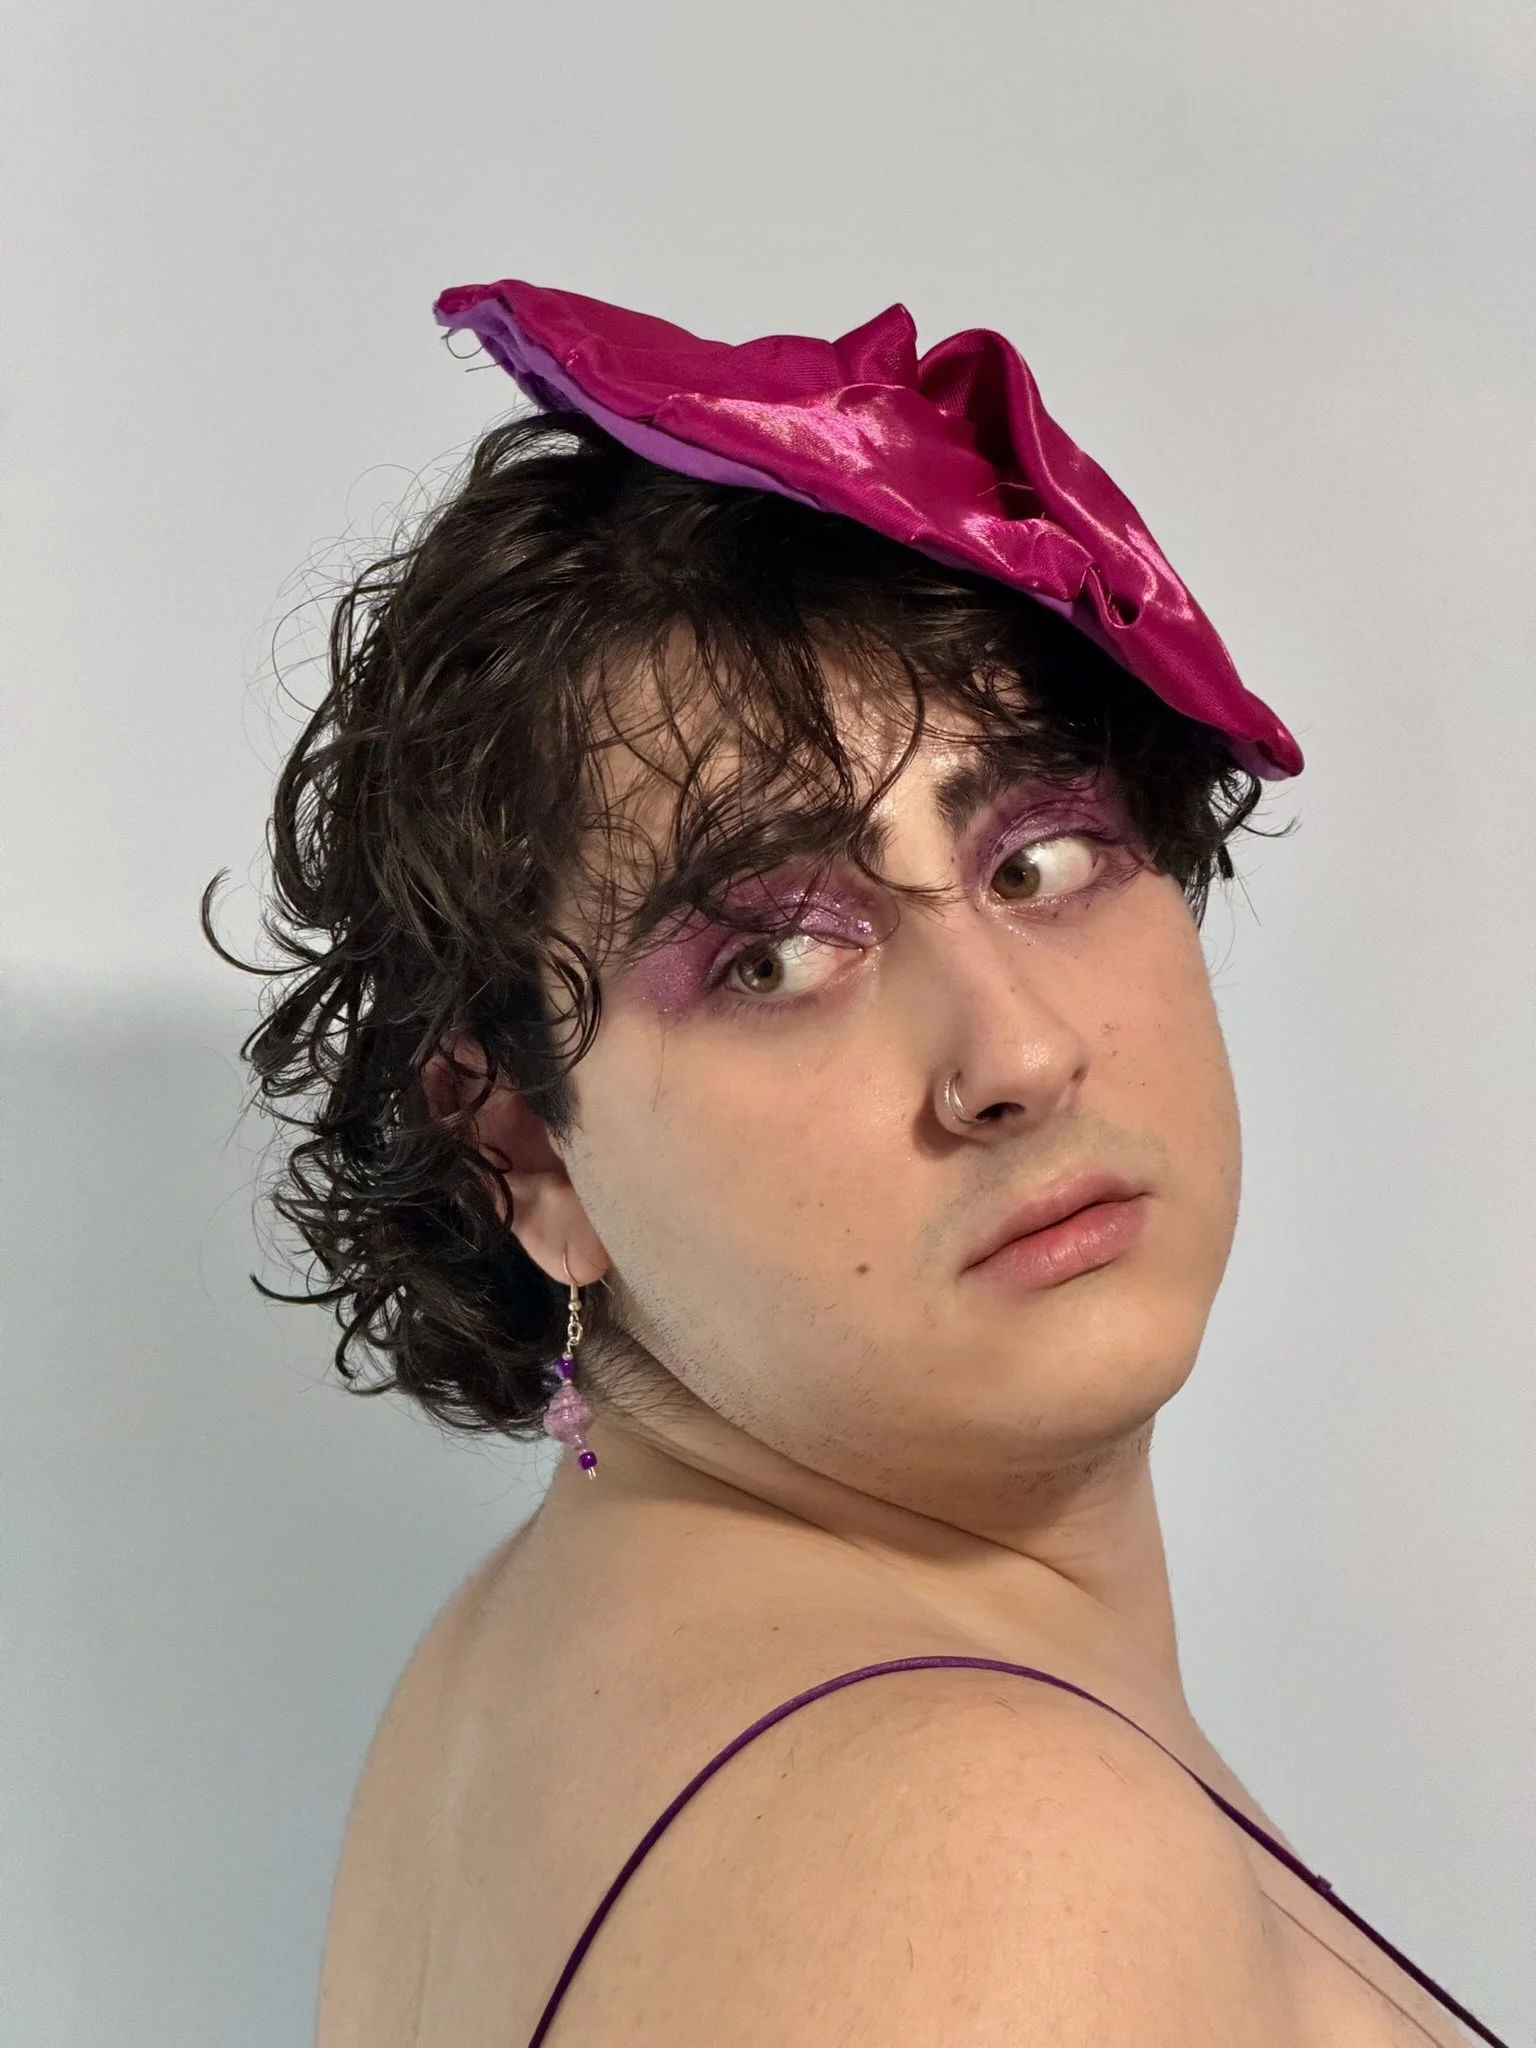
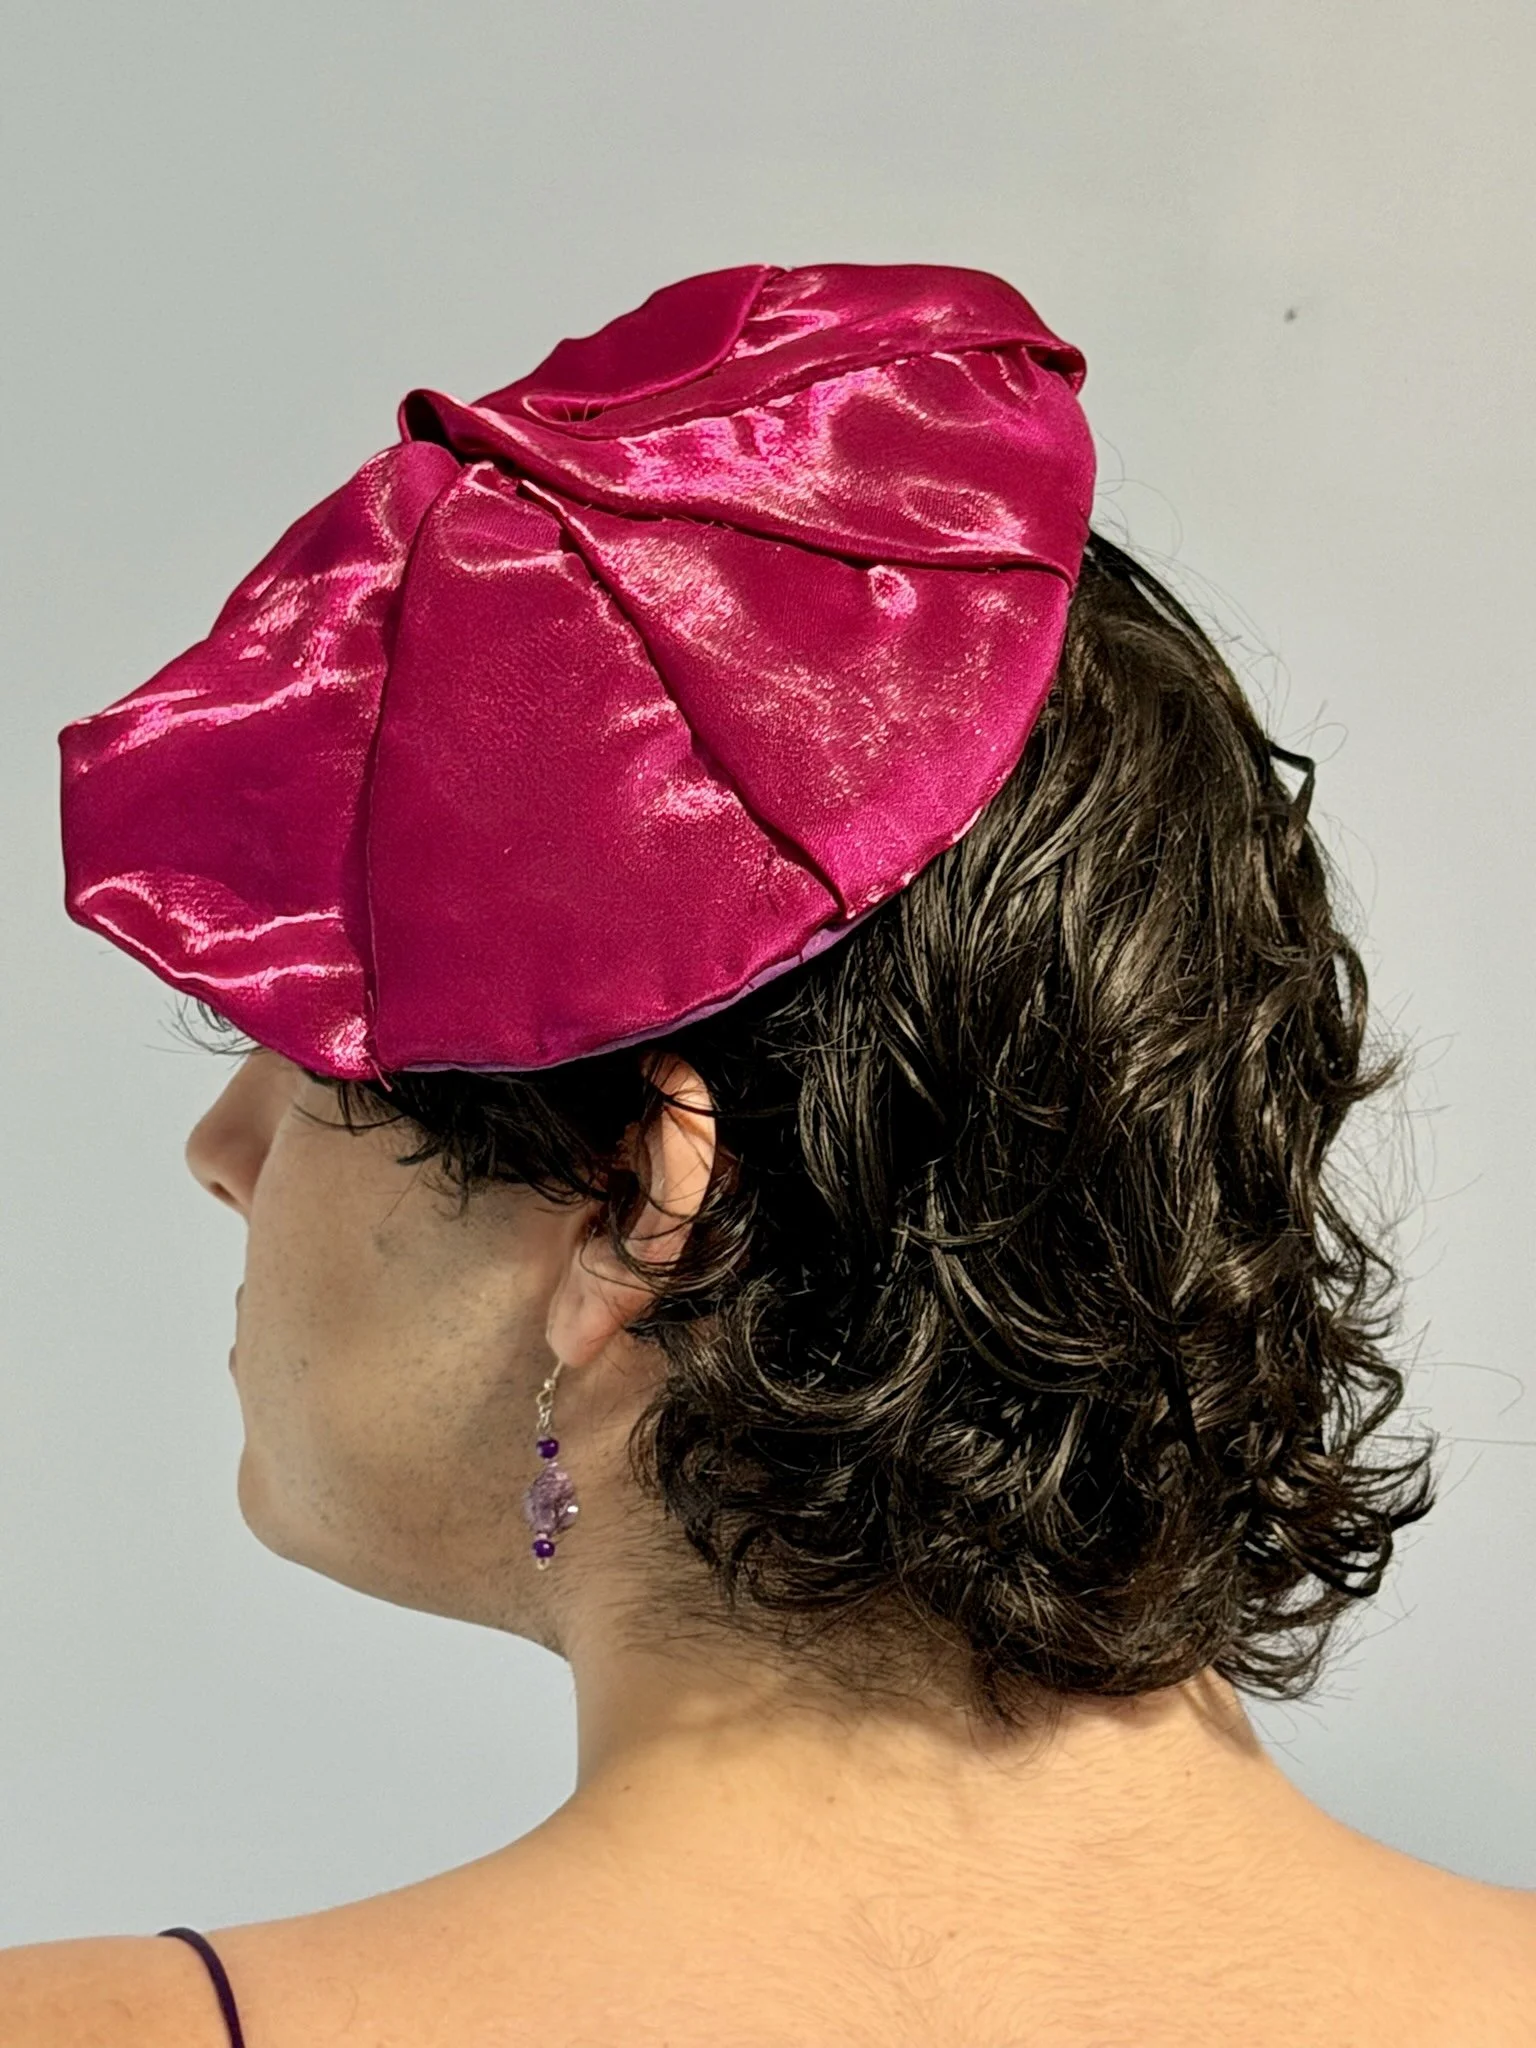
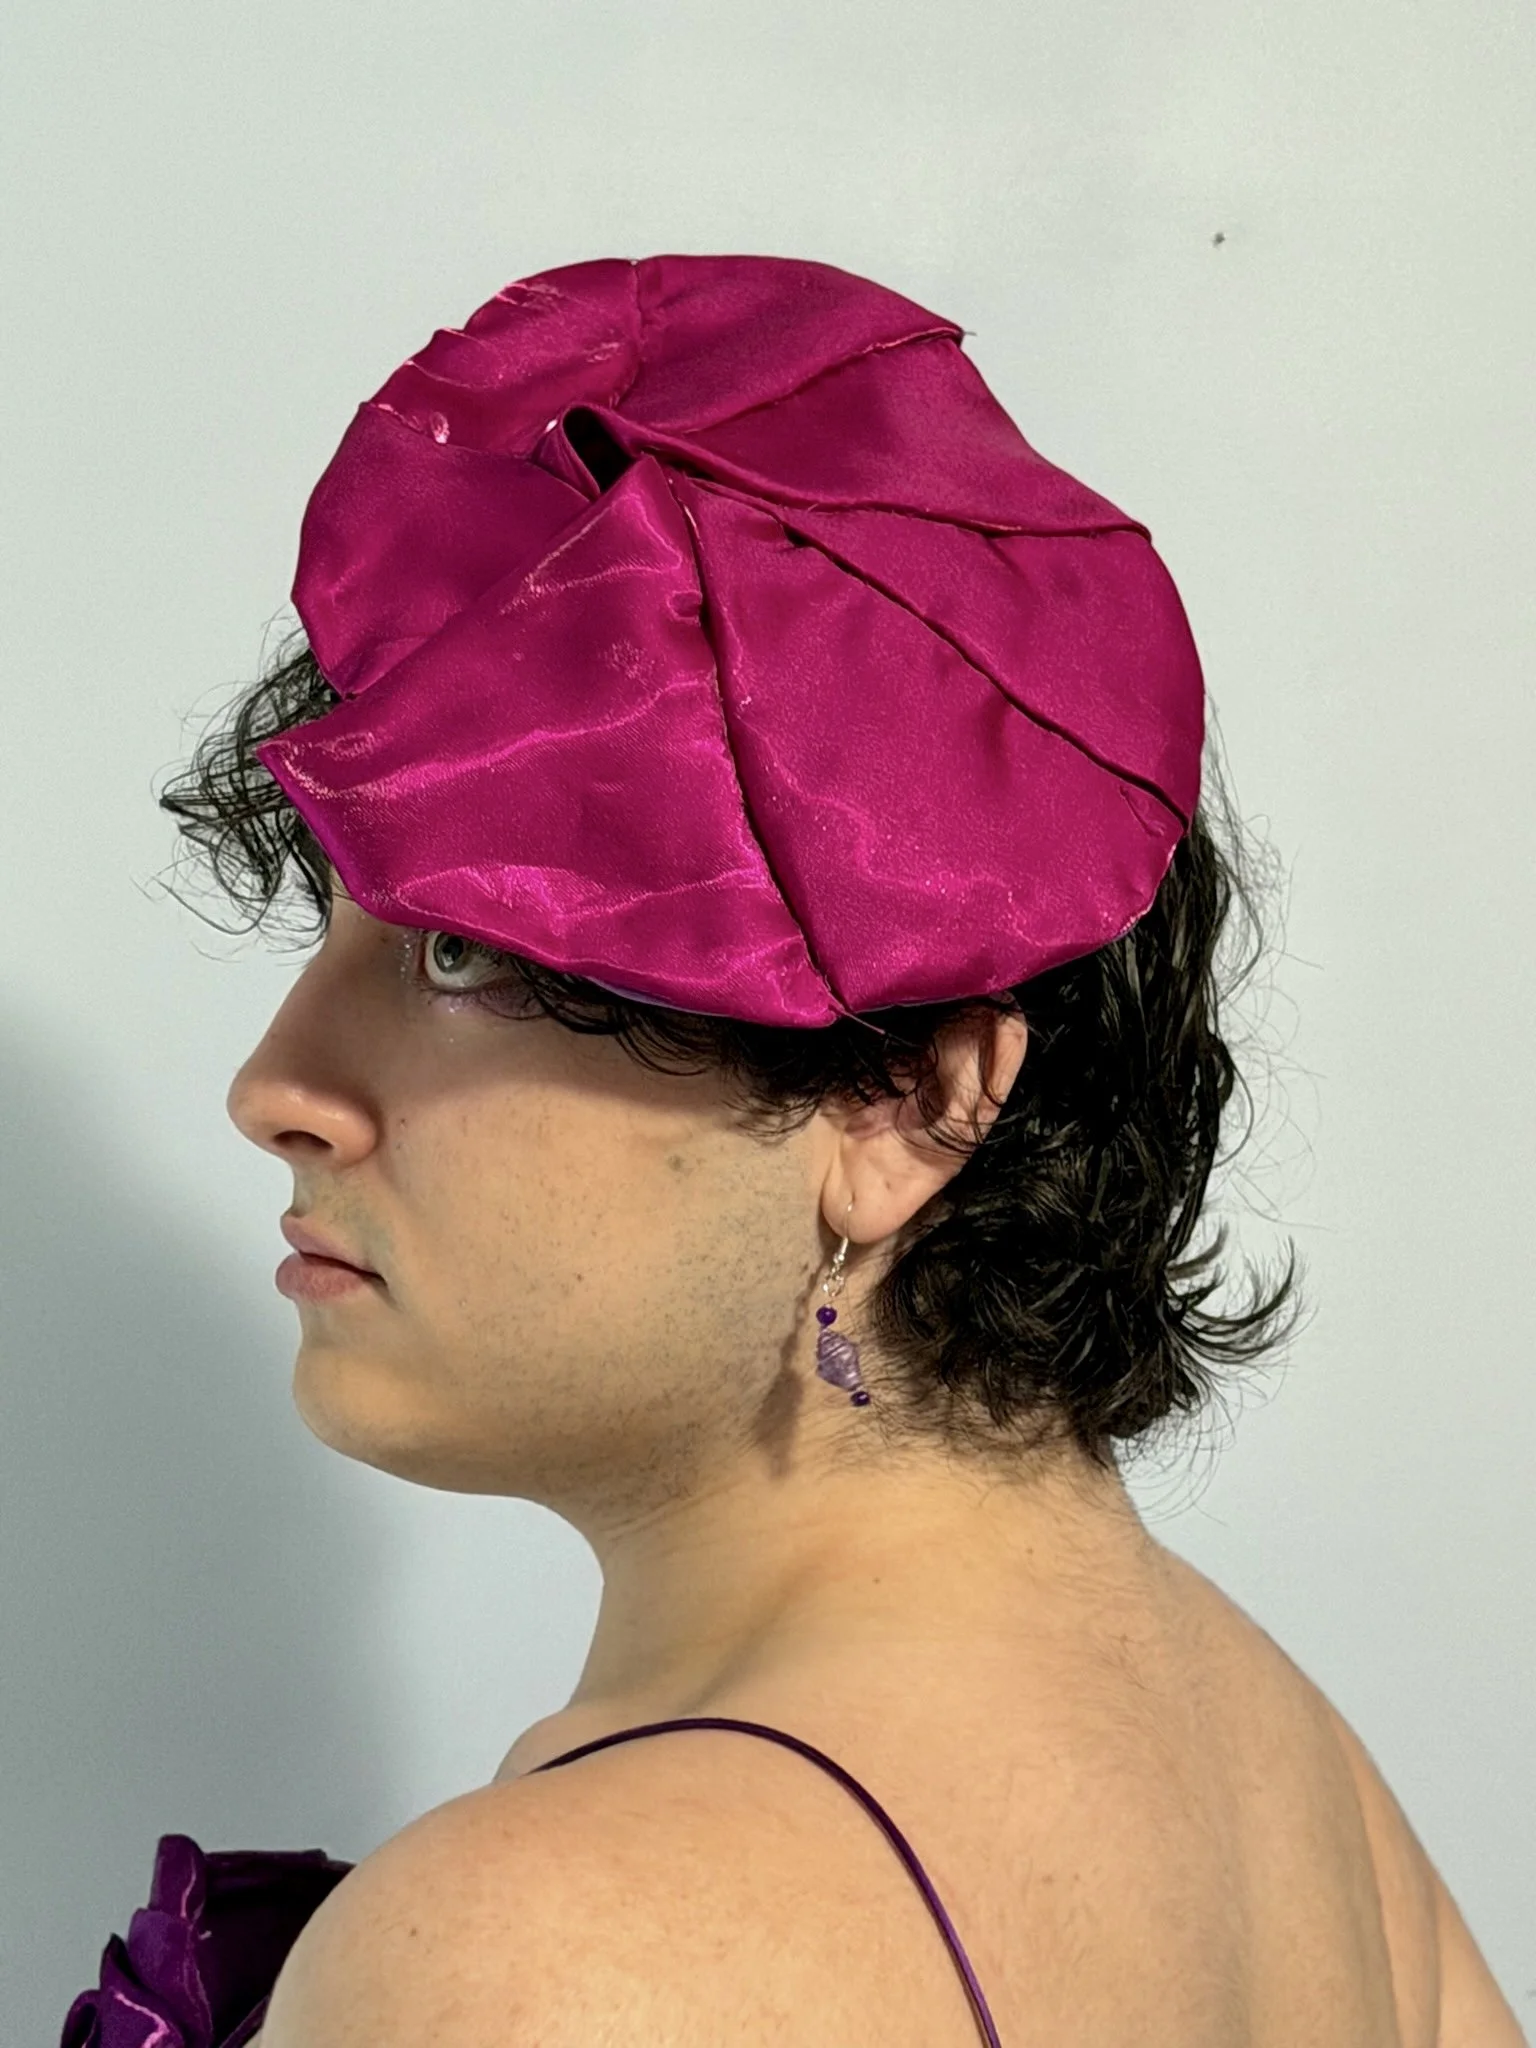
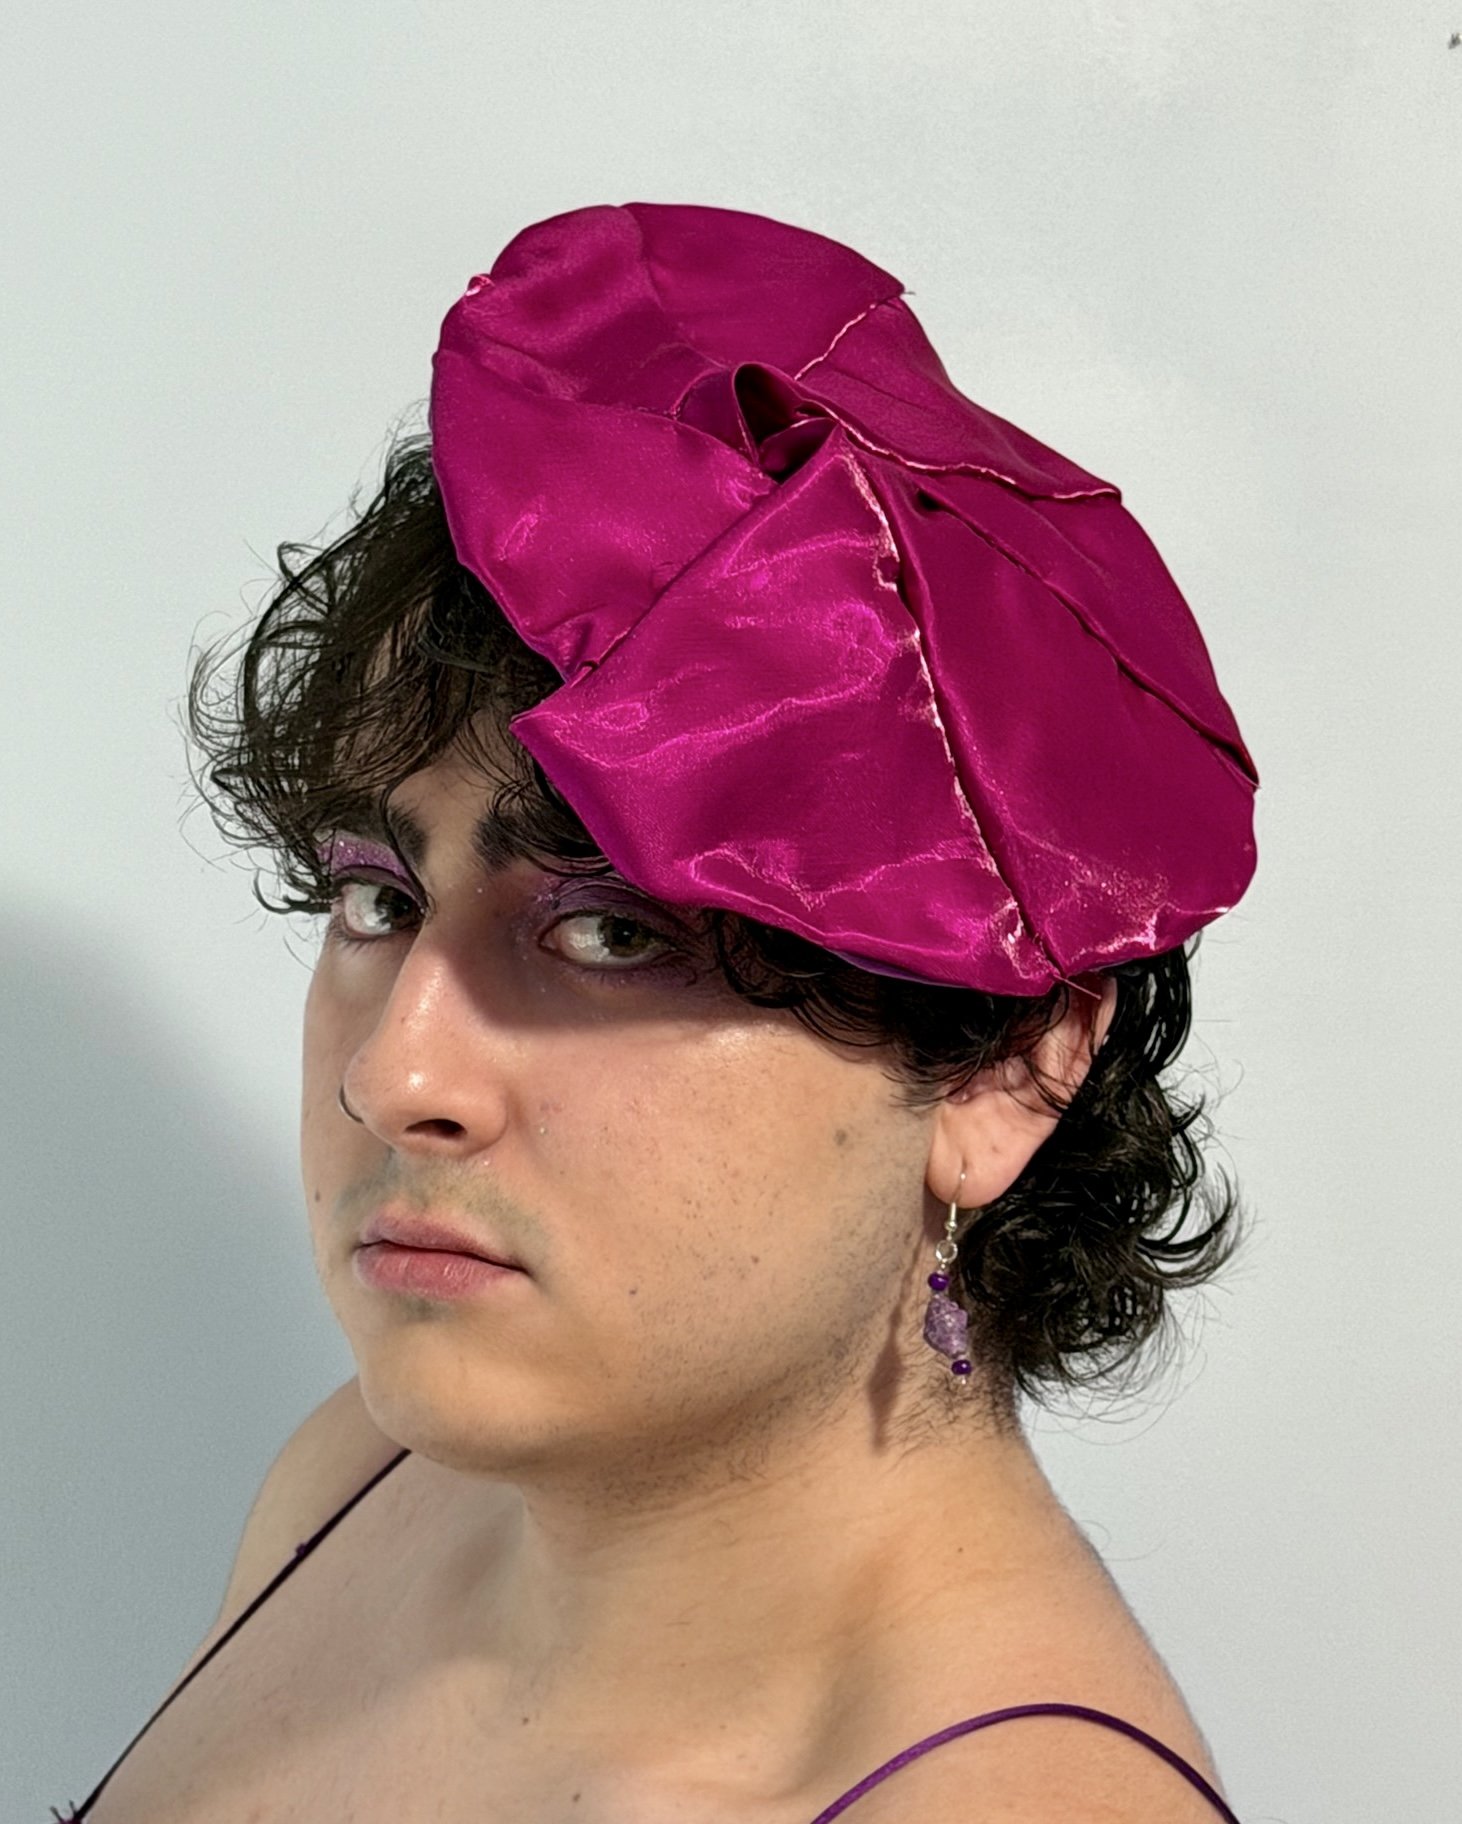
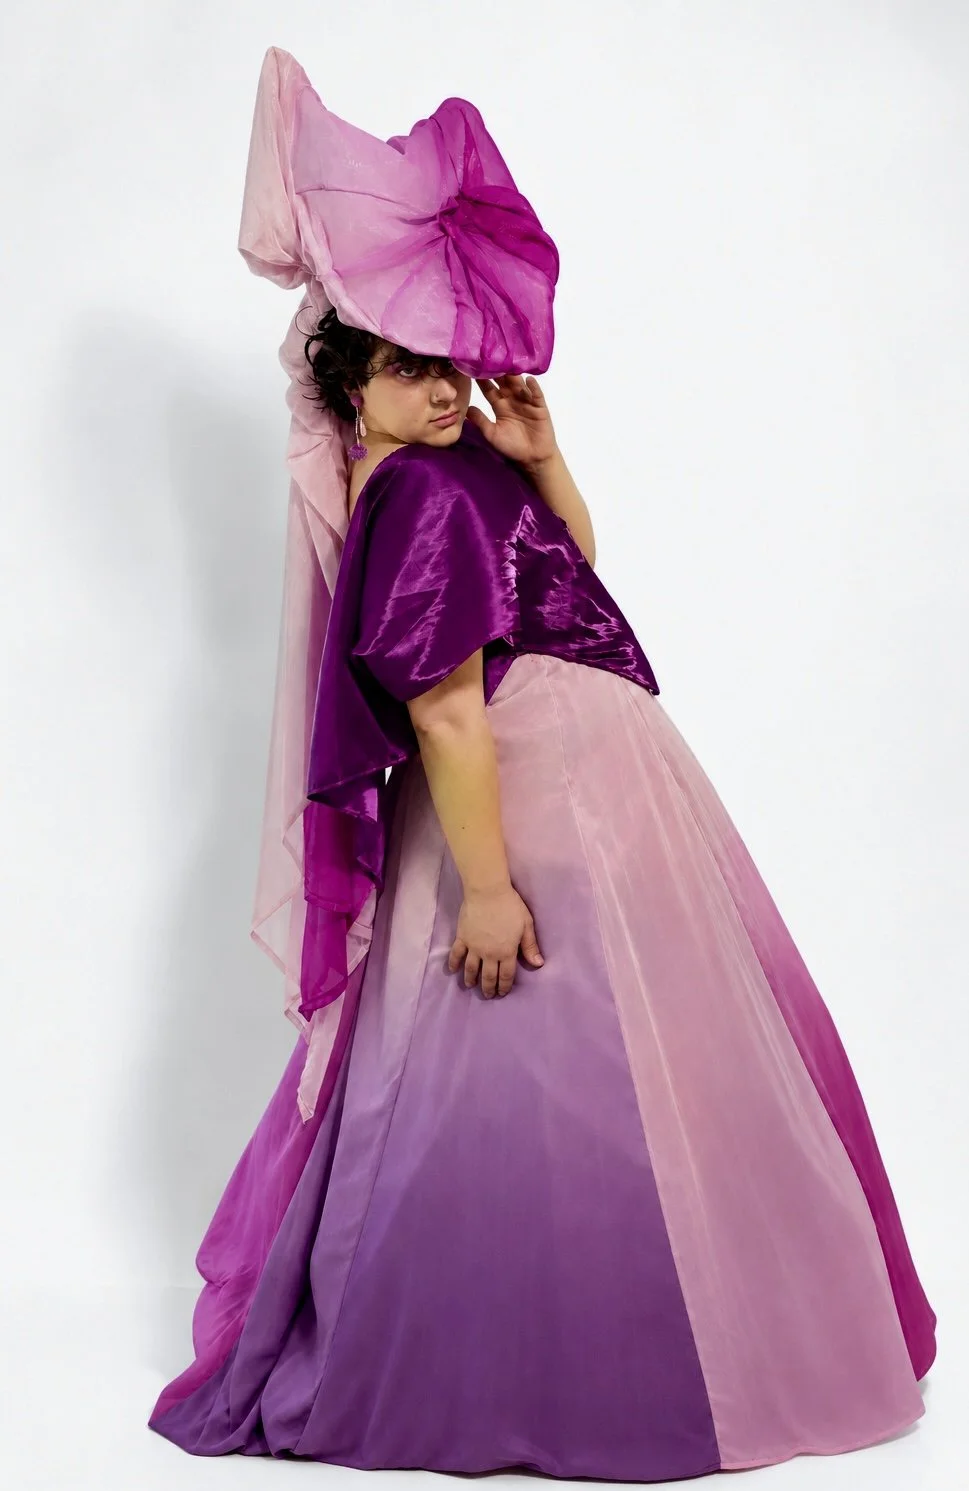
Inspired by the draping of the cup, I wanted to translate the same sculptural form into a seashell-inspired beret
Used liquid satin for the draped shell detail, with two layers of organdy and a Sinamay hat base to create the foundation
Reinforced the structure with hat wire and bias tape to improve stability
CONSTRUCTING THE BERET
INSTALLING HAT WIRE
INSIDE THE BERET
HAND SEWING PLEATS
FINAL PRODUCT
FIRST DRAFT
FINGERLESS GLOVES WITH BEADED STRANDS
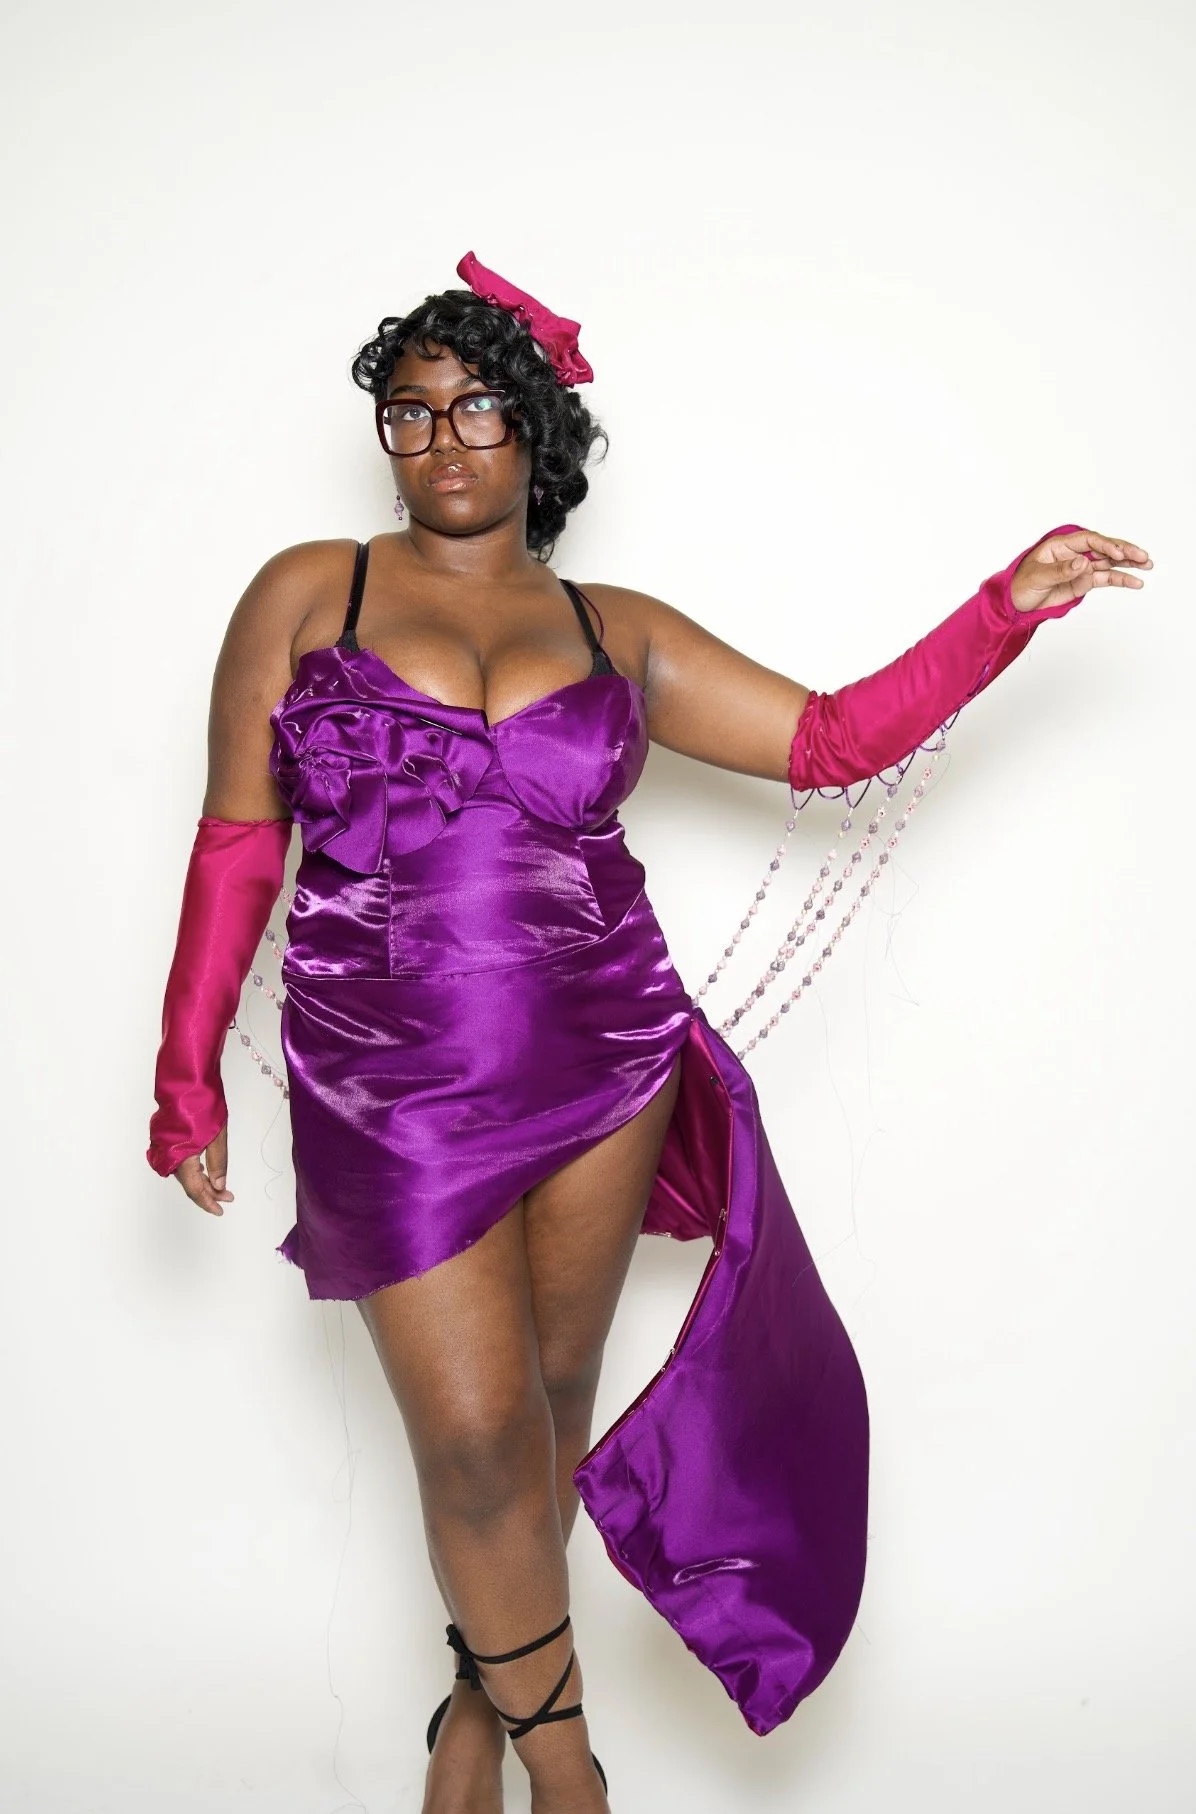
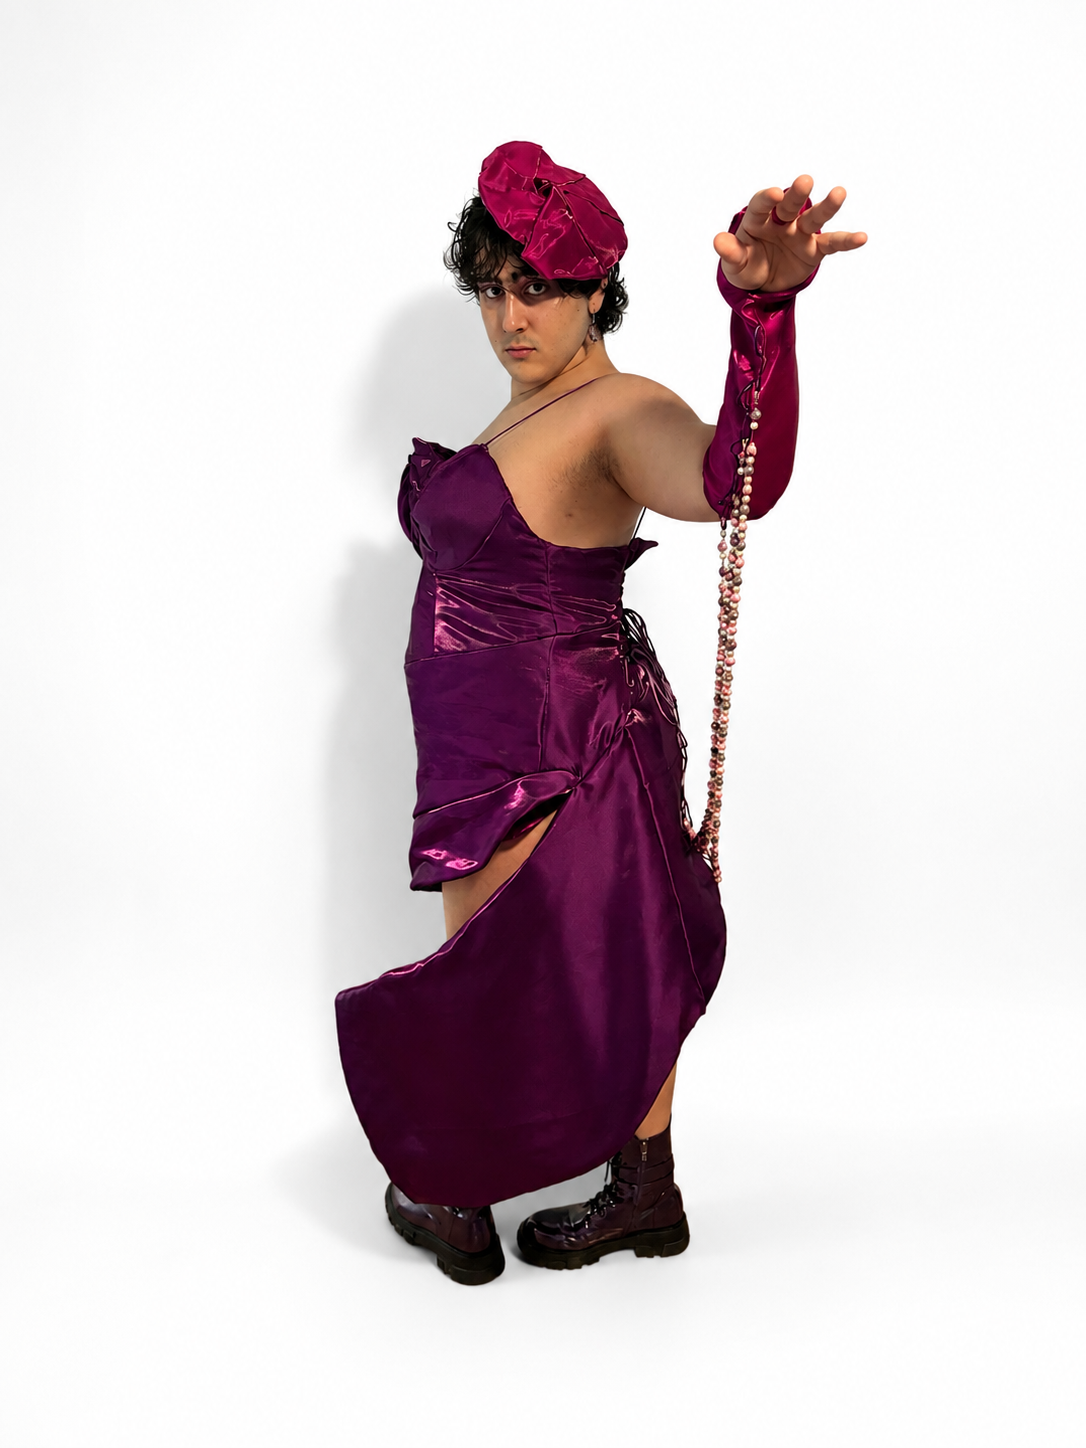
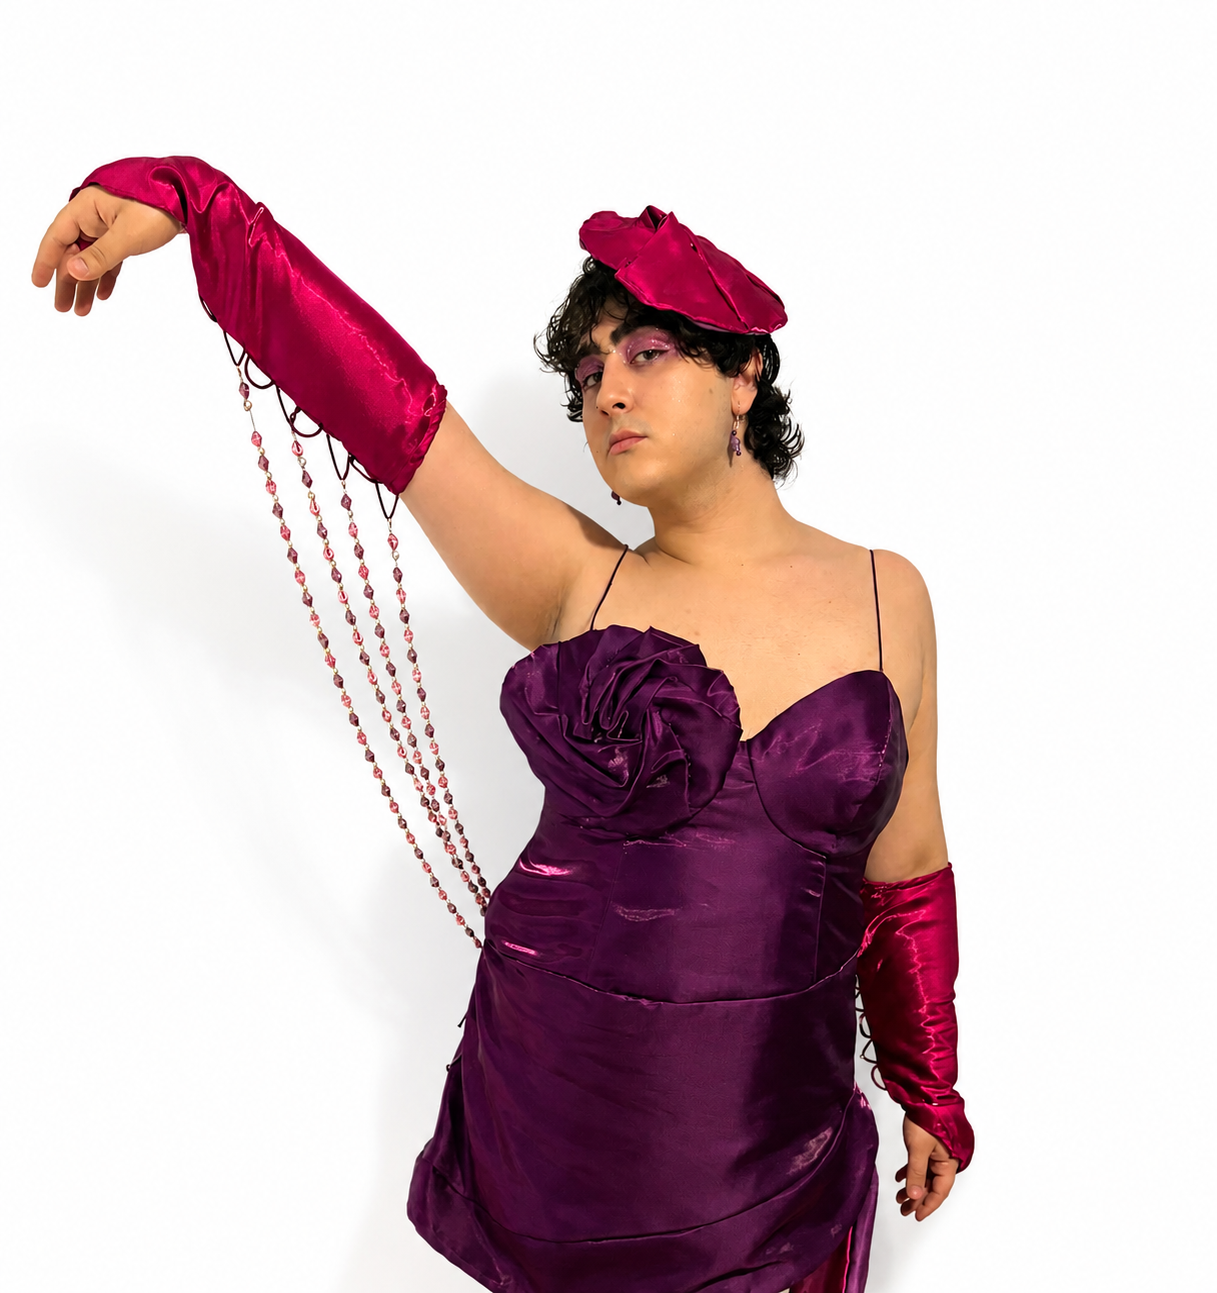
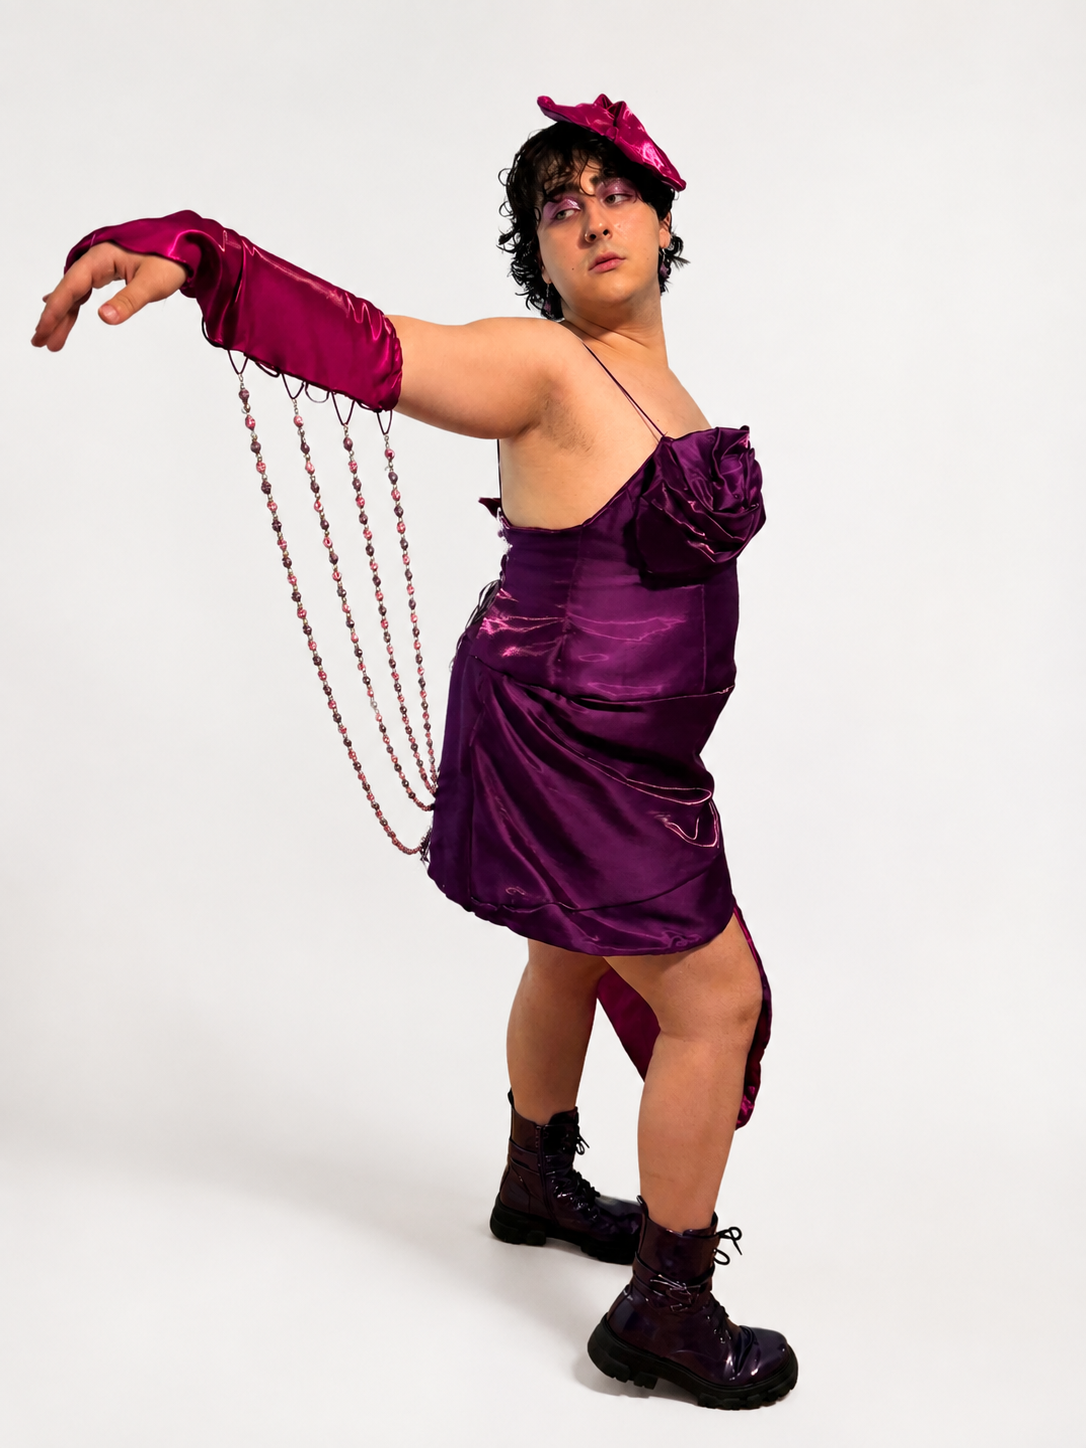
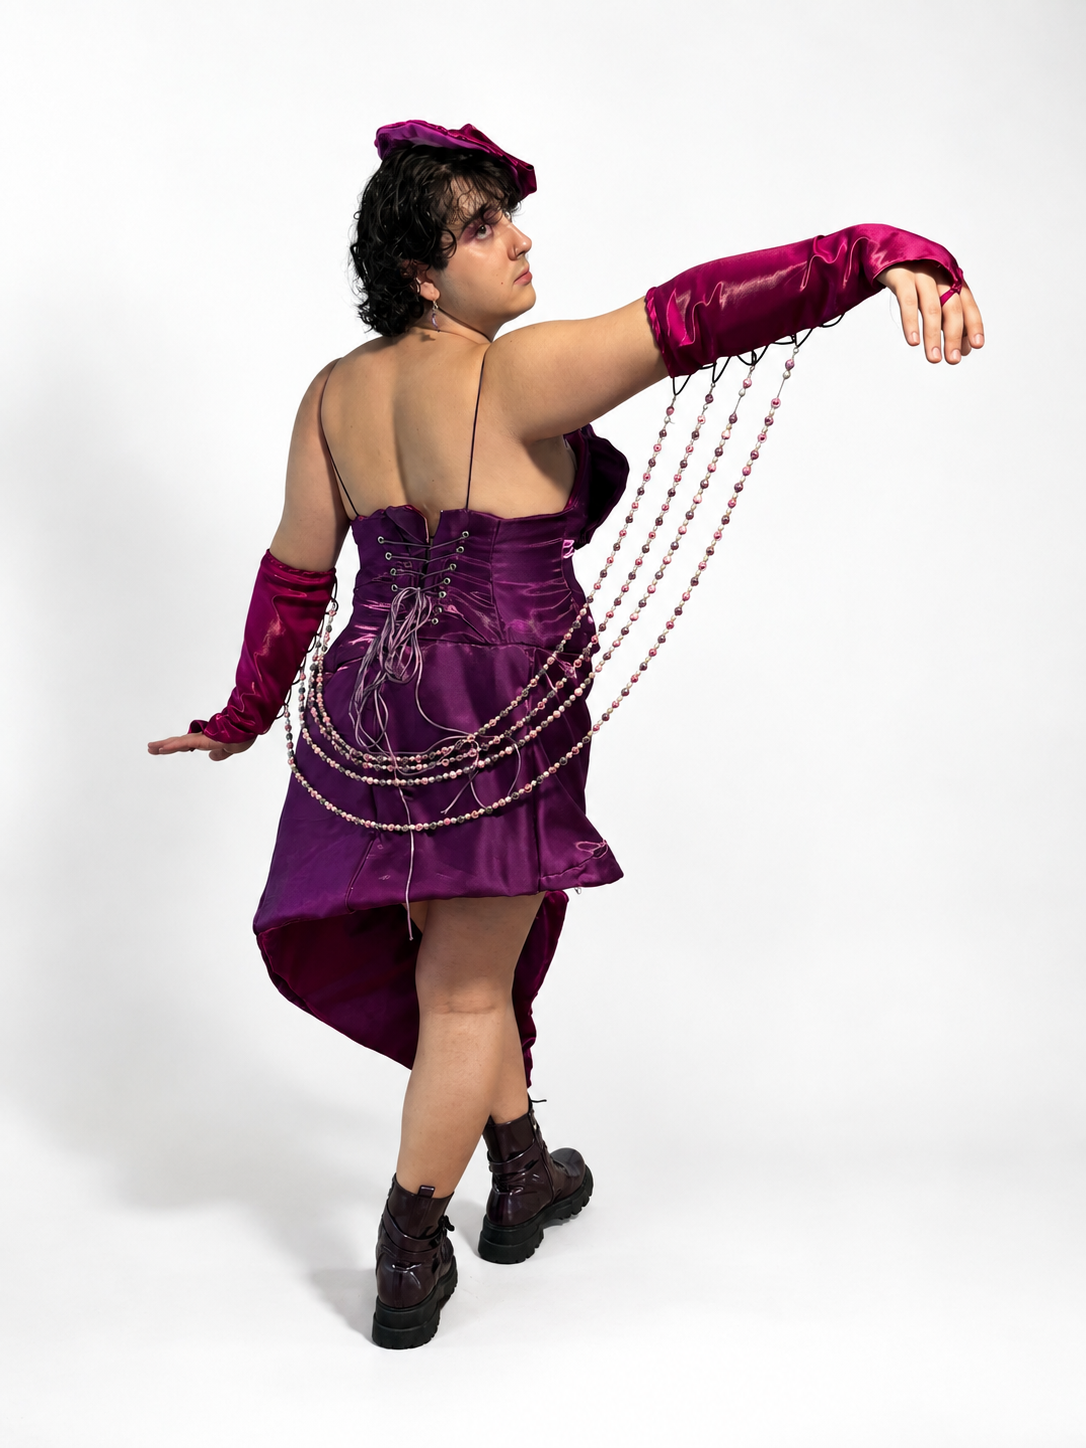
Through further exploration, I wanted to make the beaded strands detachable for easier transportation and greater versatility, allowing the wearer to style the ensemble with or without the beads
Created the strands using nylon cording, 3mm Czech glass conch shell beads, iridescent pearls, lobster claws, and crimp beads
Used an alternating bead pattern to add dimension and tie together the colors of the ensemble
Explored additional ways to incorporate the strands, including necklaces and back detailing
Further developed the concept by creating a body harness and draping a dress around it, using the beading as closures and straps to support the garment
This process sparked further interest in combining garment construction with hardware and jewelry-making techniques
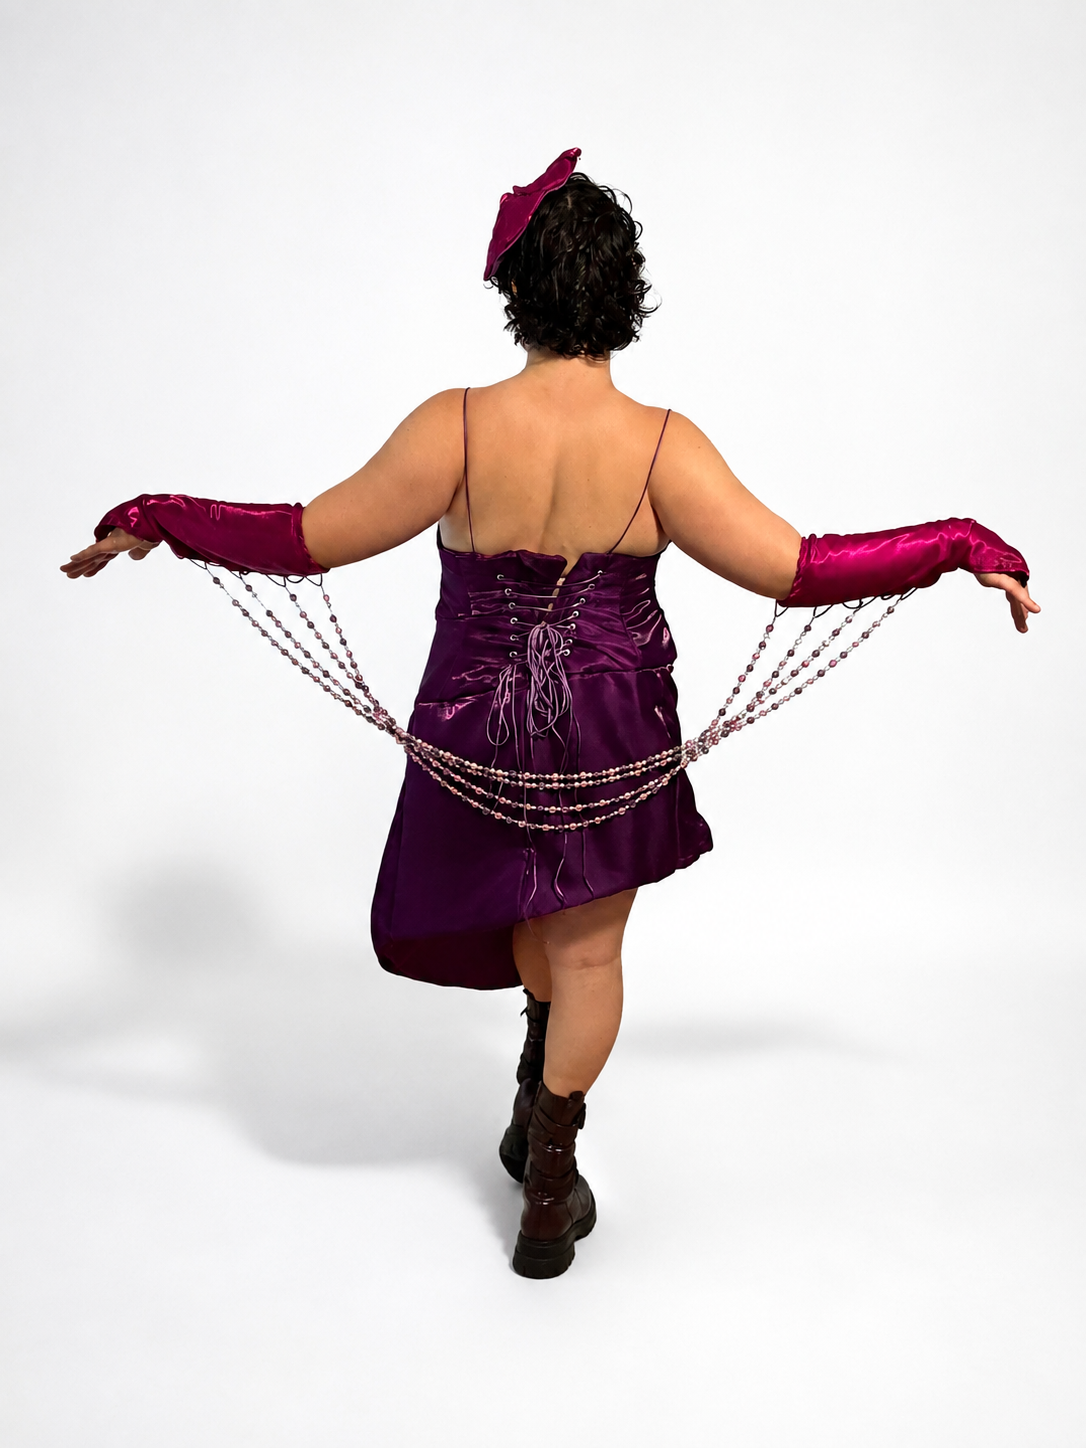
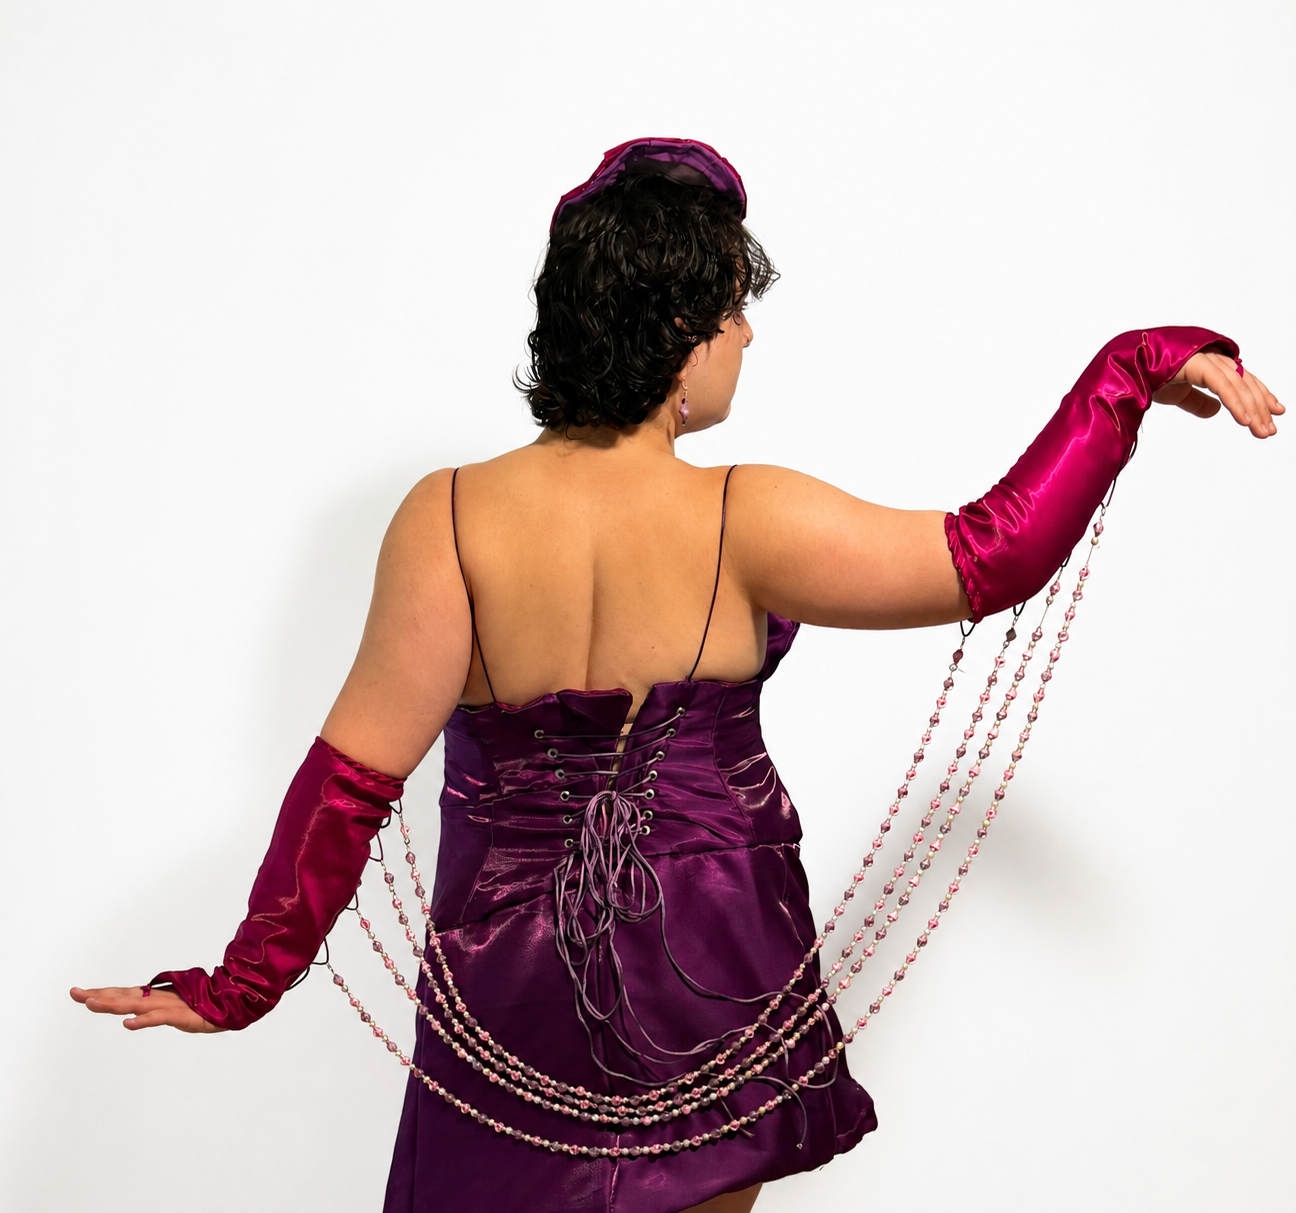
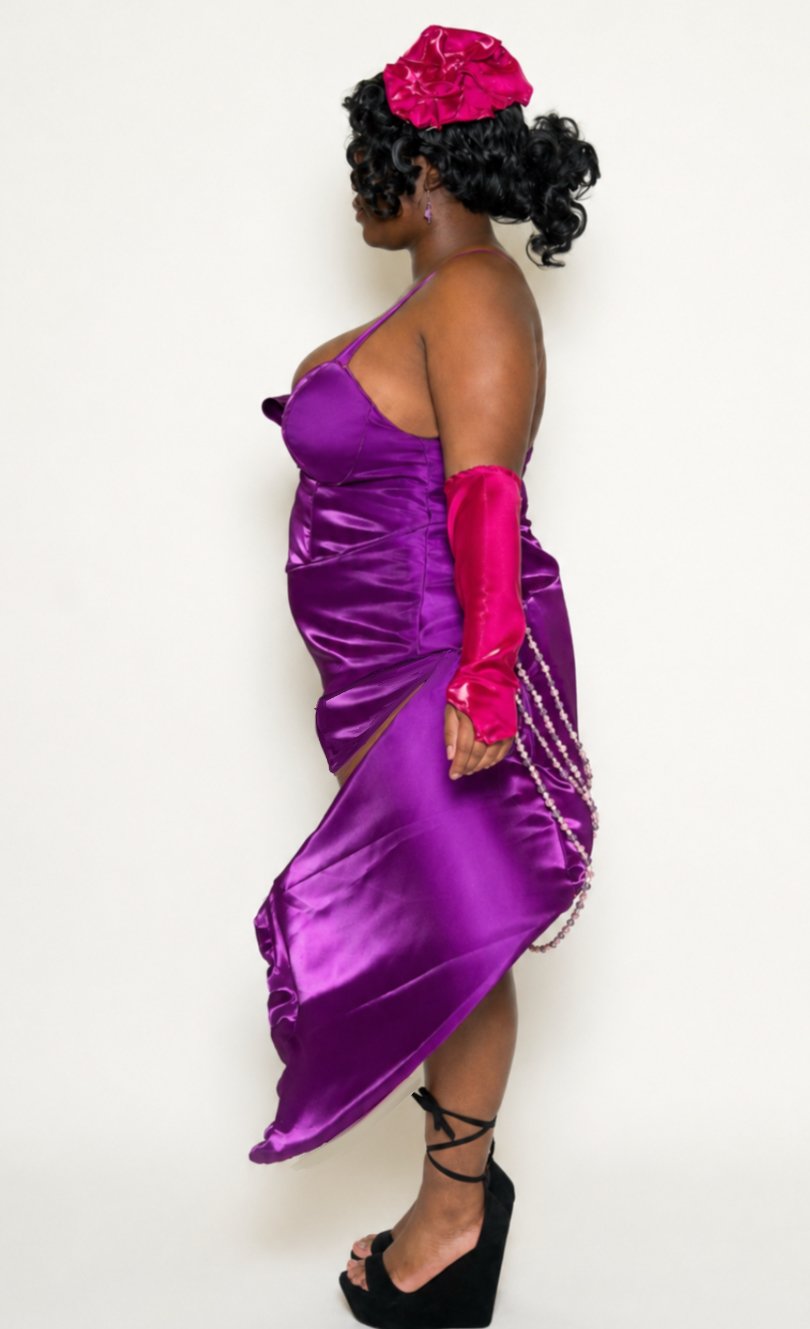
My goal was to create a pair of burlesque-inspired gloves with my own sense of flair My goal was to create burlesque-inspired gloves with my own sense of flair while connecting to the collection’s overall theme
Originally planned traditional gloves, but pivoted to a fingerless design due to the challenges of using non-stretch fabric
Secured the gloves around the middle finger and added elastic to keep them in place against the weight of the beaded strands.
Added scalloped lacing to allow the strands to attach with lobster-claw closures
Designed a looser fit to accommodate a wider range of arms and create an organic, billowing silhouette.
Materials: liquid satin, ½-inch elastic, and Picard lacing
MAKING THE STRANDS
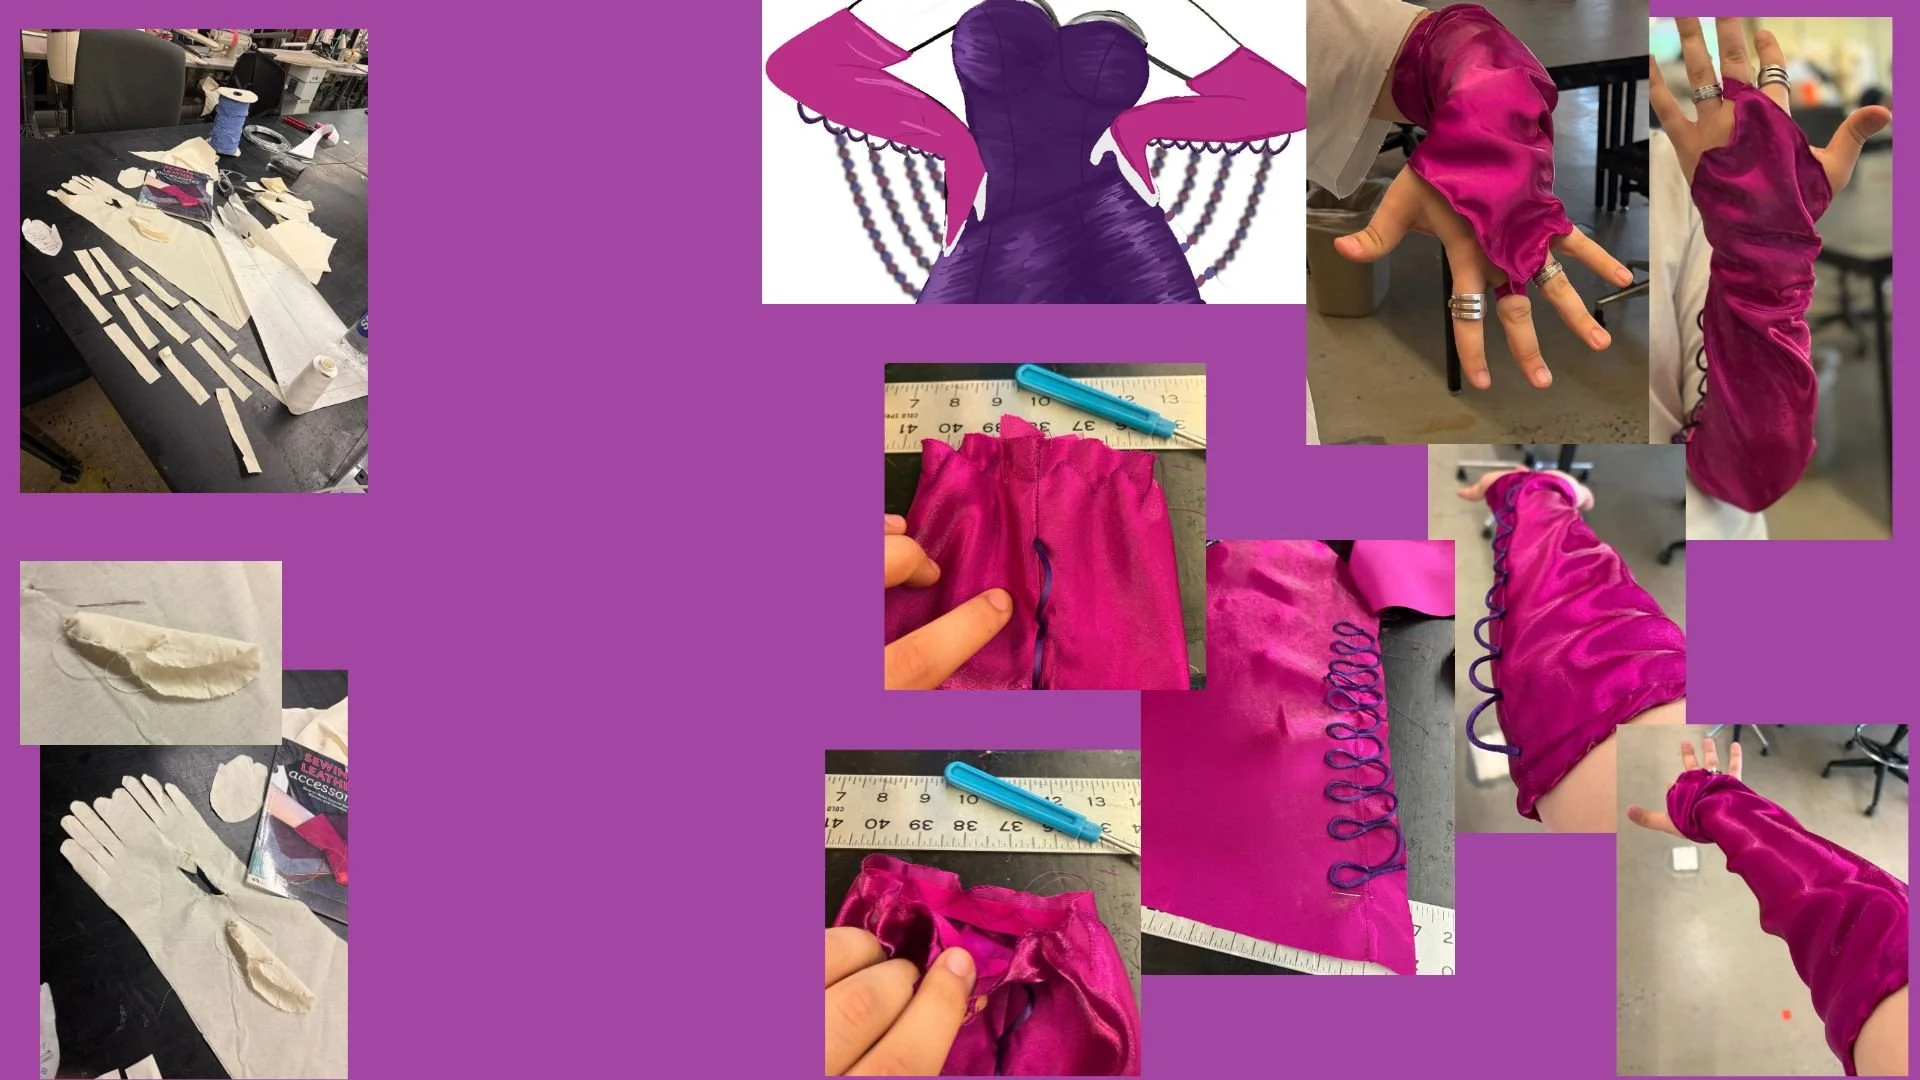
INITIAL SKETCH
INITIAL GLOVE PATTERN
ELASTIC AROUND MIDDLE FINGER
ZIG ZAG STITCH ELASTIC
FINAL PRODUCT
SCALPED LACE DETAIL (USED TO ATTACH BEAD STRANDS)
EXTENDED LOOK OF THE BEADED STRANDS
CLOSE LOOK AT BEADED STRANDS
MODELING THE GLOVES
EXTENSION PROJECTS WITH BEADED STRANDS
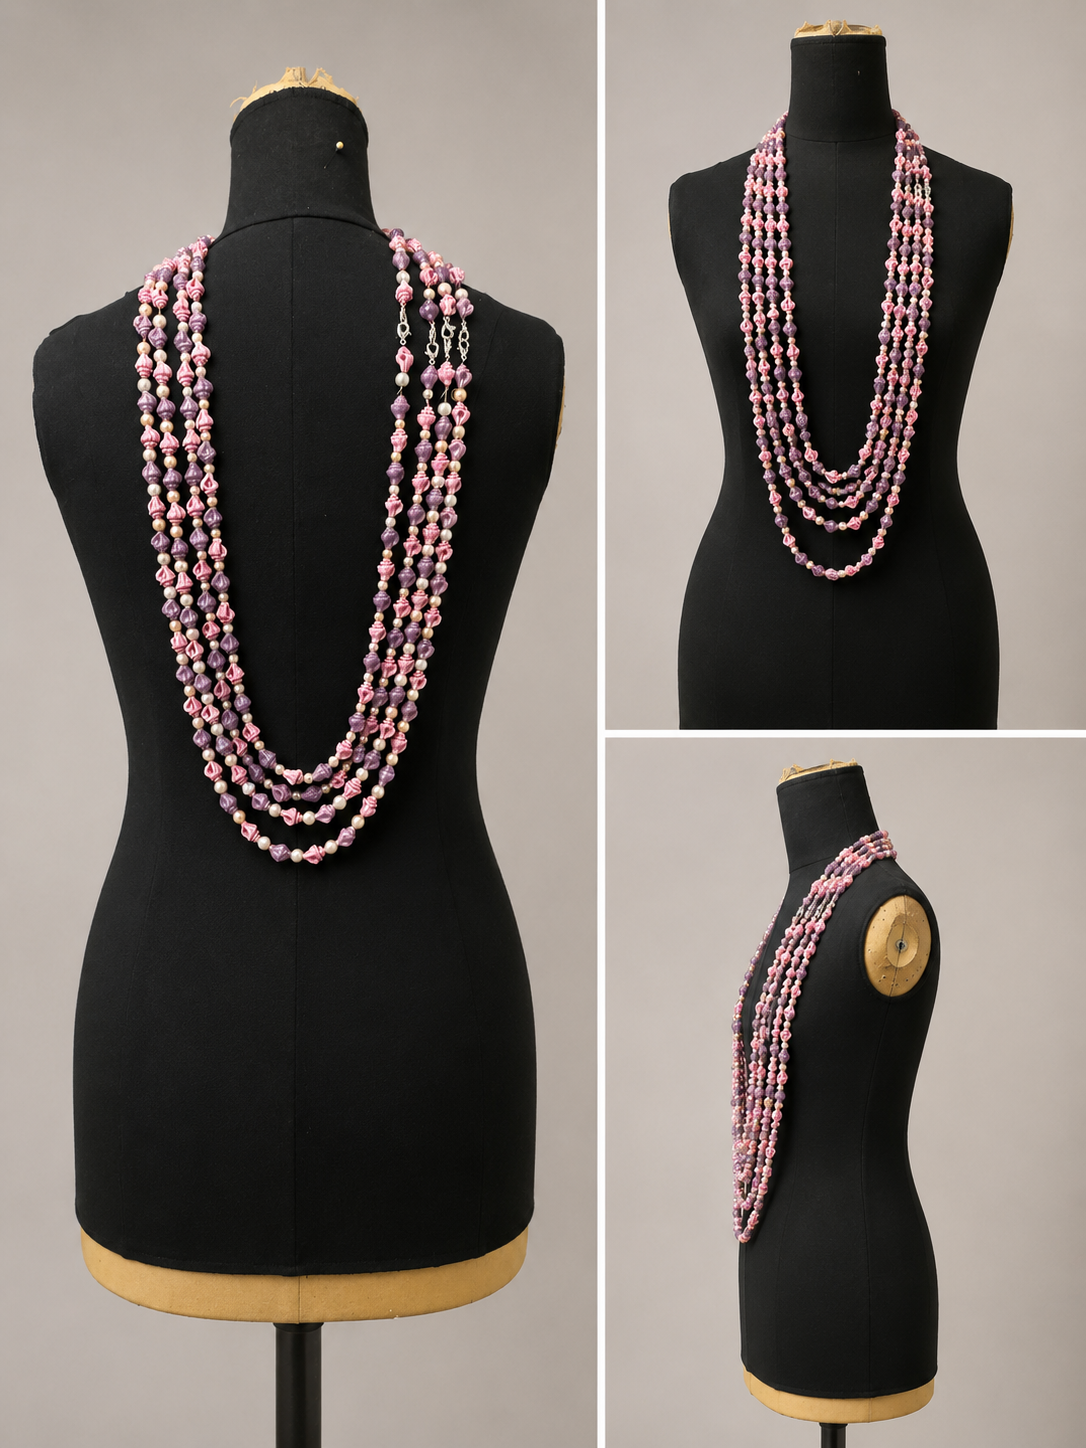
FULL-LENGTH NECKLACE STACK (LONG IN FRONT AND SHORT IN BACK)
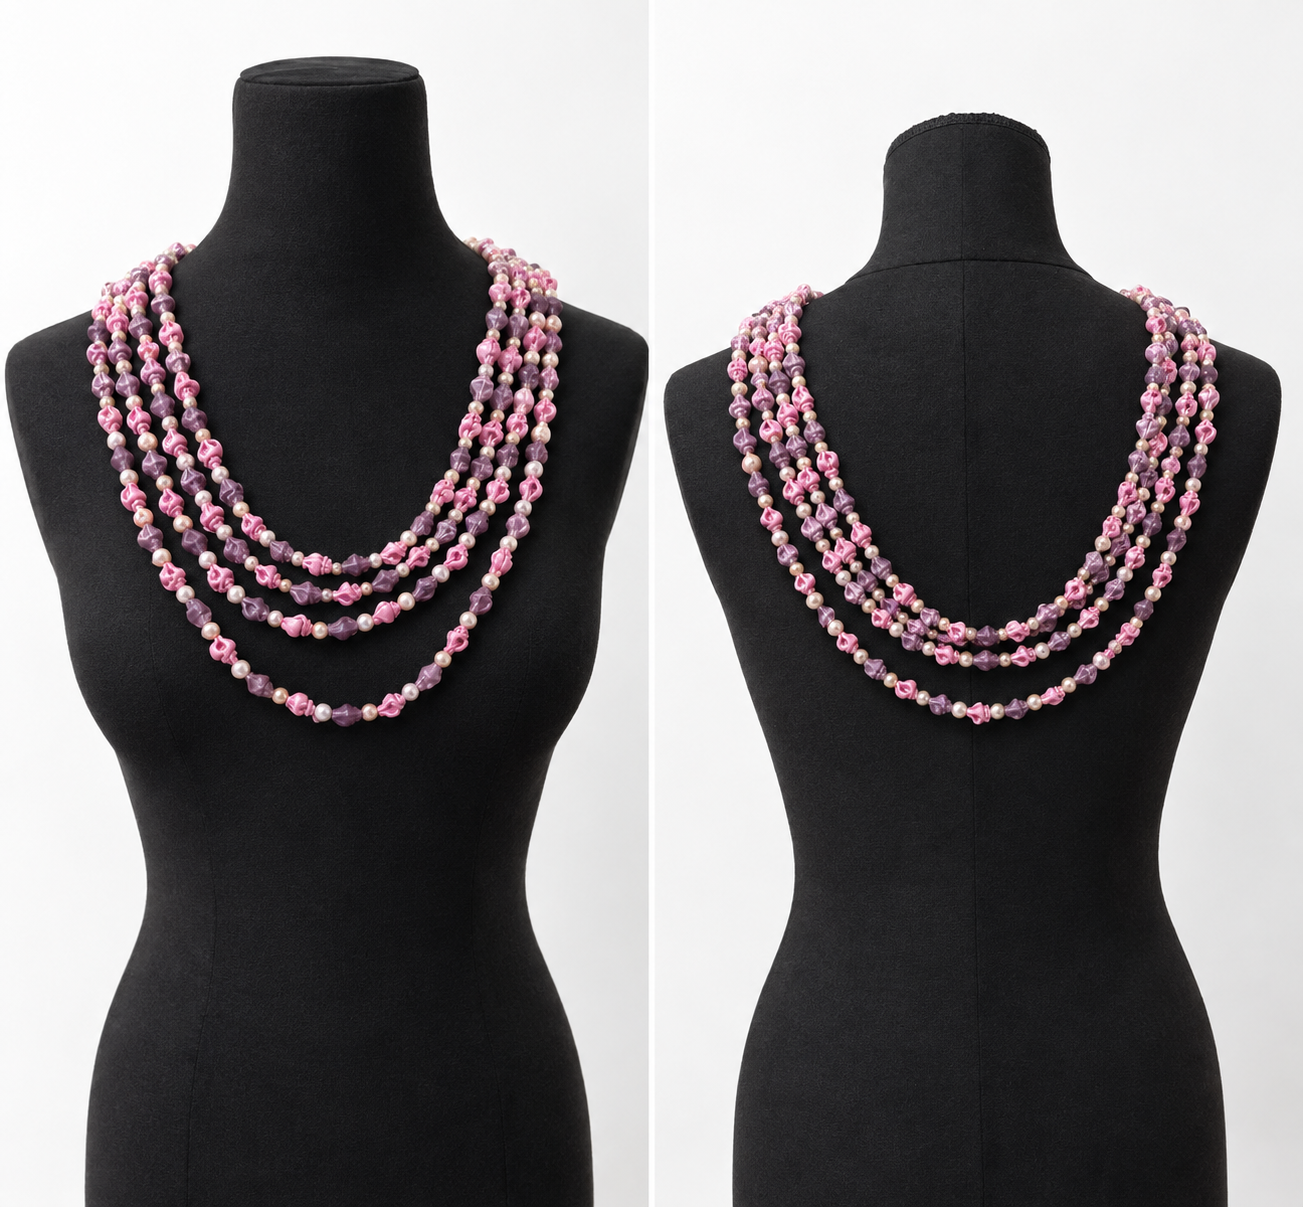
MID-LENGTH NECKLACE STACK (SAME LENGTH FRONT AND BACK)
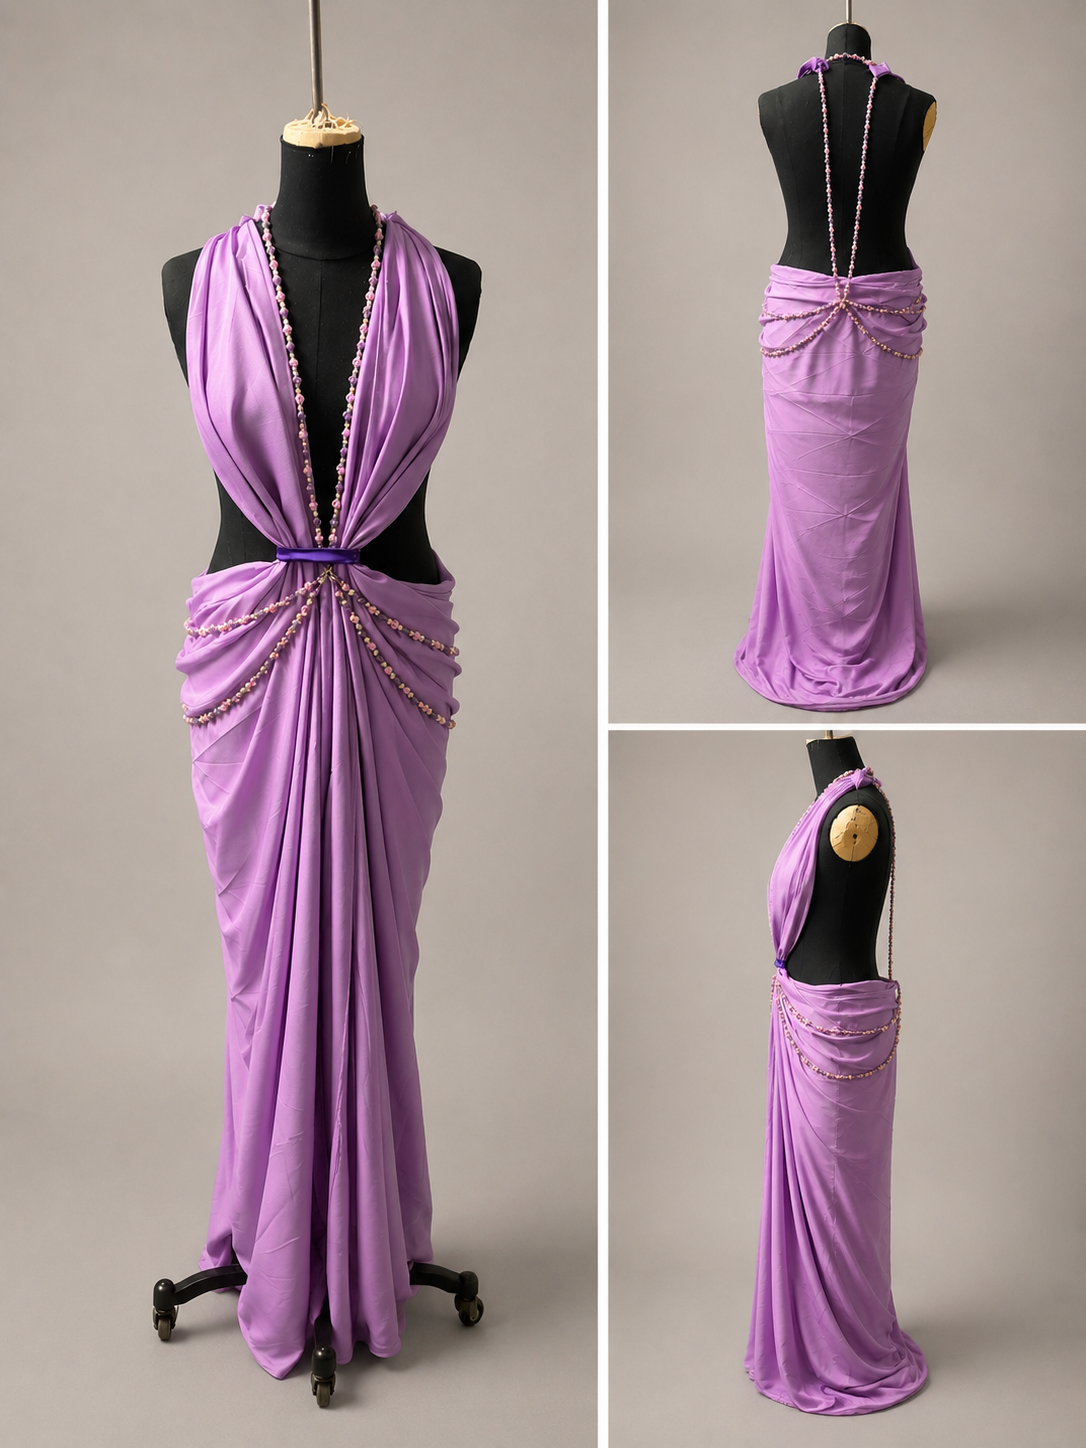
DRAPED FLOOR-LENGTH DRESS WITH BEADED BODY HARNESS
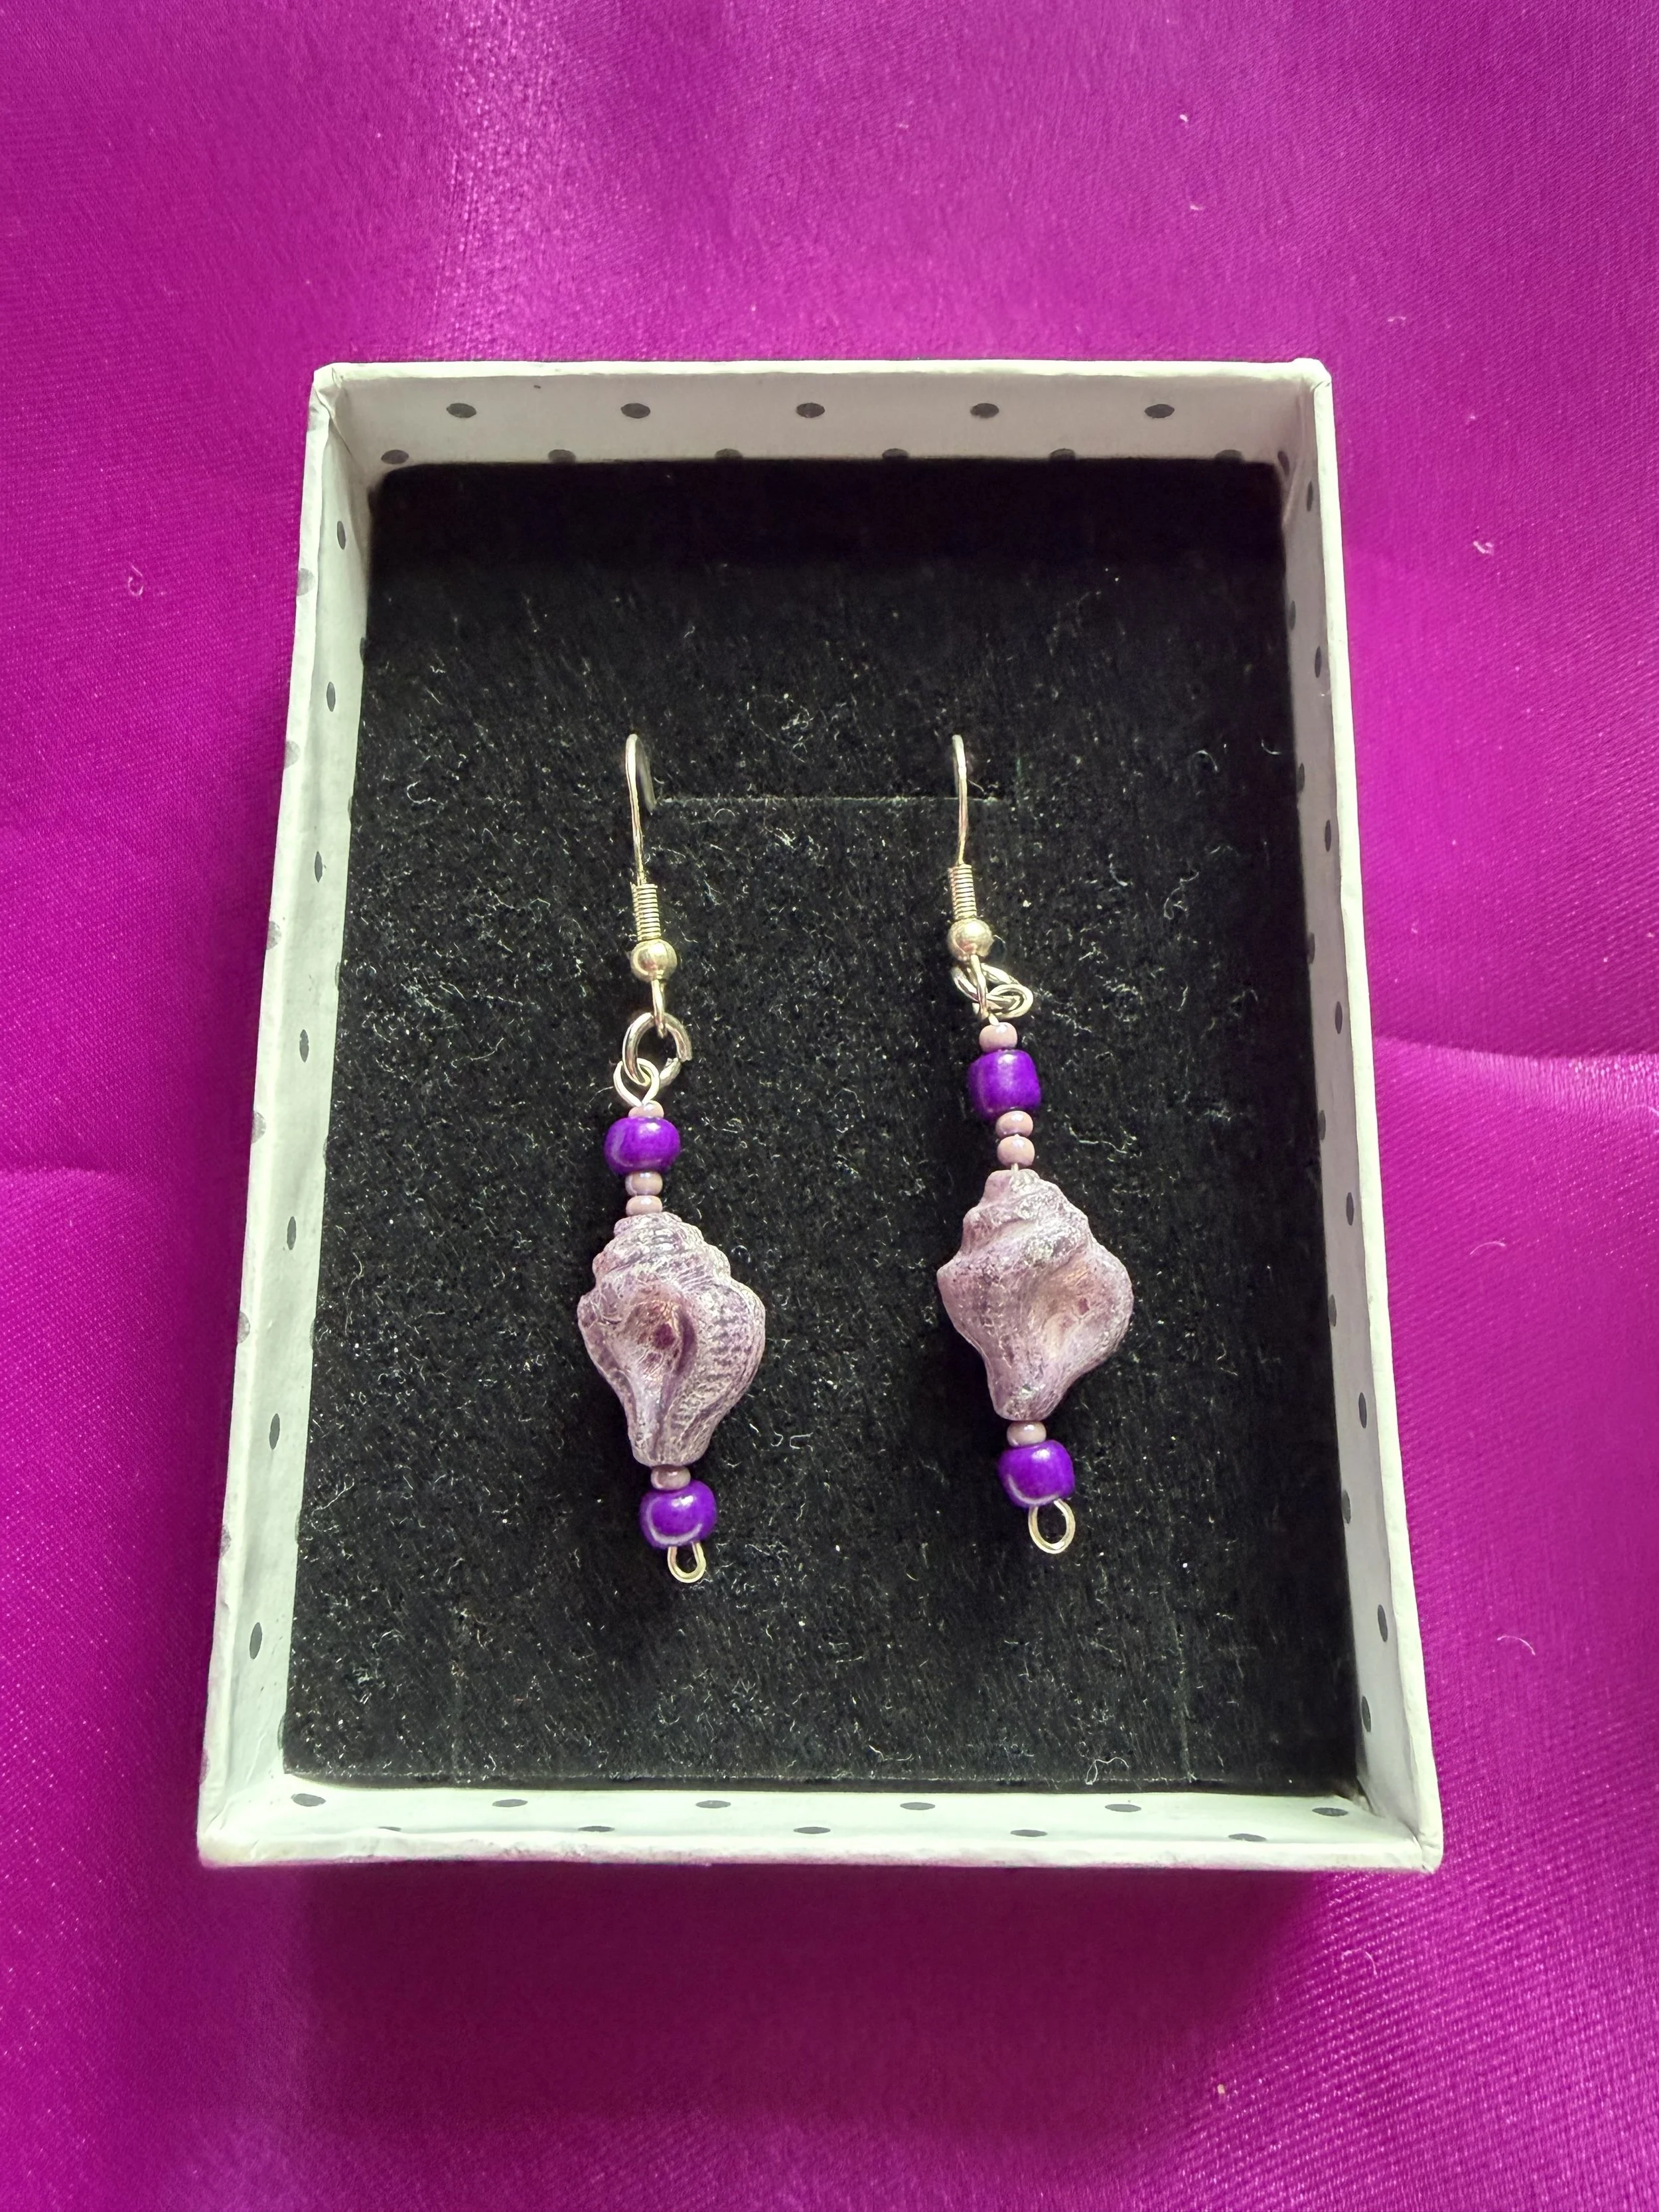
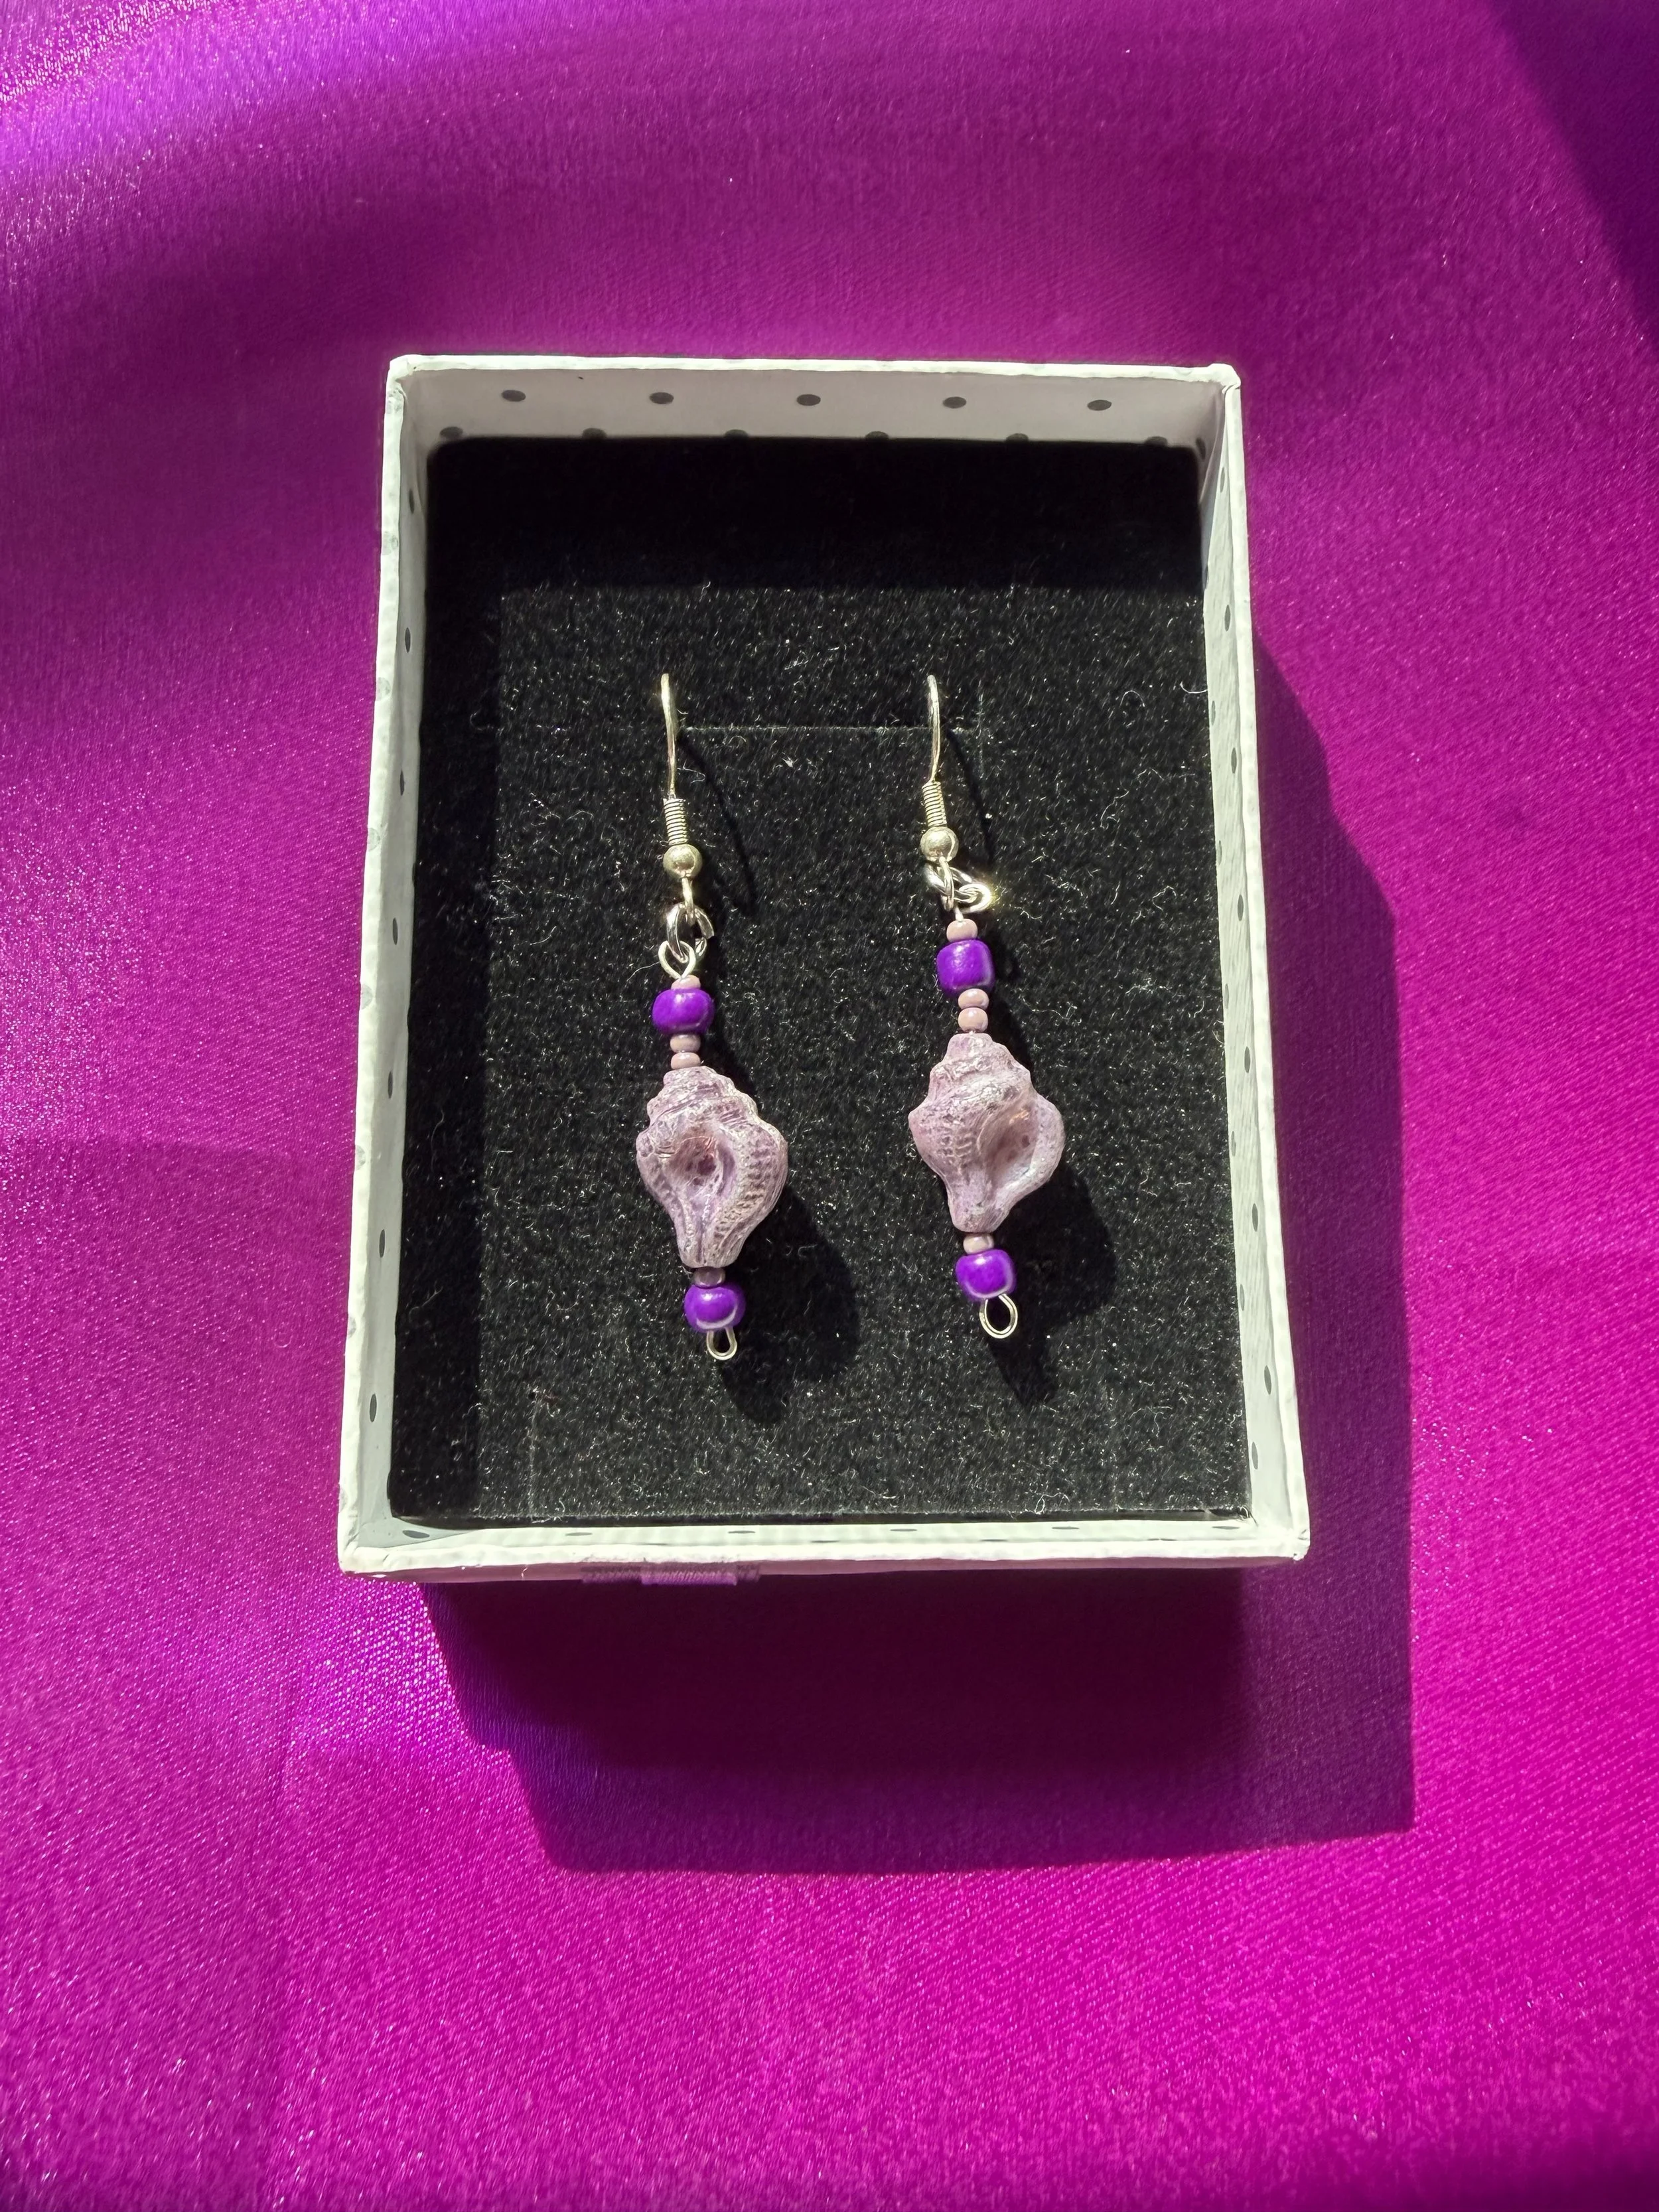
EARRINGS/JEWERLY
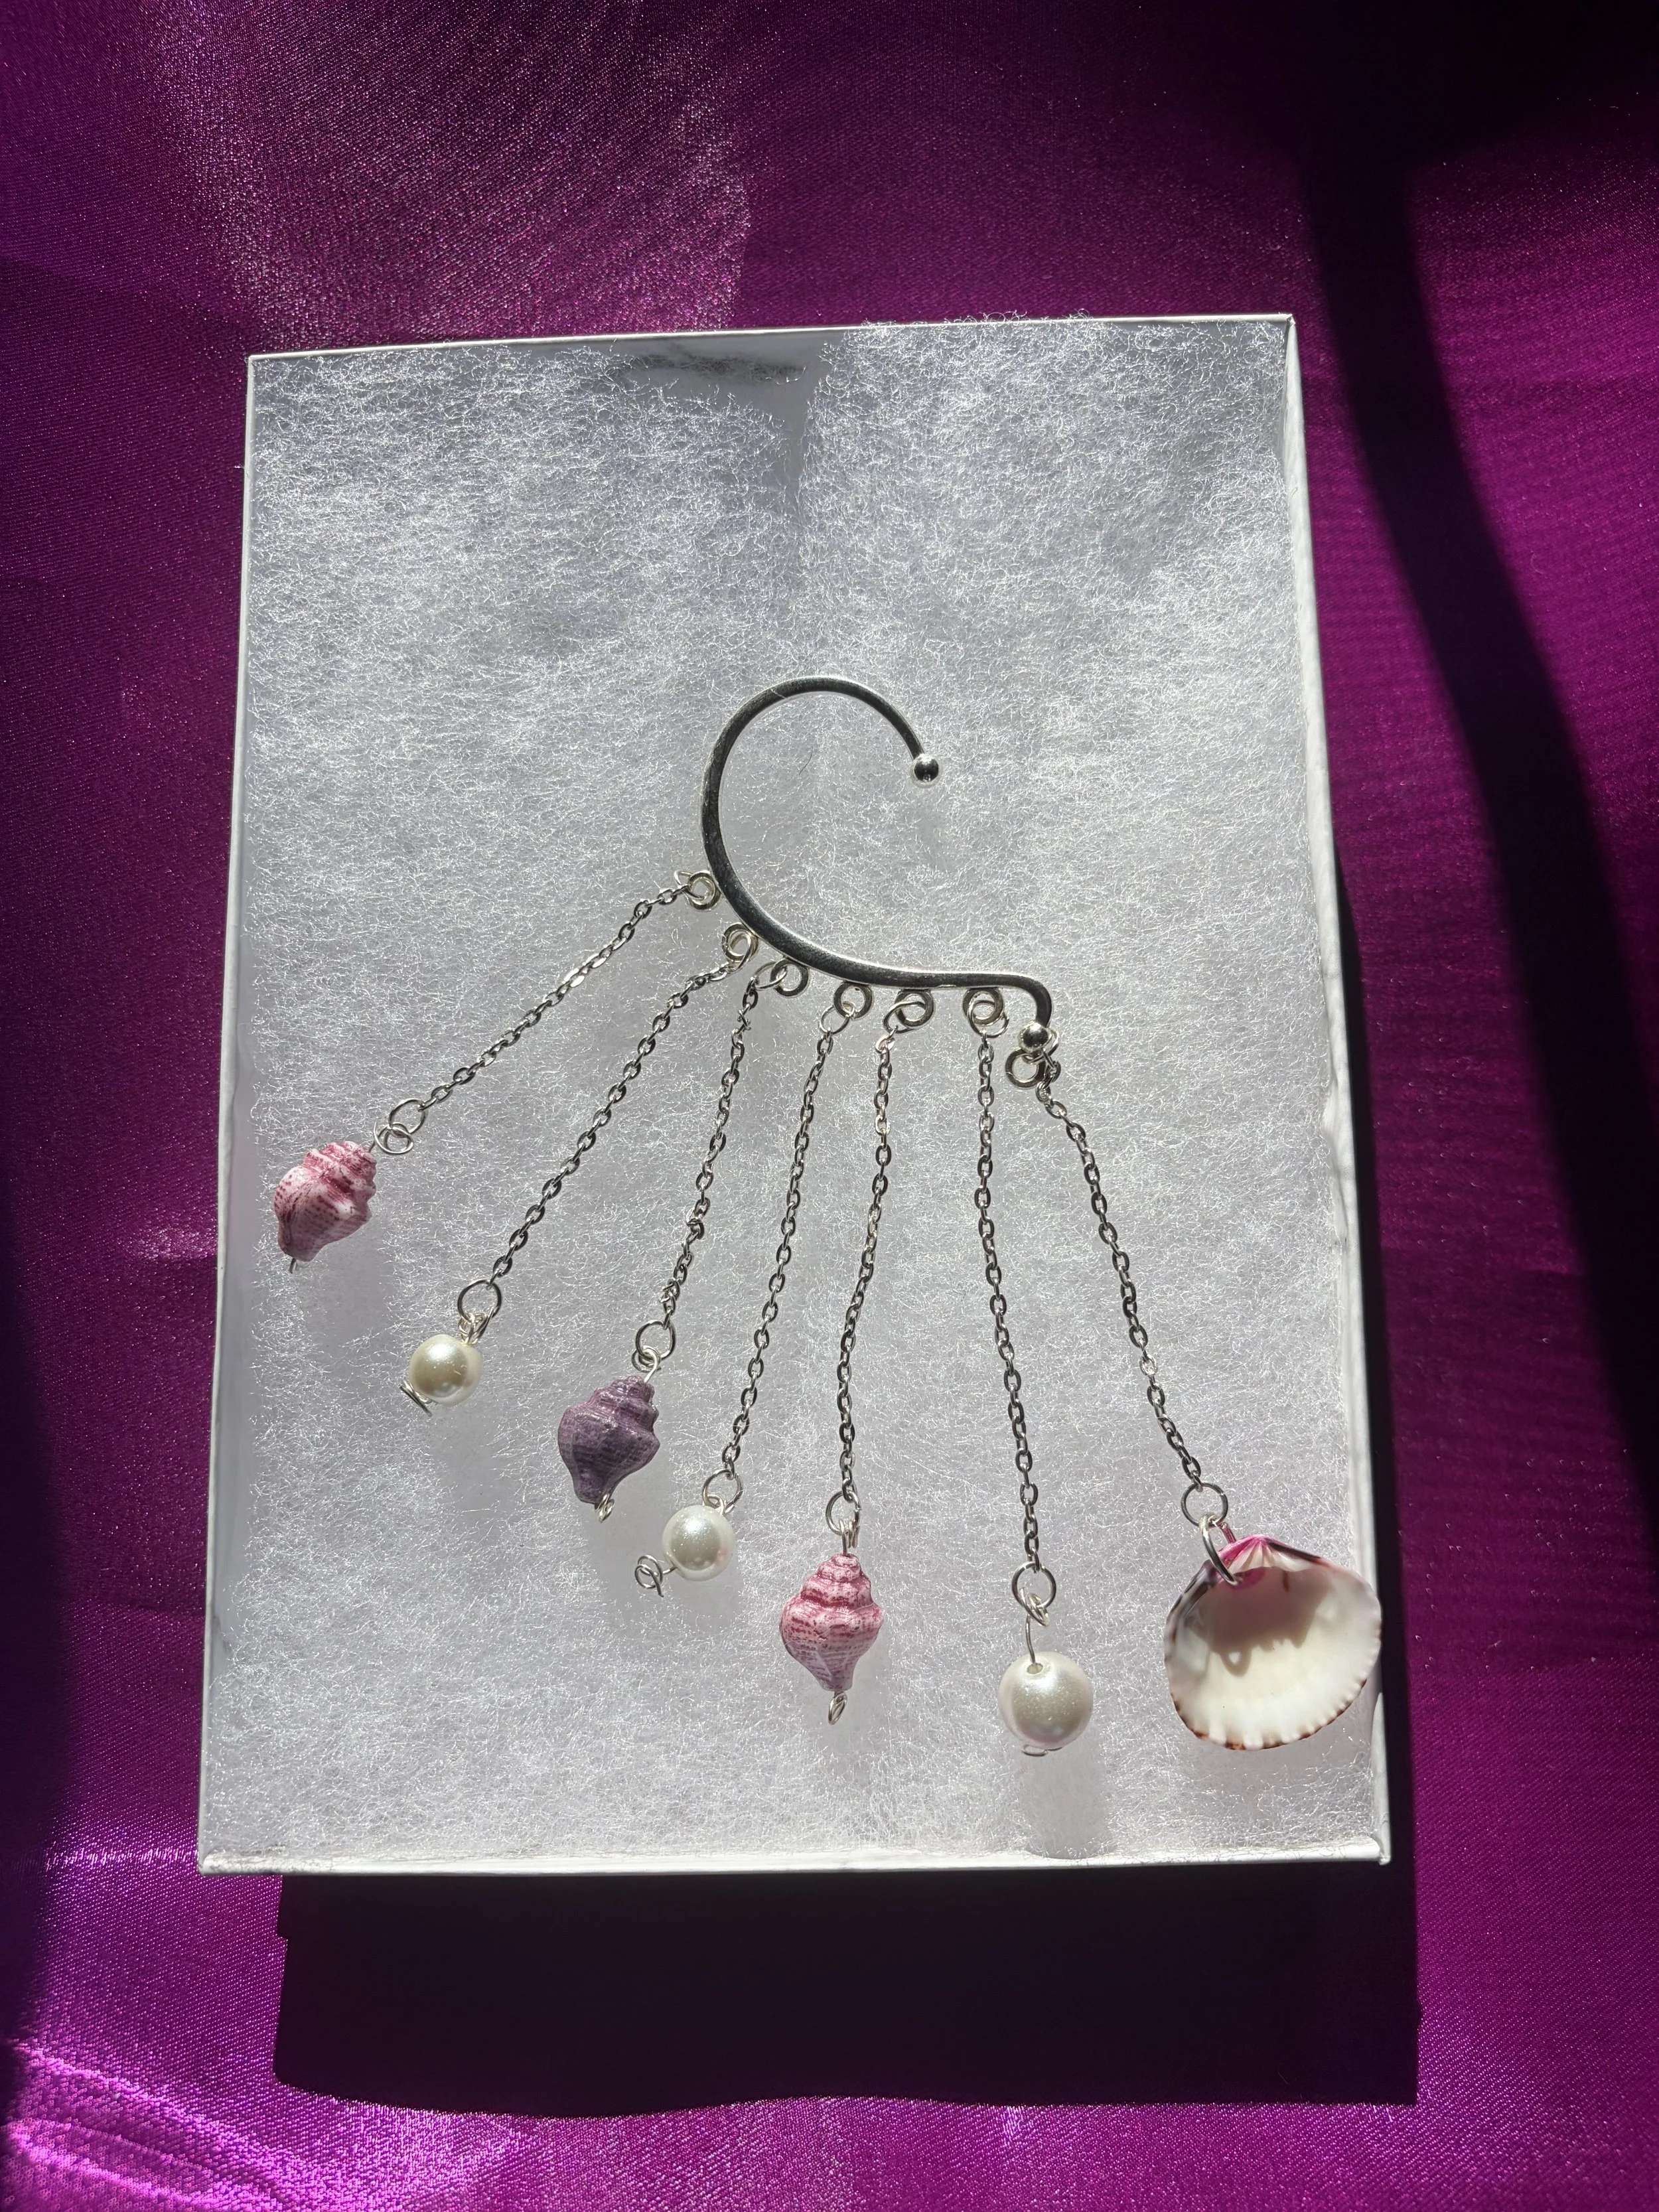
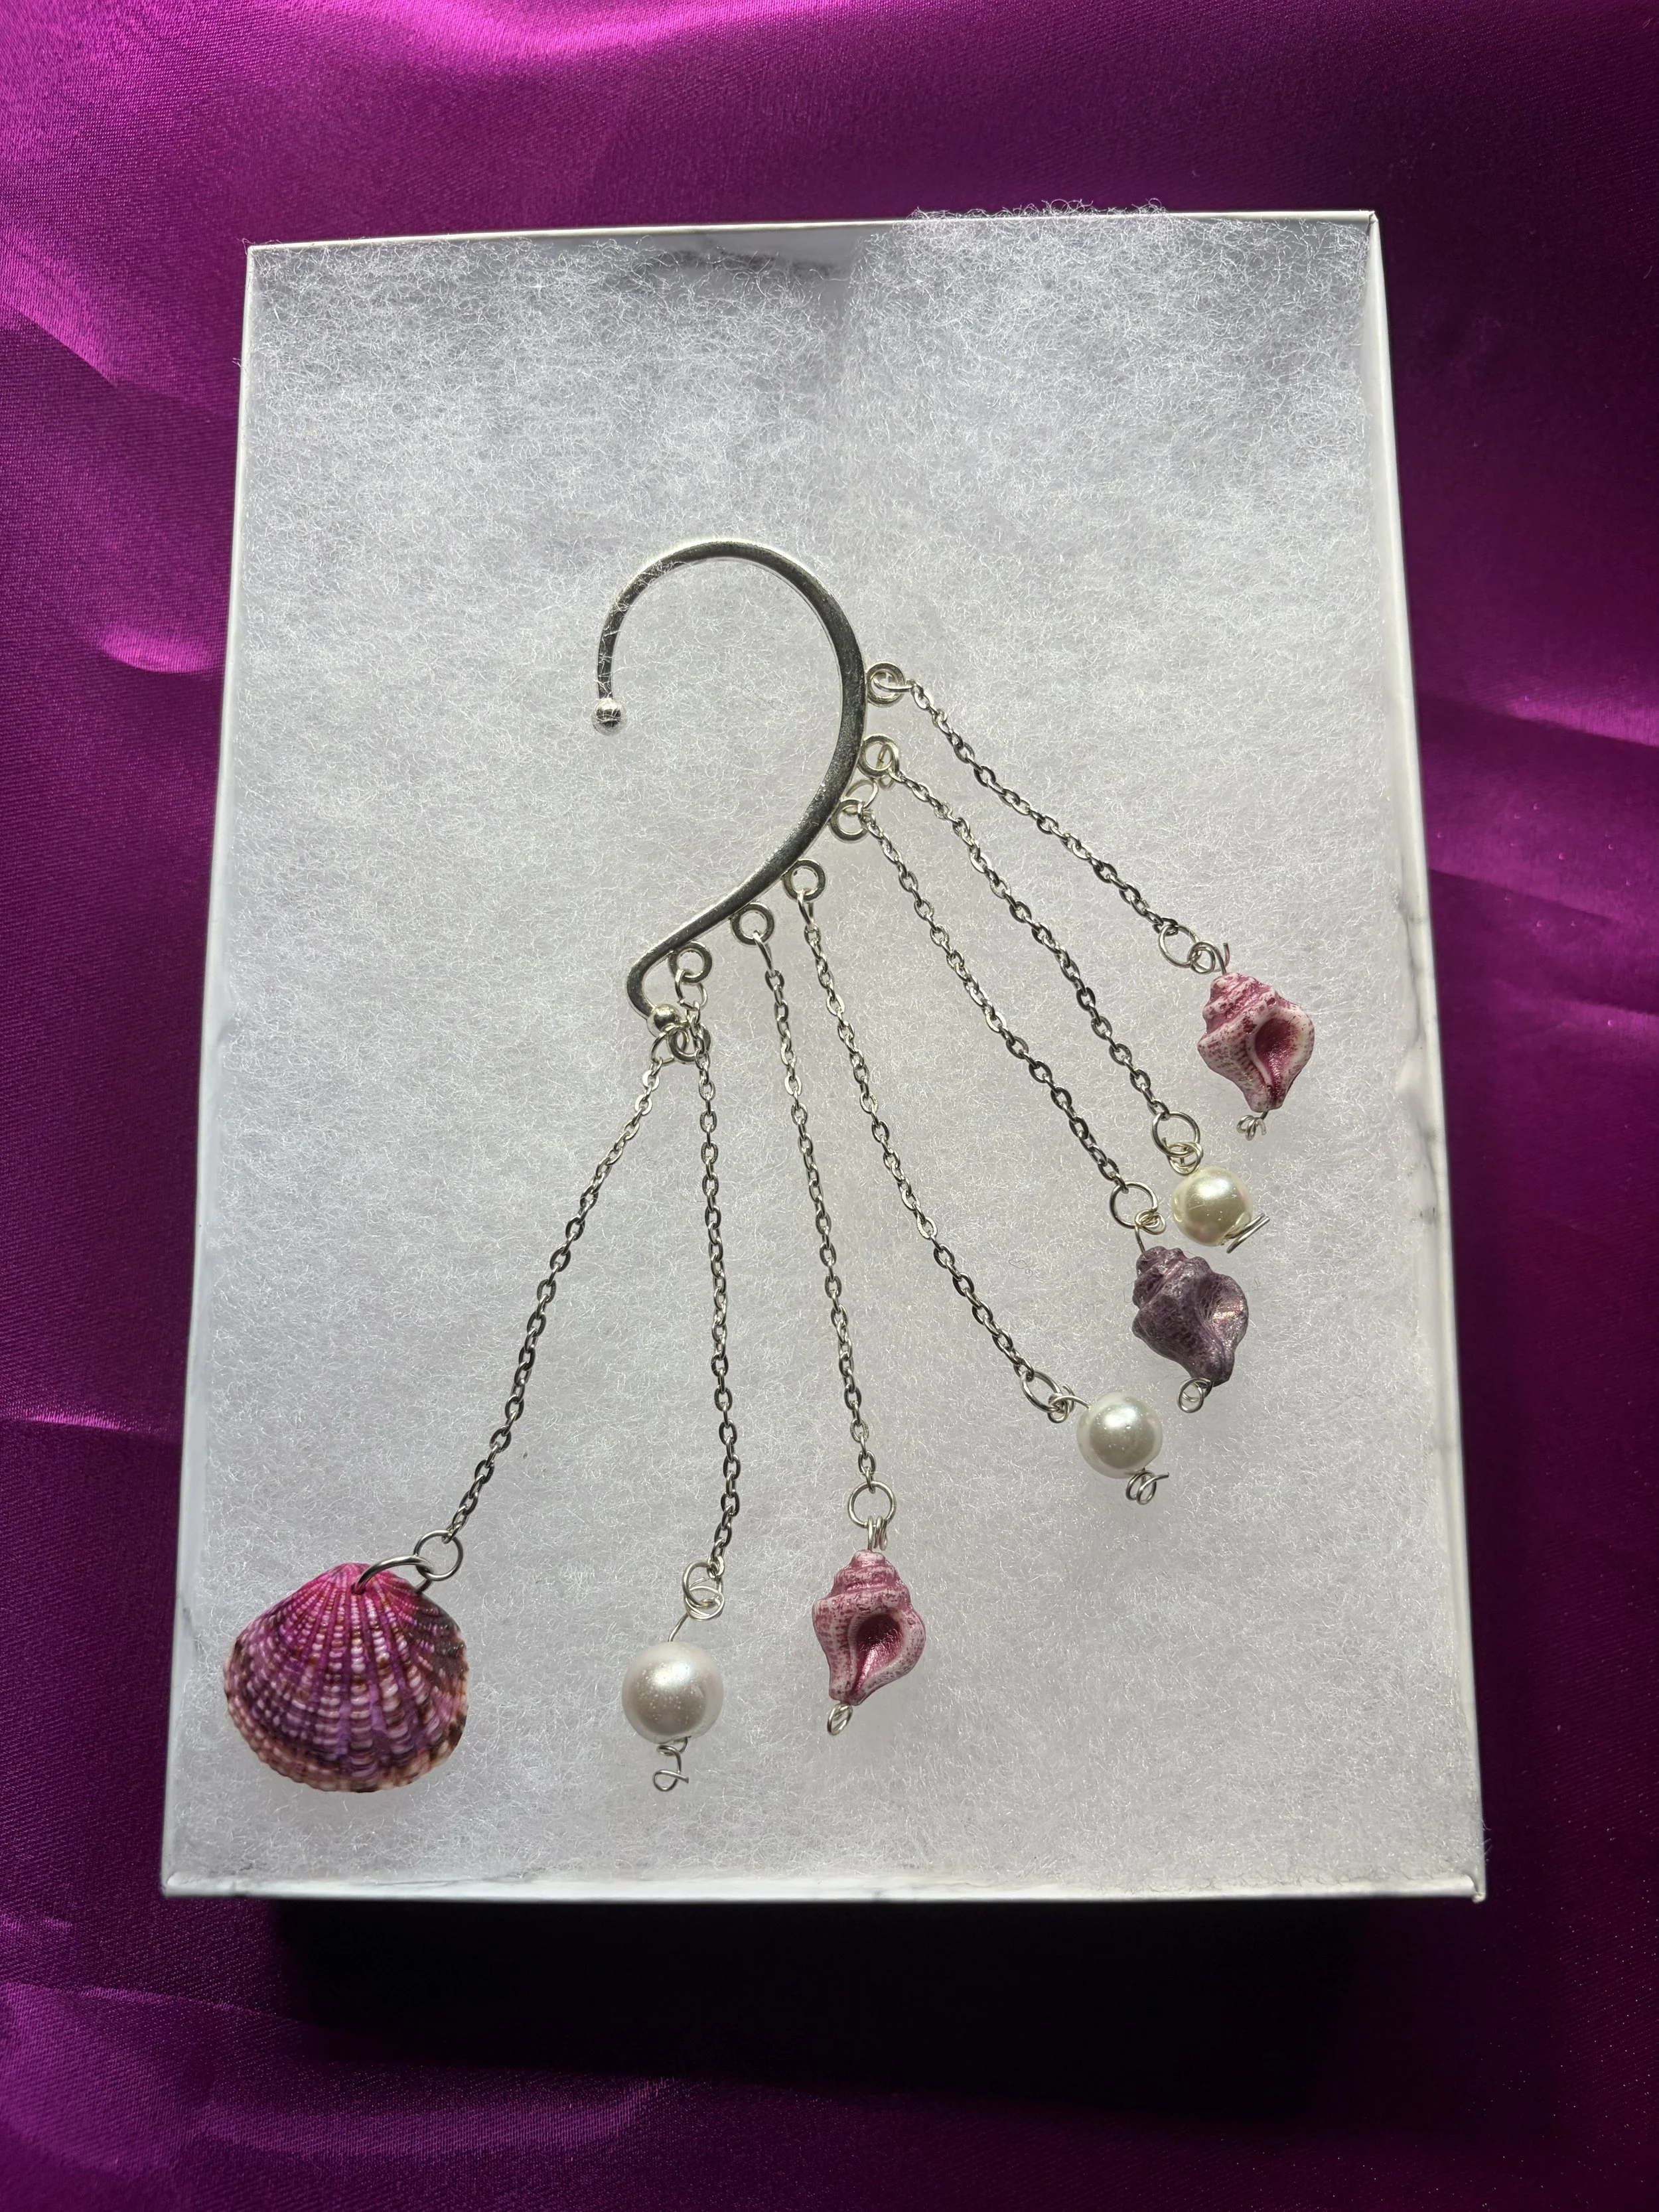
EARRING CUFF WITH CZECH CONCH SHELLS AND PEARLS
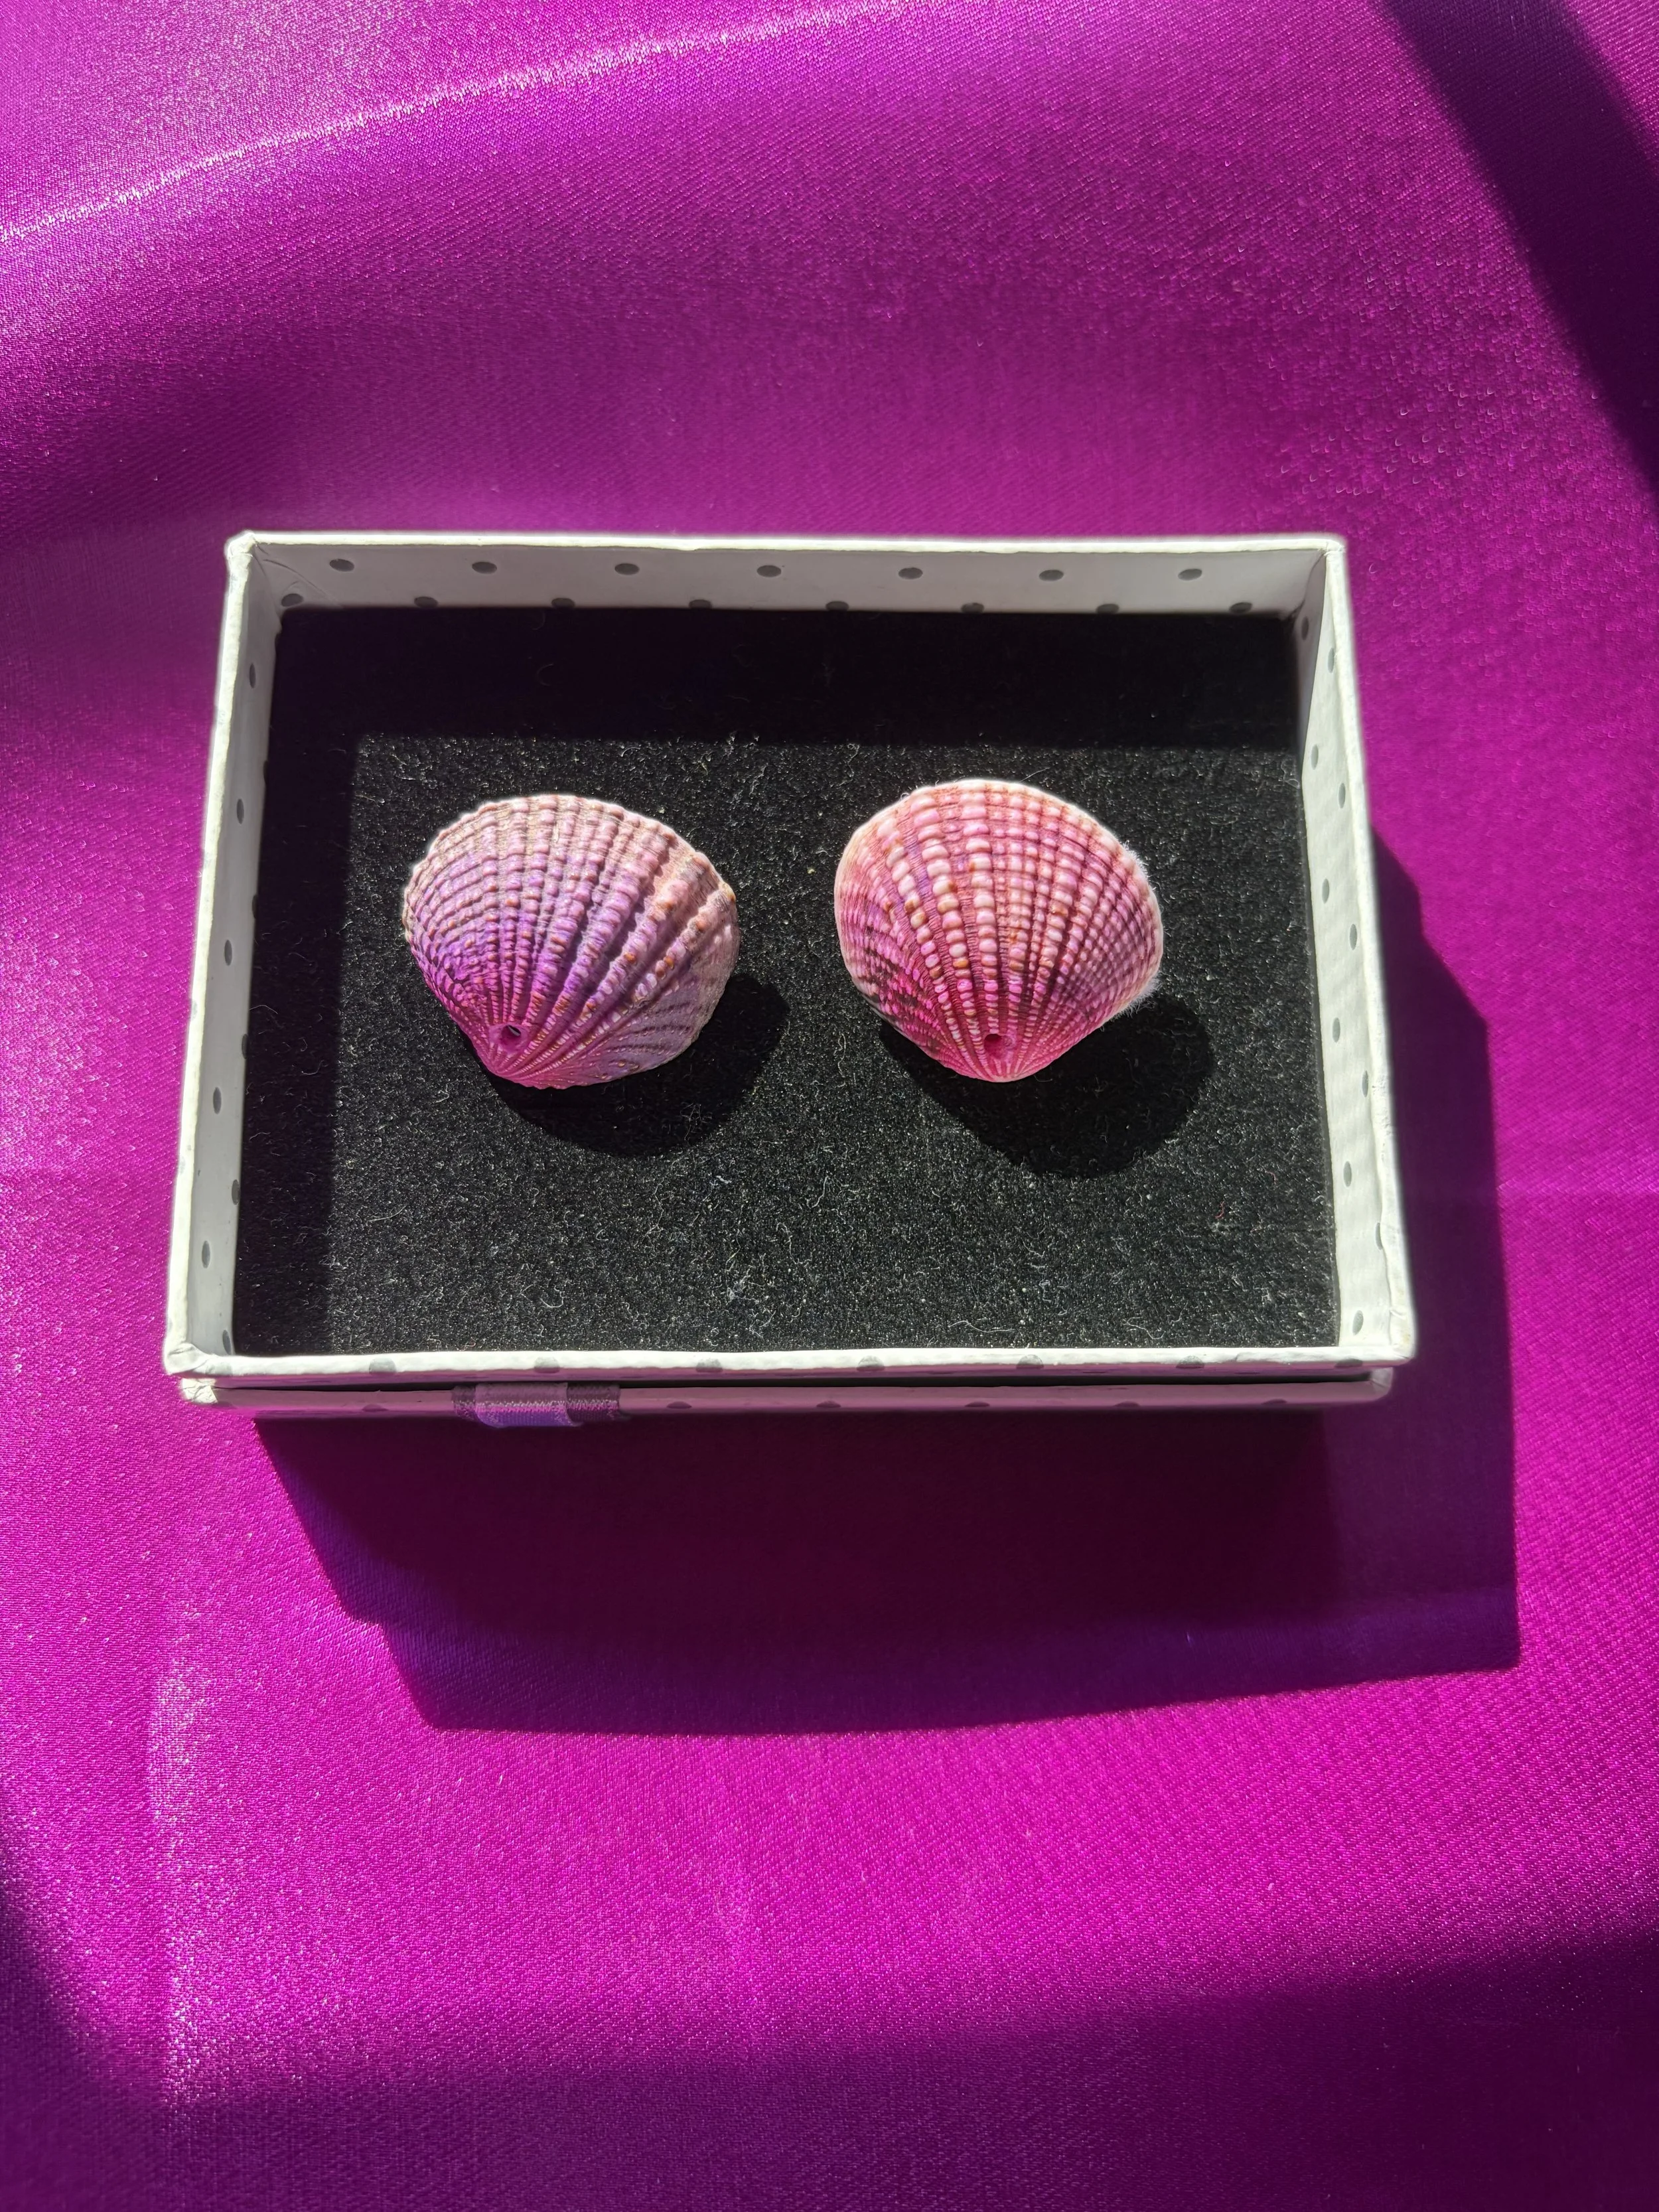
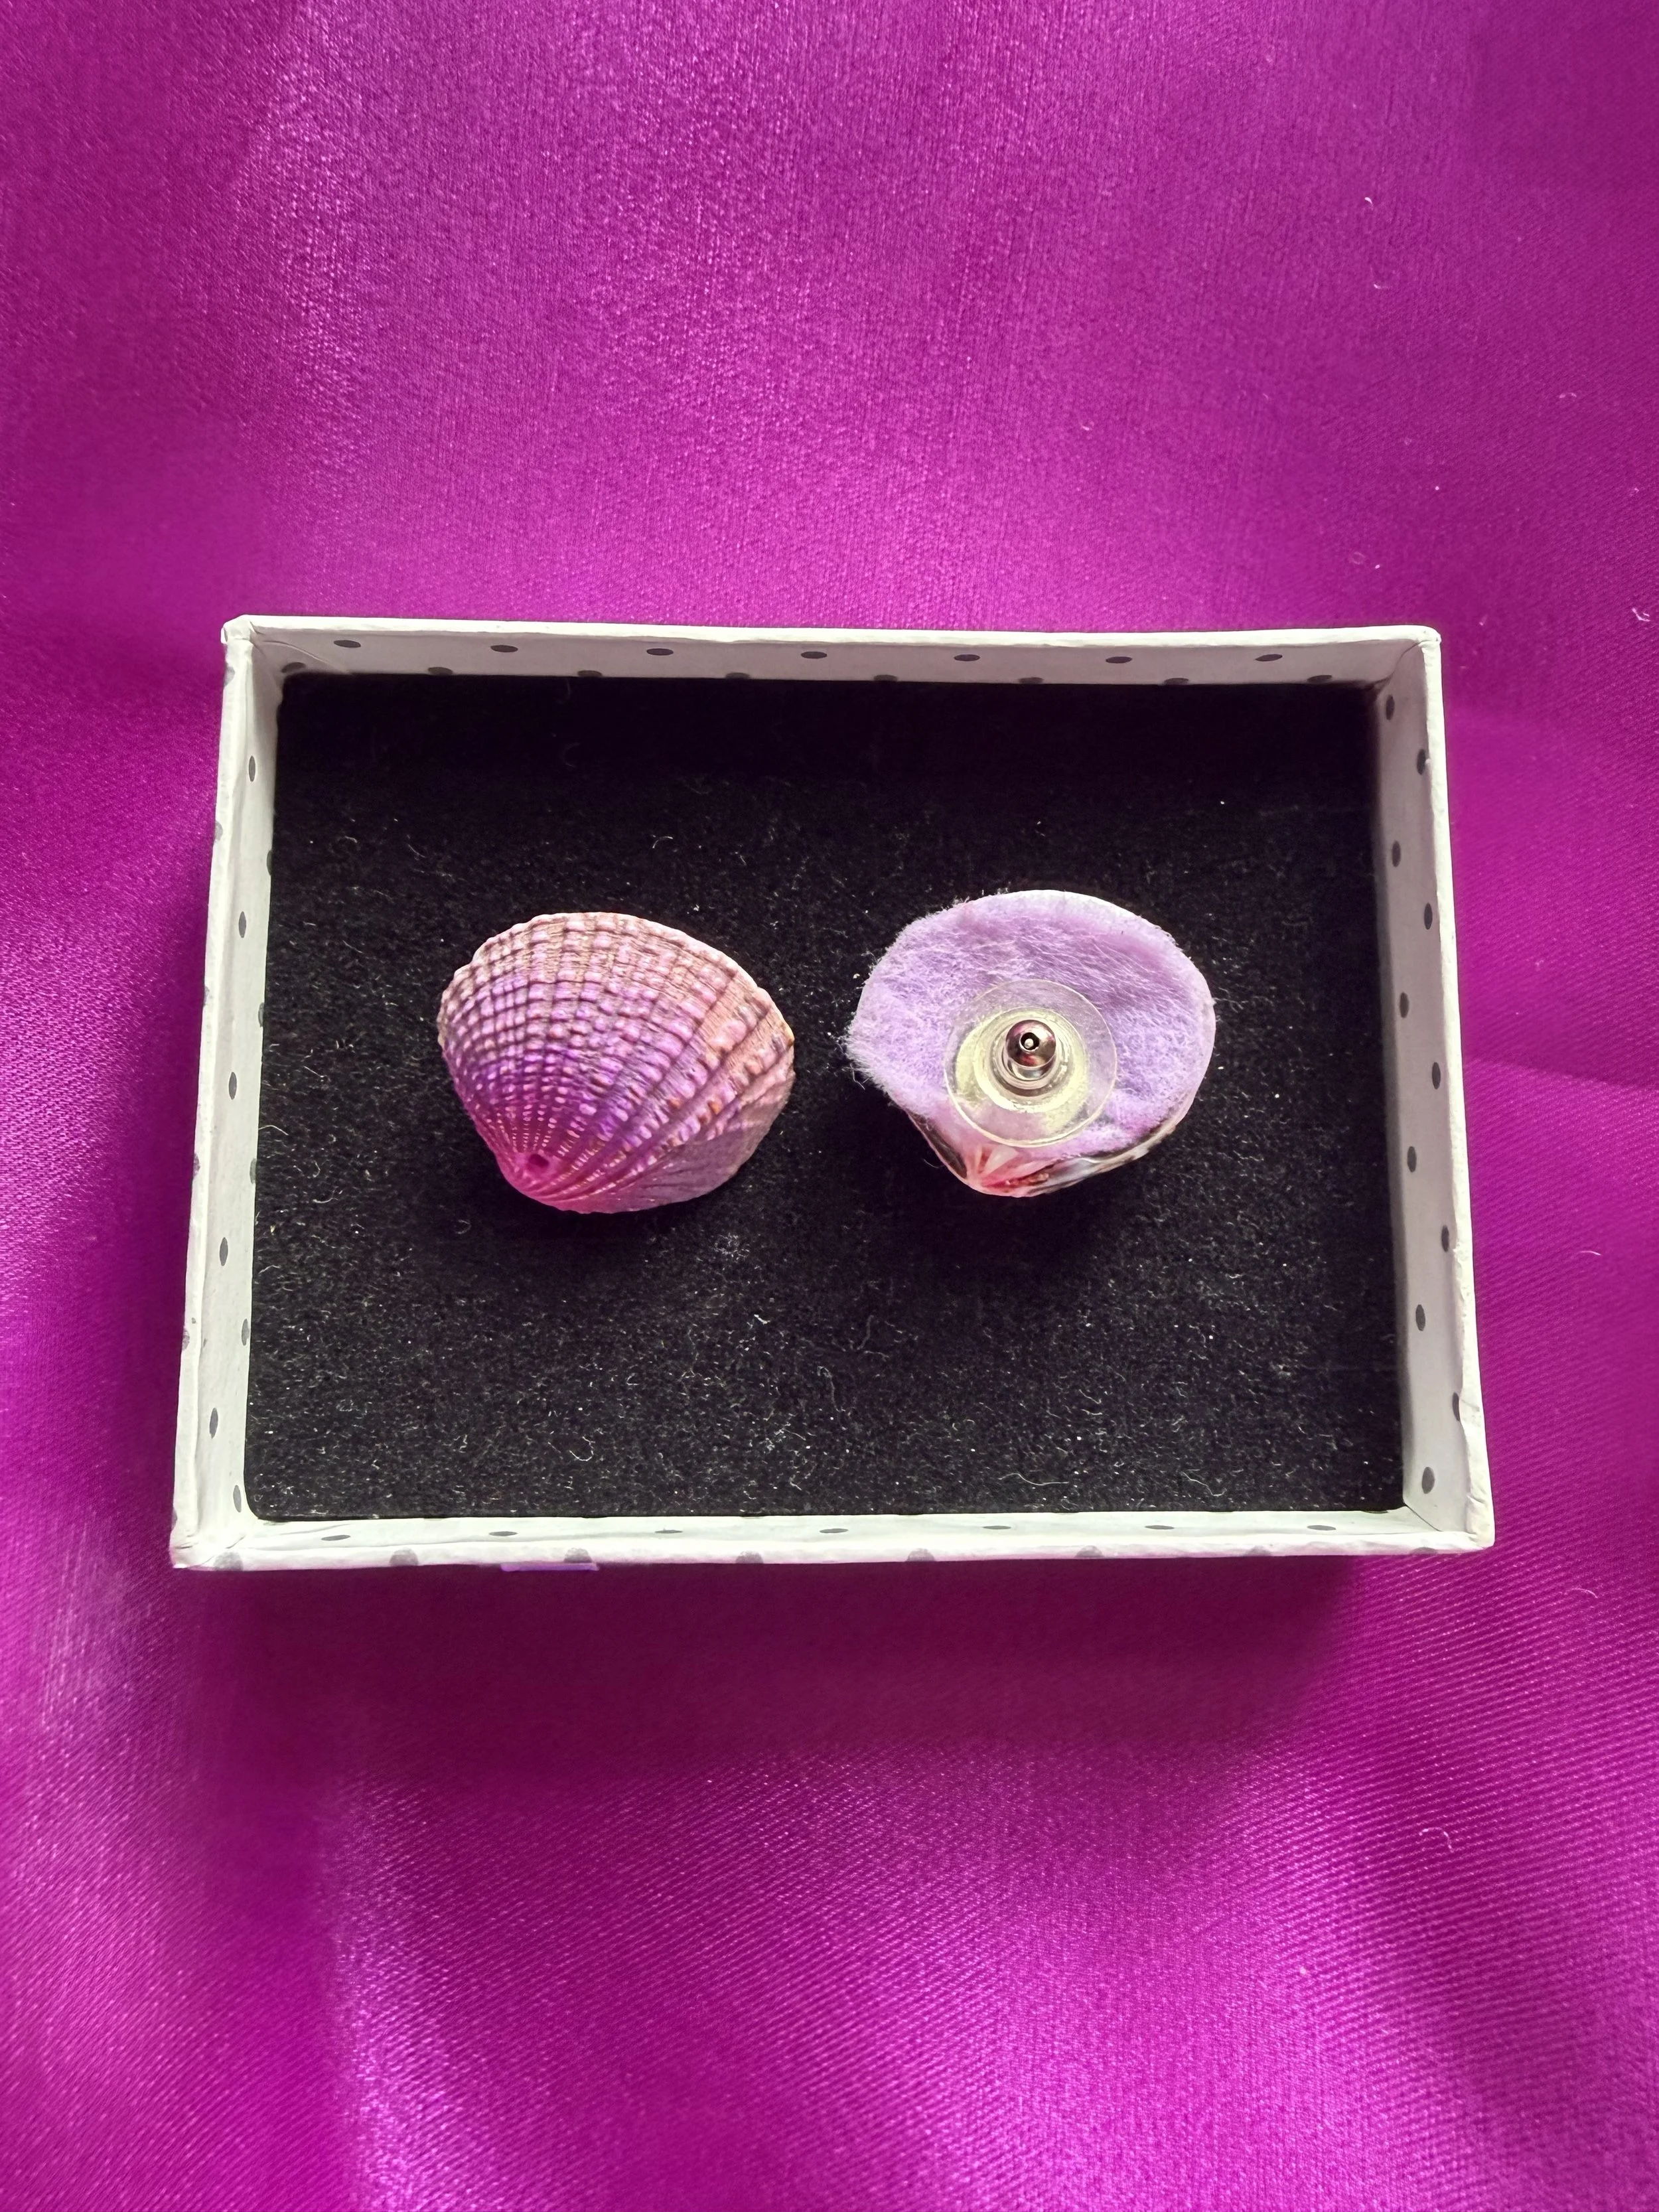
SEASHELL STUD EARRINGS
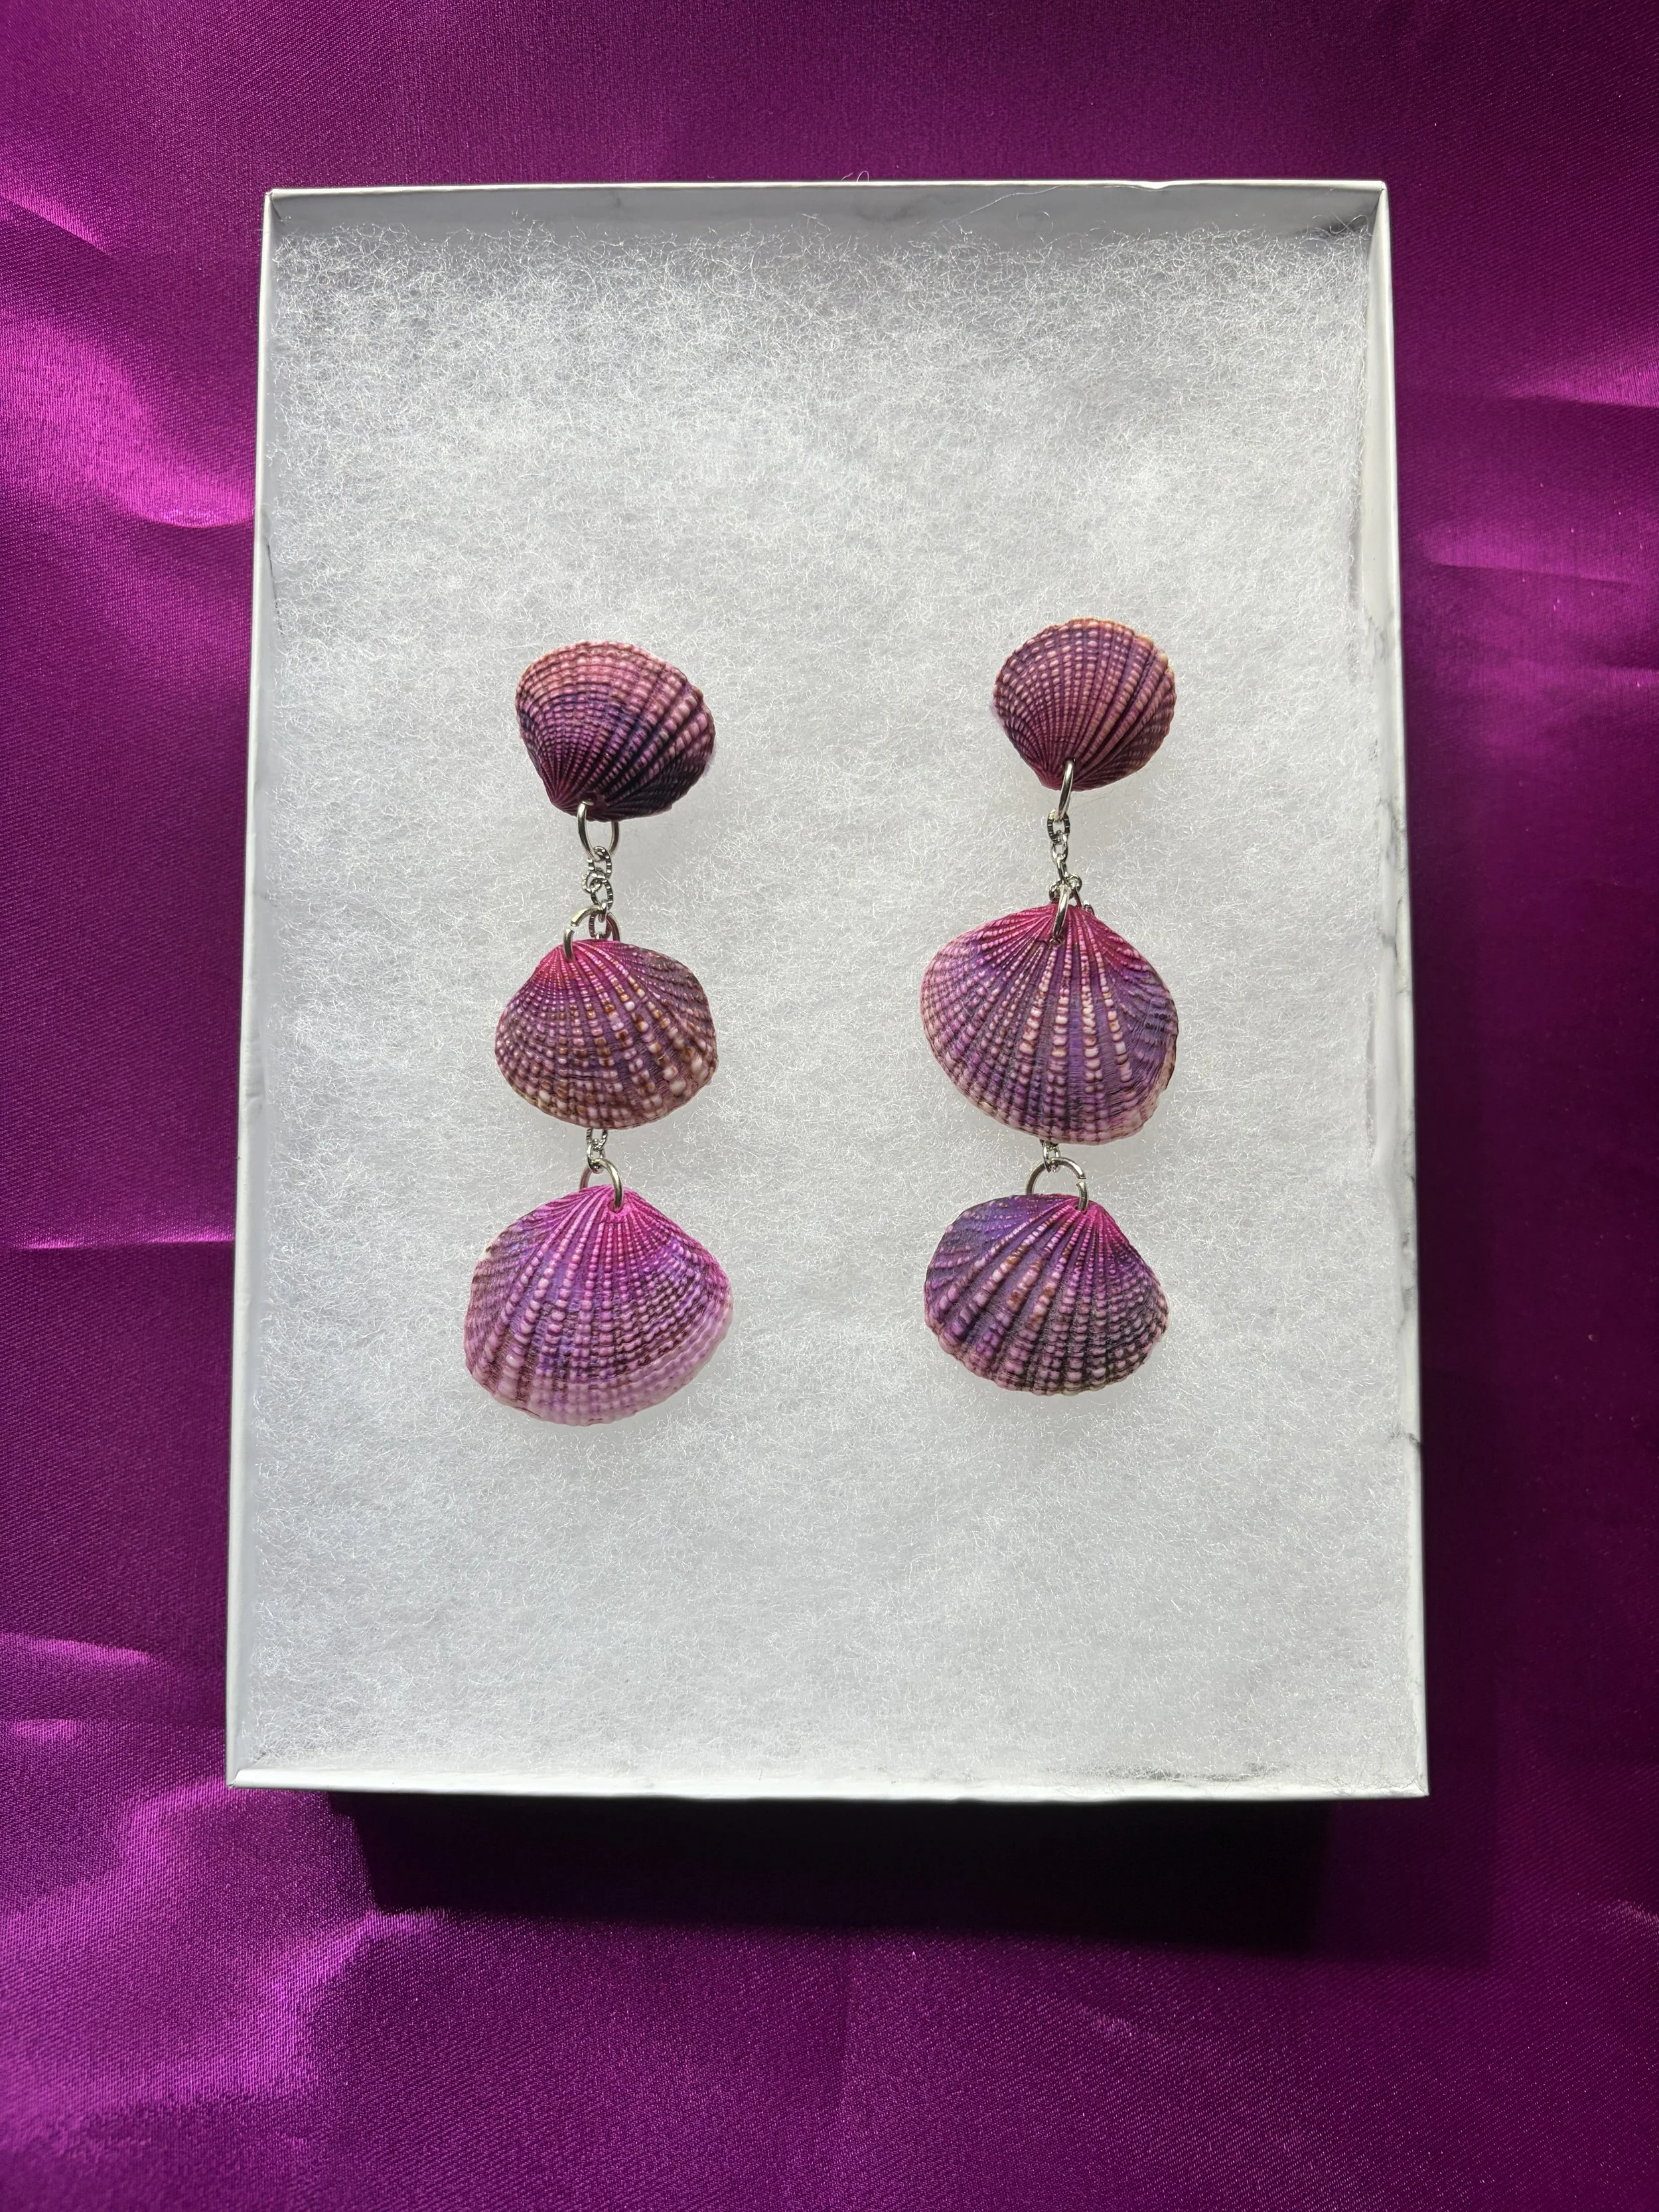
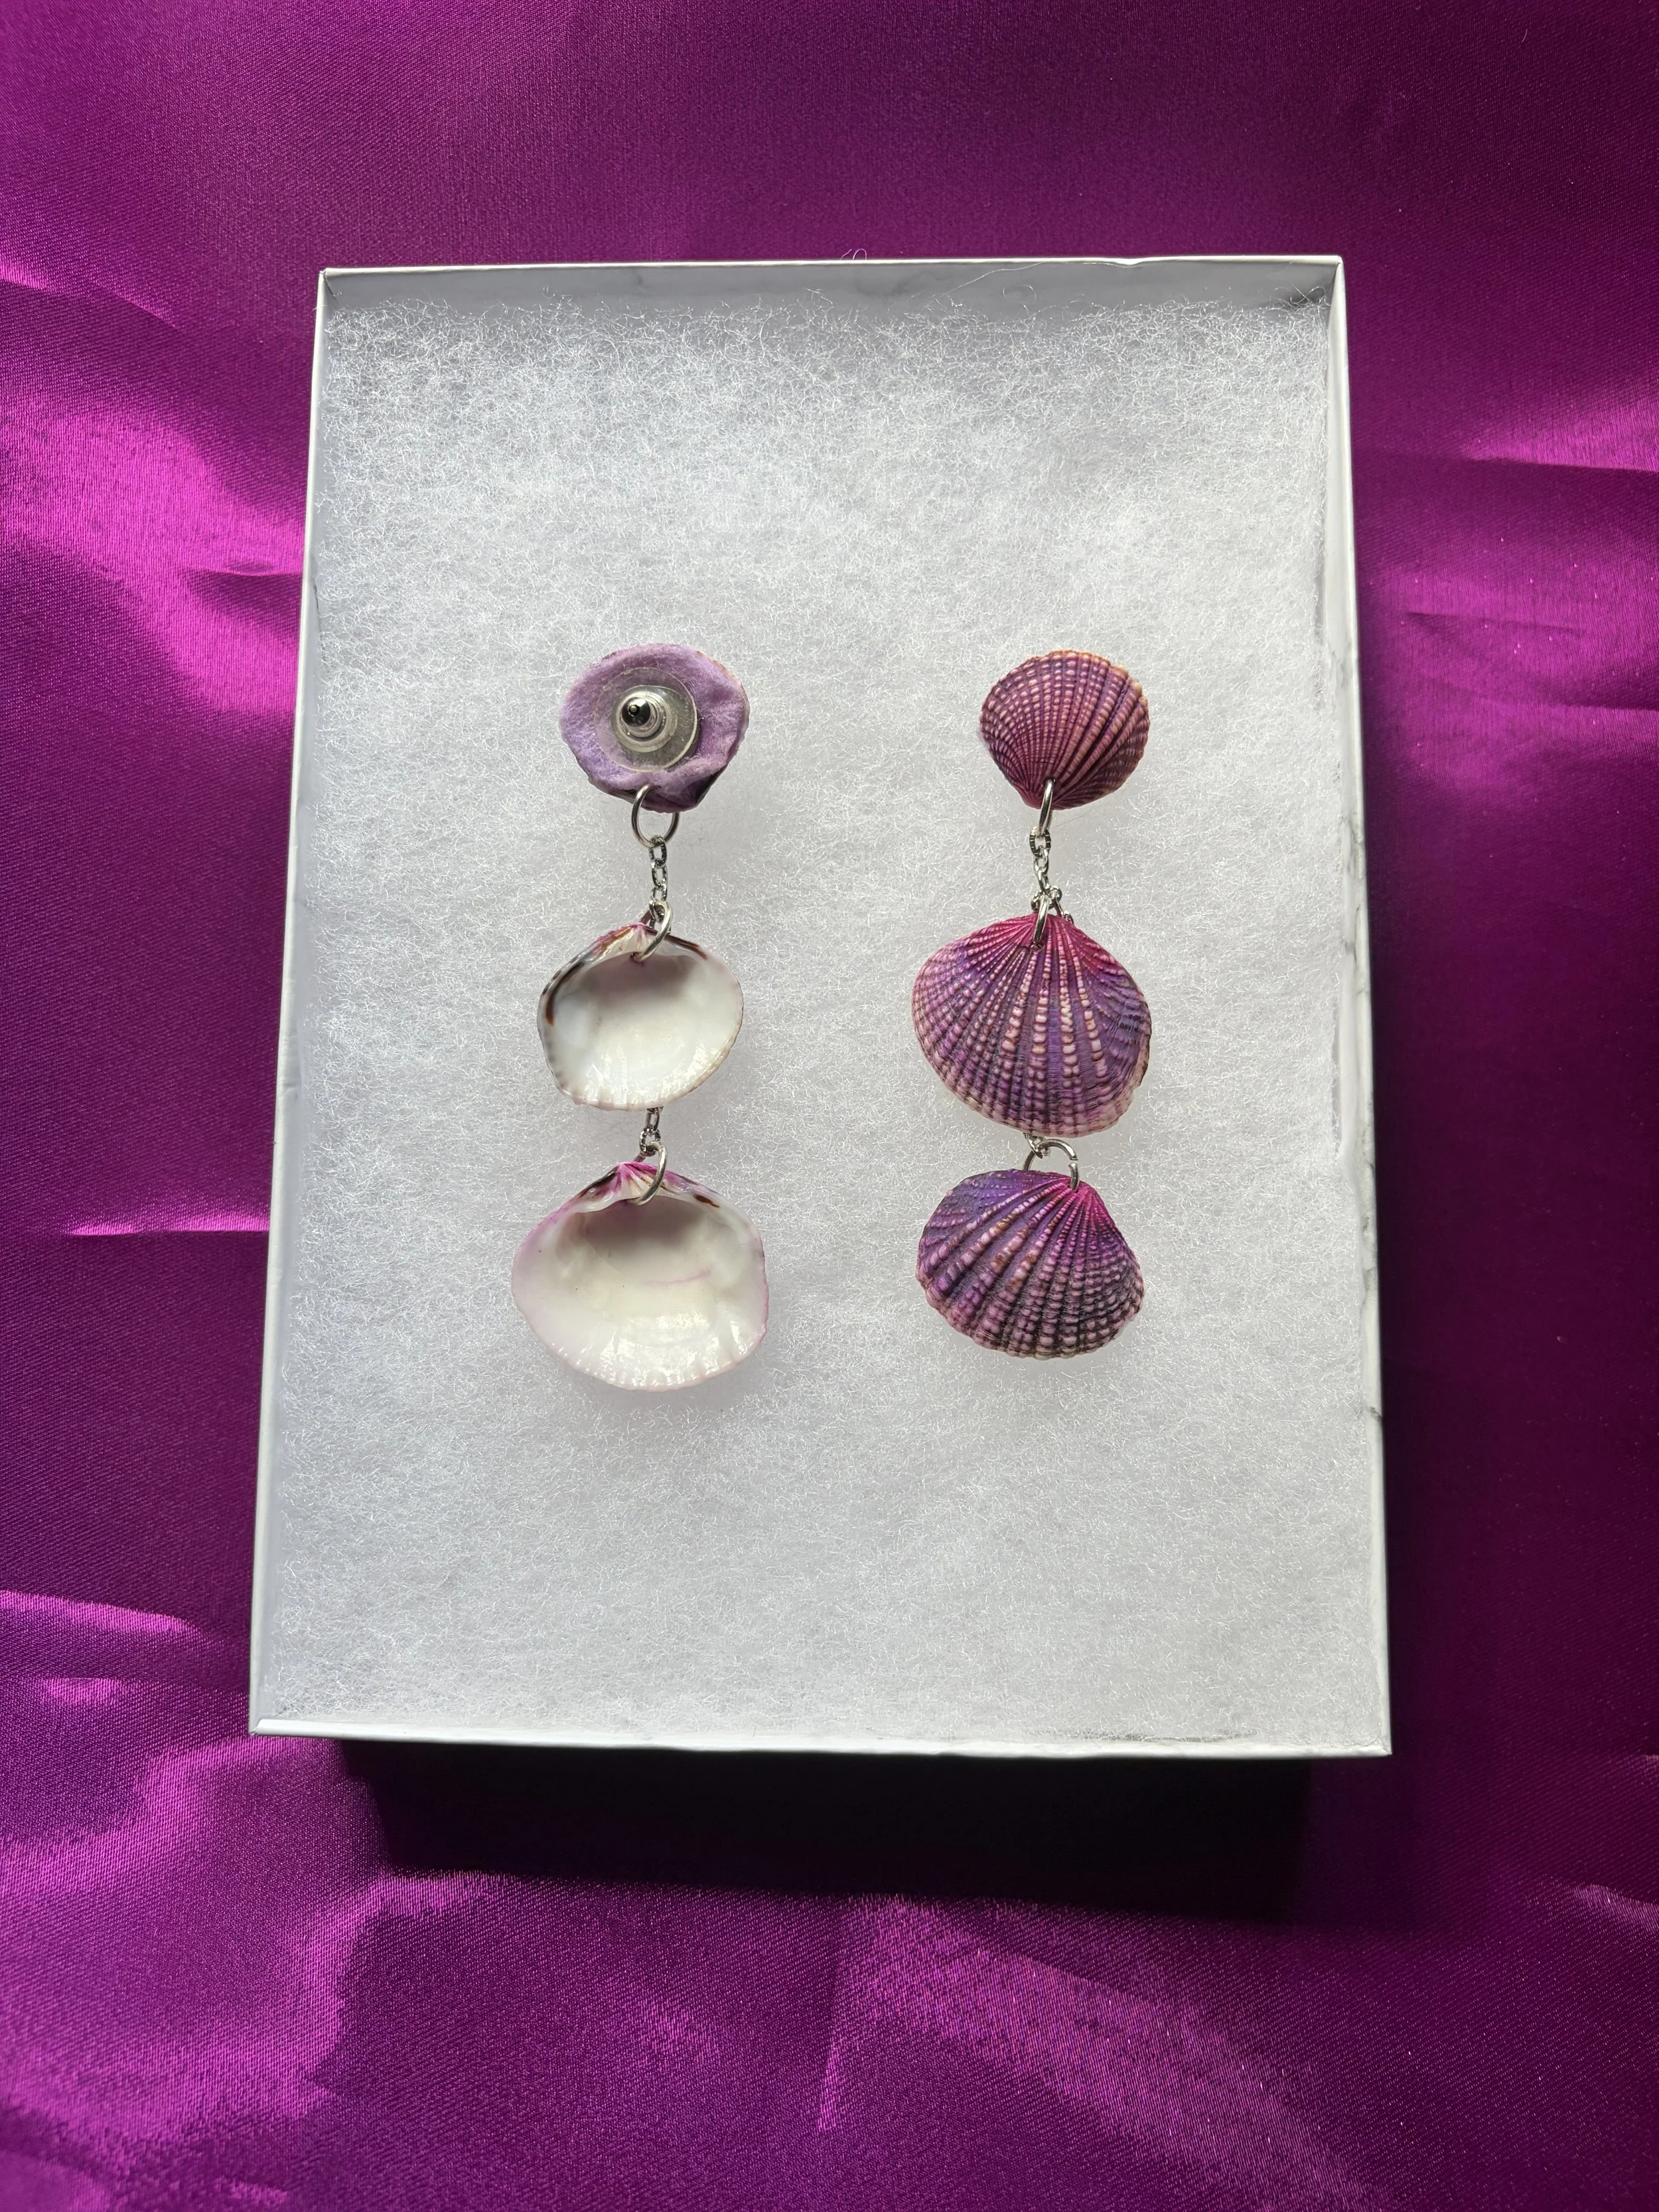
TRIPLE SEASHELL DROP EARRINGS